

cThere is no shortage of ways to select objects in an image using Photoshop.
We can make simple geometric selections using Rectangular Marquee Tool Or Elliptical Marquee Tool
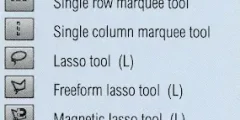
or manual selections using Lasso Or Polygonal Lasso Or magnetic lasso Tools.
Select areas with similar brightness or color values using a command Magic Wand or Color Range.
Draw or enhance the selection manually with a brush in Quick Mask mode, or with a layer mask. We can make surgically precise contours using pen tool, and more!
We can even combine different selection methods when none on their own seem up to the challenge.
Do you see what I see
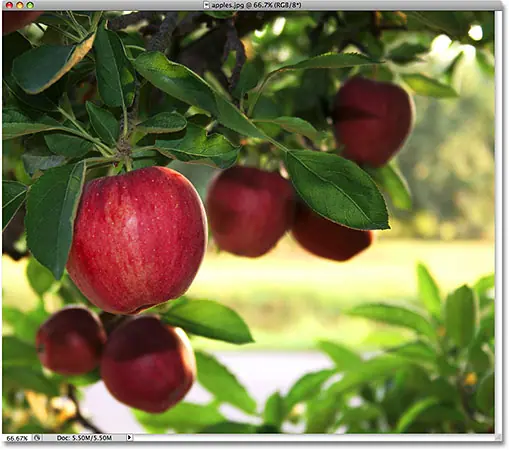
Obviously, the main subject in the photo above is apples, right? But why is it obvious? How do we know we are looking at apples? We know because most of us have seen enough apples in the past that we can instantly recognize them.
We know their shape, color, and texture because we've seen them before. We can even point to every apple in the picture if someone asks us to do so without mistakenly pointing to a leaf or something else that isn't an apple
Read also:View custom Photoshop color settingsBecause we have no problem distinguishing between all the different objects in the image. We see things with our eyes and our brain tells us that this is this and that
This is not this and not that. In fact, even if we've never seen an apple before, we can at least point out all the things that look relatively the same. we'
That's great for us, but what about Photoshop
Is it possible for Photoshop to recognize its shape, color, and texture as an "apple"?
It can refer to all the apples in the picture without confusing an apple with a leaf, or at least refer to all elements that look the same
The simple answer is no, it can't. No matter how many images of apples you've opened in Photoshop in the past (geez, what's with you apples?)
Photoshop has no idea what an apple is or what it looks like. The reason is that all Photoshop sees is it pixel units .
It doesn't matter if it's a picture of apples, oranges, or monkeys eating bananas. For Photoshop, everything is the same. They're all just pixels, those tiny little squares that make up a digital image:
![]()
What this unfortunately means for us is that we can't simply click something in an image and expect Photoshop to immediately select it for us because what we see as separate, independent objects
Read also:How to enlarge pixel art in PhotoshopPhotoshop only sees different colored pixels. So how do we get around this little problem of miscommunication? Good ,
Since we don't expect Photoshop to think like us, we need to think like Photoshop. We need a way to tell Photoshop that we want to work on these pixels here but not those pixels over there.
We can't tell Photoshop that we want to change the color of an apple, for example, but we can maybe Say that we want to change the color of a pixel so, to us, and make up that apple. We do this by first selecting those pixels in the image, which we do that By making...you guessed it...selections!
Select None to select them all
So far, we know that we see things very differently than the way Photoshop does. We see independent, recognizable objects while Photoshop sees everything as pixels, and we tell Photoshop which pixels we want to work with by selecting them with one or more of the various selection tools. In fact, before we can do anything at all to an image, Photoshop first needs to know which pixels we want to edit.
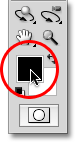
For example, let's say I want to change the color of the main apple in the image. I want to change it from red to green. Based on what you just said, I shouldn't be able to do this without first determining which pixel the apple is made of. Let's give it a try anyway, just for fun. I will select Brush tool From the Tools panel:
Read also:How to Photoshop color settings
Then I will select the green color to paint with by clicking Foreground color swatch Near the bottom of the instrument panel:
Clicking the color swatch will bring up the color swatch Color picker in Photoshop. I would choose light green:
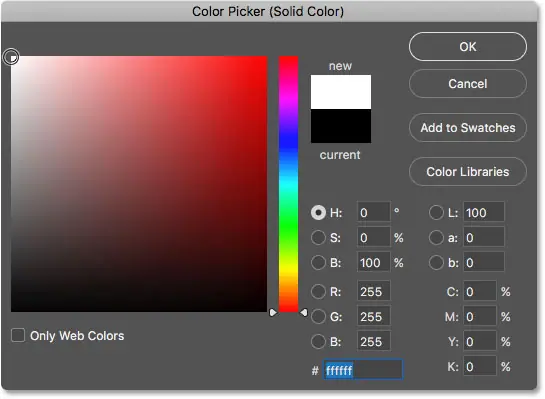
I'm going to hit OK to exit the Color Picker, and now that I have my brush tool selected and green as my foreground color, I'm going to try painting over the apple. Since I didn't bother to select any pixels before drawing, we already know I'm wasting my time (and mine) here. Photoshop won't let me do anything. In fact, as soon as I try to paint on the apple, it throws a big warning box at me threatening to crash my hard drive if I try to get away from this again:
Wait a minute, what just happened?! I كان Able to paint over apples! Photoshop did not complain at all! Well, let's summarize. You said we can't do anything to an image unless we first select the pixels we want to edit. Then to prove it, I grabbed my Brush Tool and tried to paint over part of the image without selecting anything first, yet I was still able to paint over it. This can only mean one thing... I have no idea what I'm talking about!
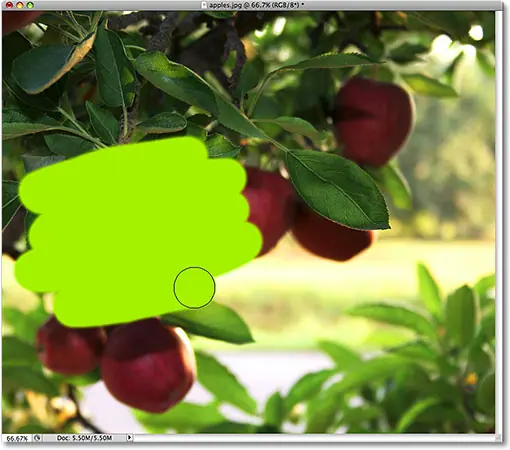
Seriously, the real reason I'm still able to draw over the apple without selecting any pixels first is due to an unknown fact. When we don't have anything selected in the image, we are actually selecting everything . Photoshop assumes that if we don't select any specific pixels first, it can only be because we wanted to select all pixels so we can edit the entire image. Or at least, we have Option Modify the entire image. As we saw in this example, I was able to draw on only a small area of the image even though I didn't select any pixels first, but if I wanted to I could just as easily draw the entire image and there wouldn't stop me from doing that.
While having the freedom to go where we want and do what we like sounds great, it can actually be a very bad thing, at least when it comes to photo editing. In this example, all I wanted to do was change the color of the apple, but because I didn't select the apple first, Photoshop let me paint anywhere I wanted, and all I did in the end was mess things up. Let's see what happens if you pick the apple first.
Drawing within the lines
I'll undo the paint strokes I've added to the image by clicking on Ctrl + Z (Win) / Command + Z (Mac), and this time, I'll select the apple first before drawing on it. As I mentioned at the beginning of this tutorial, we're going to save the details of how you actually make your other tutorial choices. For now, I'm simply going to draw a selection around the apple.
Photoshop displays selection charts to us as a series of moving dashed lines, or what many people call an “ant march.” Obviously we can't see them "walking" in the screenshot, but we can at least see the selection outline that now appears around the apple:
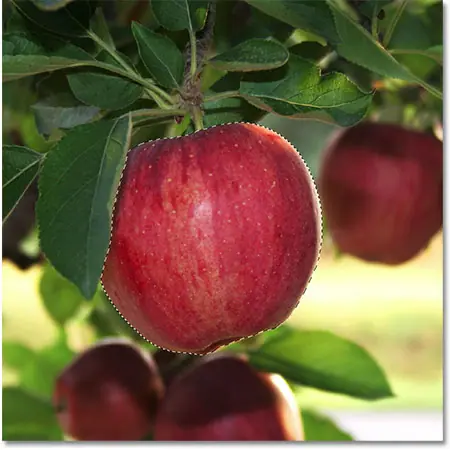
Of course, to us, it looks like I picked the apple, but keep in mind that as far as photoshop is concerned, all I did was pick some pixels in the image. They happen to be the pixels that make up what you and I see as an apple. Pixels that fall inside the bounds of the selection outline are now selected, which means they can be affected by any modifications I make next, while pixels that remain outside the selection outline are not selected and will not be affected by anything. an act.
Let's see what happens now when I try to draw on the apple again. I'll pick up the Brush Tool as I did before, and with green still as my foreground color, I'll try to paint over the apple. The only difference this time is that I picked the apple first:
Thanks to the selection I made before drawing, Photoshop allowed me to draw only within the area I chose. Even though I moved the brush well outside the selection boundaries while drawing and didn't try to stay inside the lines, none of the pixels outside the selection outline were affected. They stayed safe and unharmed no matter how dirty I brushed, and I was able to easily paint on the apple without worrying about the rest of the image, all thanks to my picks!
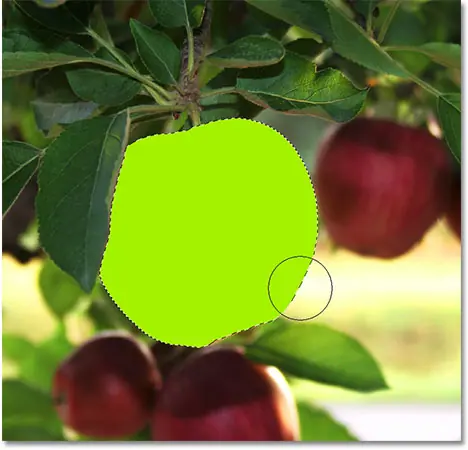
Of course, just because we've selected a specific area of a pixel doesn't necessarily mean we have to edit every pixel within the selection outline. I will again remove the strokes of green paint by clicking on Ctrl + Z (Win) / Command + Z(Mac) To undo the last step, and this time, with my selections still active, I'll use a much larger brush with soft edges to paint only along the bottom half of the apple, giving me a nice transition in-between the green brush color and the apple's natural red color. Although the pixels on the top half of the apple are part of the selection I made, they remain unchanged because I chose not to paint over them. Photoshop doesn't actually care if we do anything with the pixel we've chosen. All we care about is that we can't touch pixels that we haven't selected:

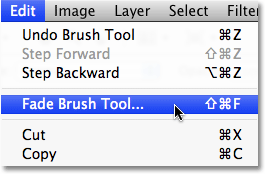
Just as before, my paint stroke is limited to the pixels inside the selection outline, though I moved outside of them quite well with the brush. To make things look a bit more realistic, I'm going to blend the green with the apple using one of Photoshop's blending modes. I'll move on to the list Editing at the top of the screen and choose an option Fade Brush Tool :
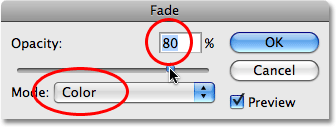
This brings up Photoshop's Fade dialog, which allows us to make some adjustments to the previous edit. To blend the green with the apple, I'm going to change the blending mode of the brush to the color , and to reduce the intensity of the green colour, I will lower Option blackout to about 80%:
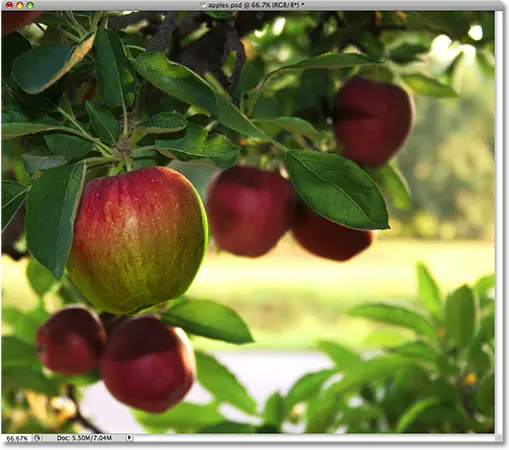
I'll press OK to exit the Fade dialog, and to temporarily hide the selection outline around apples so we can judge the results more easily, I'll press Ctrl + H (Win) / Command + Surname (Mac). Thanks to the modifications I made with the Fade command, we now have an apple that can continue to use more time on the tree before it's picked:
Next, we'll look at another important reason for making selections - working with layers!
Shortcodes, Actions, and Filters plugin: shortcode error [ ads-basics-middle ]
Selections make layers more useful
Up until now, I was doing all my editing directly on the background layer, which is a really bad way to work because it meant I was making changes to my original image. If I were to save the changes and close the document window, the original image would be lost forever. Sometimes this can be good, but it tends to leave a bad impression when you have to contact a client and ask, “Do you happen to have another copy of the photo you sent?” I'm kind of... well, heh... I ruined the copy you gave me."
The best way to work in Photoshop is to use layers . With layers, we can work on a copy of the image while leaving the original image unharmed, and thanks to the selections, we can even copy different parts of the image into their own layers so we can work on them independently! Without the ability to make selections, layers in Photoshop wouldn't be anywhere near as useful.
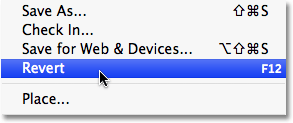
I will restore my image to its original, unedited state by going to the “menu” a file “choice” back" . This restores my image to the way it was when I first opened it:
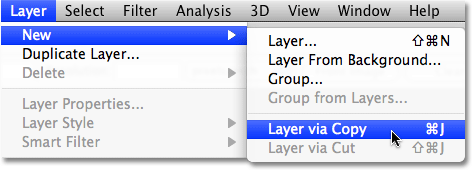
A very common Photoshop effect is to leave something in the image in full color while converting the rest of the image to black and white. Let's see how selections can help us do this. First, since we just said that working directly on the background layer sucks, let's duplicate the background layer, which will give us a copy of it that we can work with. To do this, I'll go to a list Layer at the top of the screen, then I will select New Then I will choose Layer via Copy :
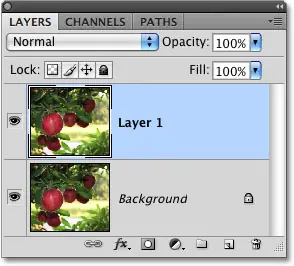
If we look in the Layers panel, we can see that we now have two layers — the Background layer at the bottom that contains the original image, and a new layer above it that Photoshop has called “Layer 1,” which contains a copy of the image that we can safely edit without damaging the original. :
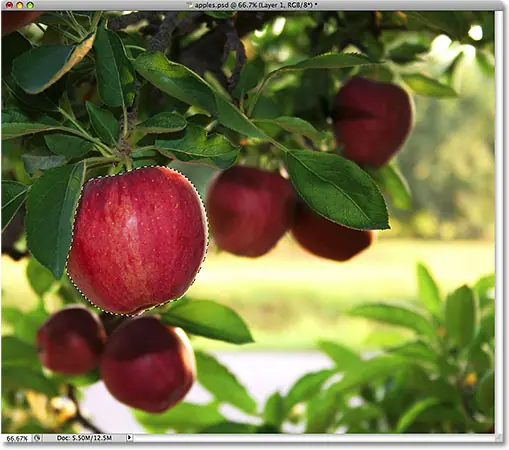
Note that the entire background layer has been copied. We'll come back to this shortly. Since we want to leave the apple in its original colors while converting everything else to black and white, we'll need to select the apple before doing anything else, so I'll once again draw a selection around it. Our familiar selection scheme appears again:
With the apple selected, I'm going to create another copy of the image by referring to a list class , choose New Then choose layer via copy . Remember, the last time we did this, Photoshop copied the entire layer. But this time, something different happened. We now have a third layer in the Layers panel above "Layer 1" and the Background layer, but if we look at Preview thumbnail To the left of the new layer's name, we can see that this time all I copied was the apple itself, not the entire layer:
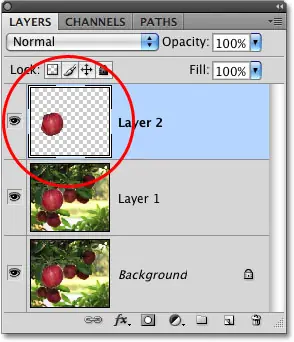
Anytime we have an active selection when we copy a layer, only the area inside the selection outline is copied, which is why in this case only the apple was copied. This ability to isolate a specific object in an image and place it on its own layer is what makes layers so useful. If we can't select anything first, all we can do is make copy by copy of the entire image, which is usually as useless as it sounds.
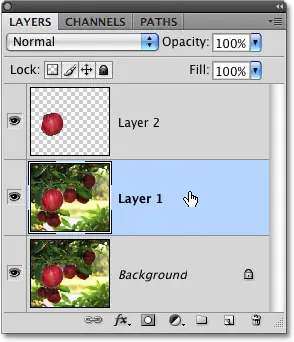
Now that my apple is sitting alone on top of the other layers, I'll click on "Layer 1" in the Layers panel to select it. The selected layers appear highlighted in blue in the Layers panel, and now anything I do next will be applied to the copy of the original image in “Layer 1”, leaving the apple in the top layer intact:
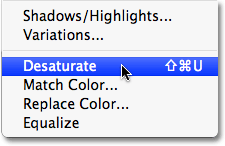
To convert the image to black and white, I'll quickly desaturate it by going to a menu Image and choose Adjustments Then choose desaturate :
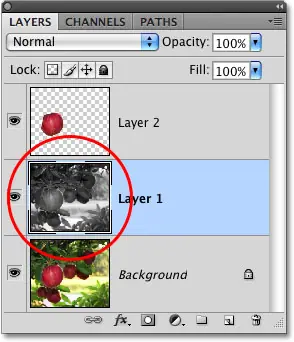
Do not desaturate the image again The best way to convert a color photo to black and white But it works in a hurry. Let's look again in the Layers panel, where we can see in the "Layer 1" preview thumbnail that our original image copy now appears in black and white, while the apple on the layer above is unaffected and remains in color:
Since the apple sits on a layer above the black and white version of the image, it appears in full color in front of the black and white image in the document window:

Of course, there's a lot more we can do with selections in Photoshop than just draw in them or copy them to new layers, but hopefully this gave us an idea of why selections are so important. Photoshop only sees pixels where we see independent objects, so we need selections as a way to bridge the gap between our world and that of Photoshop. And while layers can lay claim to being one of Photoshop's biggest and best features, they owe their usefulness more to selections than you might care to admit.


