
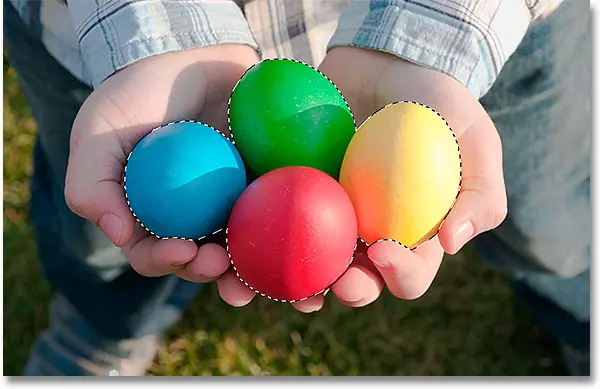
Step 1: Select your main topic
Step 2: Invert the selection
Our main theme is now decided, but what we really need is everything except The main topic to be chosen, which means we need to Reverse Our choice. Go up to a list selection in the menu bar along the top of the screen and select reversed . Or, for a faster way to invert the selection, just press Shift + Ctrl + I (Win) / Shift + Command + I (Mac) On the keyboard:
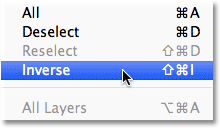
You may have to look closely to notice what happened because the initial selection outline will still be around your subject, but you should now see a second selection outline around the edges of your image. This tells us that everything in the image except the main subject is now selected:
Read also:How to rotate and straighten images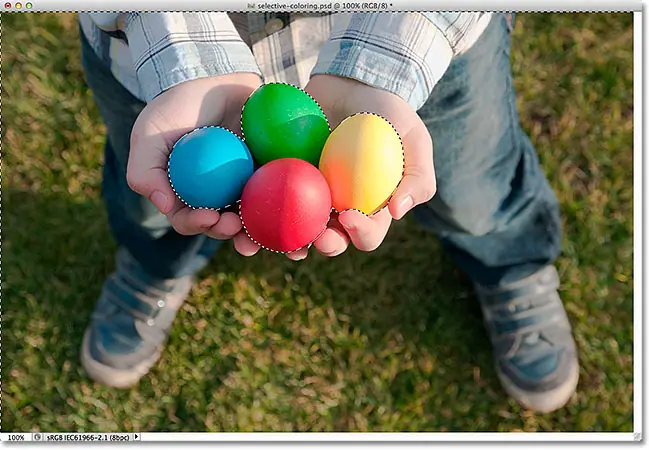
Step 3: Add a black and white adjustment layer
Believe it or not, we're almost done! Click on an icon New Adjustment Layer At the bottom of the Layers panel:
![]()
Then choose Black & White From the list of adjustment layers that appears:
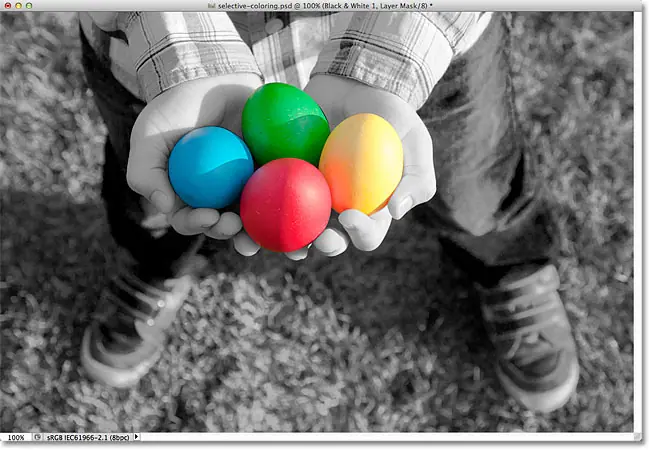
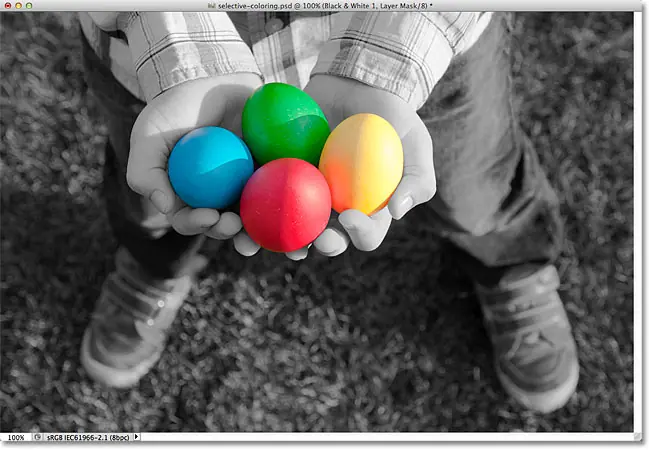
Photoshop adds a Black and White Adjustment Layer, and right away, we have the Selective Color effect! The image is converted to black and white except for the main theme we chose again in step 1 which remains in full color:
If we look in the Layers panel, we'll see what happened. Photoshop added a Black and White Adjustment Layer over the original image on the Background layer (which means our original full-color image is still there, completely undamaged), and our selection chart was used to select mask layer to the adjustment layer.
As we can see in the photo Thumbnail to preview Mask The mask is filled almost entirely with white except for the area directly above our main subject. The white areas in the mask represent areas of the image that are affected by the adjustment layer, while the black areas are not, which is why everything except our main subject now appears in black and white:
Read also:Photoshop screen modes and interface tricks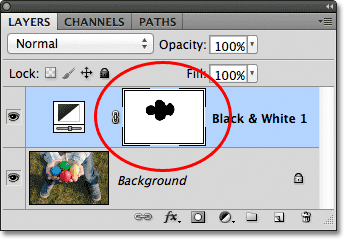
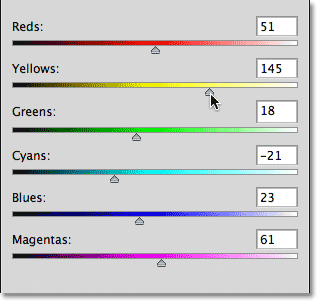
At this point, you can either accept the default transformation of the black and white adjustment layer, or you can adjust the results and create a custom black and white version of the image by dragging Color sliders shifted to the left or right to lighten or darken differently based on their original colors. For example, dragging the Reds slider towards the right will lighten any areas that were originally red (or have some amount of red). Dragging the Yellows slider to the left will darken any areas that originally contained yellow, and so on. I cover black and white mods
If you're using Photoshop CS3, click OK in the upper-right corner of the Black & White dialog box when you've finished closing it. For CS4 and later, sliders and other options for adjusting Black & White appear in the Adjustments panel that you can leave open.
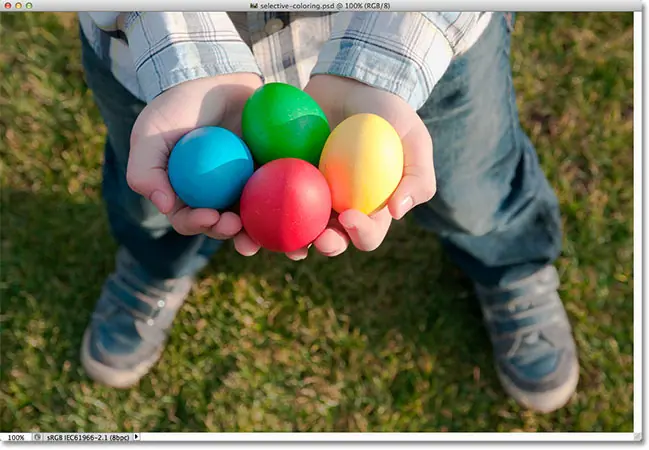
Read also:How to make a group of layers in PhotoshopHere, after making some adjustments using the color sliders to lighten some areas, is my final selective color result: