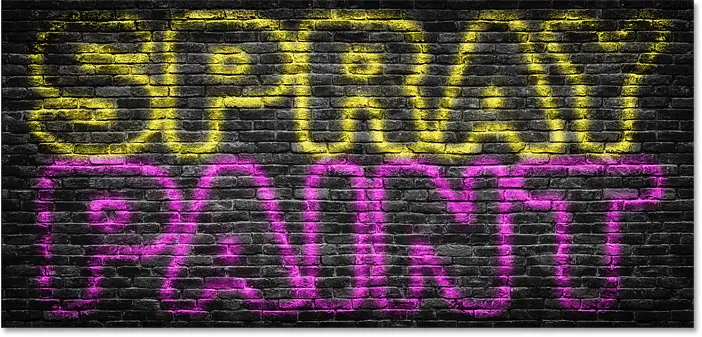


How to create spray painted text in Photoshop
We'll start by learning how to create a master paint splatter effect, and then I'll show you how to blend the letters with the background. I'll also show you how to duplicate the effect to add more text to your design, and how to change the paint color.
Step 1: Open your background image
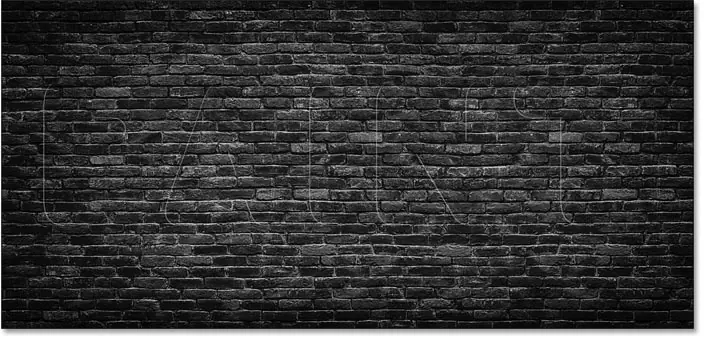
Since we want to splash the text onto some kind of background, start by opening up the background image.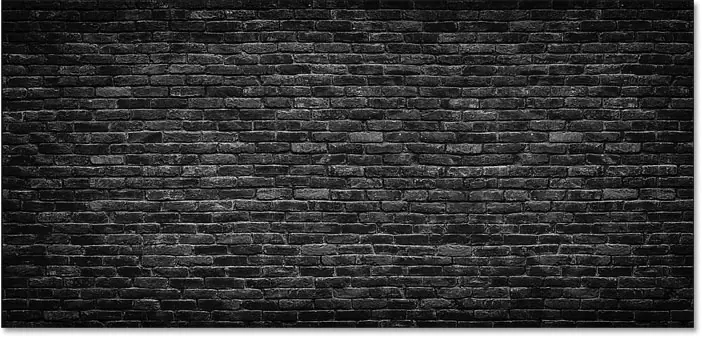
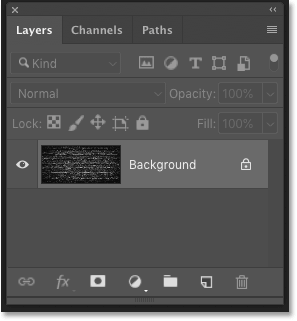
وفي Layers panel , see photo on background layer :
Step 2: Add your text
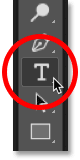
To add your own text, select a tool writing from Toolbar :
Font selection
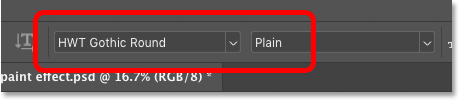
Then in the options bar choose your font. you will use " HWT Gothic Tour that you downloaded from Adobe Typekit. If you don't have access to this line, that's okay. Any line will work:
More writing options
Still in the options bar, I'll set حجم my kind on 72 points Just to give me the largest preset size at the moment. I will set alignment text to Center .
For To color , I will choose white color from By clicking on the color swatch and choosing white from the Photoshop color picker. This is not the color we are going to use for spray paint. All we need now is something that will allow us to see the text as it's being added:

Add text
Then click in the document and add your text. I will write the word “PAINT”:

accept text
To accept it, click check mark In the options bar:
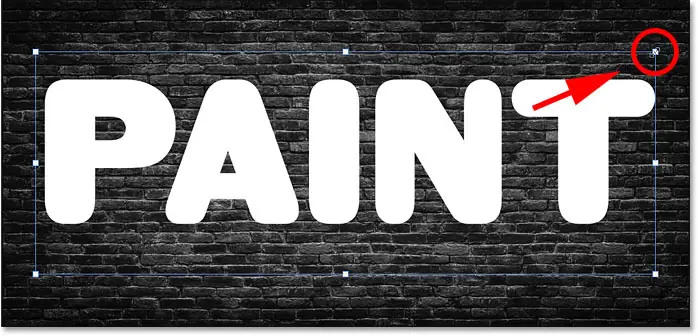
Step 3: Resize and reposition the text using Free Transform
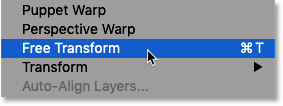
To change the size of the text and move it into place, go to the “menu” Release in the menu bar and select free conversion :
Then to change the size of the text, click and drag any of the corner handles . From Photoshop CC 2019 , the aspect ratio of the text is automatically locked as you drag the handles. In earlier versions of Photoshop, you'd need to hold down a key Shift while dragging to lock the aspect ratio in place.
Read also:How to split text in photoshopTo change the size of the text from its center, press and hold a key Alt (Win) / Option (Mac) while dragging. And if you need to change the position of the text, click inside the Free Transform box and drag the text into place.
To accept it and exit Free Transform, press Enter (Win) / Return (Mac) On the keyboard:
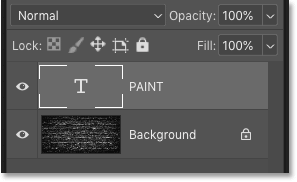
Step 4: Decrease the type layer's fill value to 0%
In the Layers panel, we see our text on a new Type layer above the image:
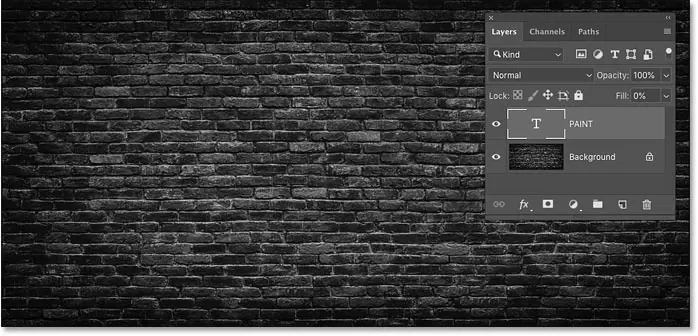
To create the paint splatter effect, the first thing we need to do is make our text transparent. To do this, lower the value packing in the upper right of the Layers panel down to 0% . Make sure to lower the Fill value and not the Opacity value:
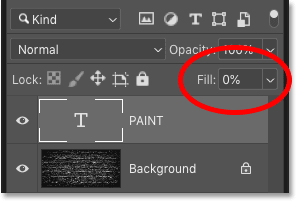
The text disappears completely. It's still there, it's just transparent:
What is the difference between opacity and fill?
In the Layers panel, values affect Opacity and Fill on layer transparency. The difference between them is that the opacity controls the transparency of both Layer contents and any layer effects We applied it. On the other hand, packing affects Layer content only . It has no effect on layer effects.
Read also:How to create golden text in PhotoshopThis means that by lowering the fill value we can apply layer effects to our text and keep the effects visible even though the text itself is hidden. This is what will allow us to create the paint splatter effect.
Step 5: Add a drop shadow layer effect to the type layer
The entire spray paint effect can be created using a single layer effect, and the effect we need is Drop Shadow. With the type layer selected, click the icon Layer Style (Code " fx ) at the bottom of the Layers panel:
![]()
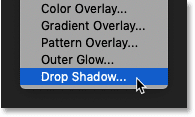
Then choose Drop Shadow :
Step 6: Reset Drop Shadow settings to default
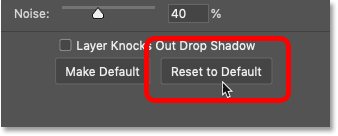
In the Layer Style dialog box, click the button Reset to Default To restore the default Drop Shadow settings, so we're seeing the same thing:
Step 7: Change the Drop Shadow color to white
Then change the color of the drop shadow by clicking on color swatch :

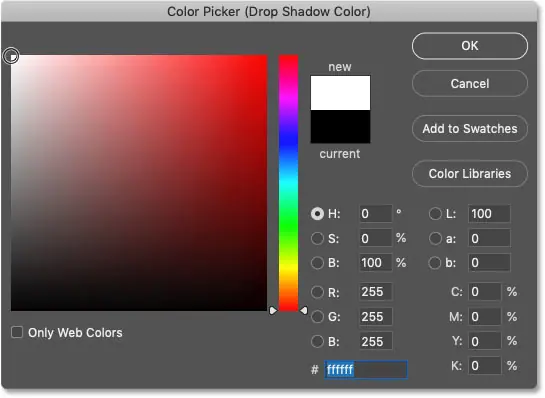
And in the Color Picker, choose the White Now, then click OK. We'll choose different colors for the effect shortly:
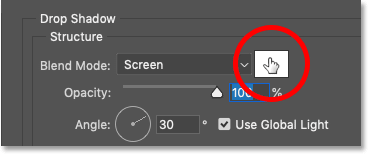
Step 8: Change the blending mode of the shadow to Screen
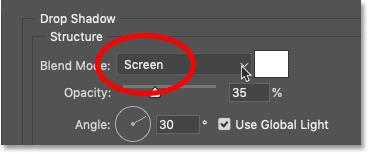
To see white, change blend mode for the projected shadow from Multiply (default blend mode) to Screen :
And right away, we started seeing white appear behind the letters:
Step 9: Increase the Shadow's Opacity to 100%
To make the effect brighter, increase opacity drop shadow to 100% :
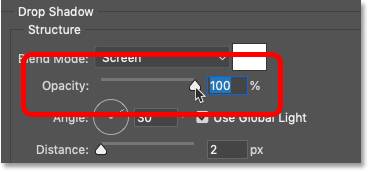
Now the effect is easier to see. By changing the color of the drop shadow from black to white, and changing the blending mode from Multiply to Screen, we've essentially converted our shadow into a glow:
Step 10: Set the Distance and Spread to 0%
Ignore the angle and use the global light options as it won't matter here. But lower distance To 0 Pixels And make sure that Spread . 0% :
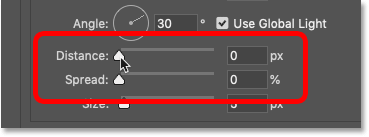
By setting the distance to 0 pixels, we center the drop shadow behind the text, creating an outline or faint stroke around the characters:
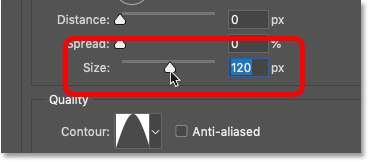
Step 11: Increase the Size of the Drop Shadow
To diffuse the shadow (or glow, in this case) away from the edges, increase the value Size :
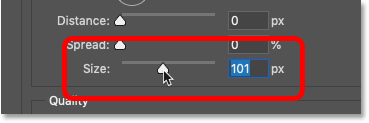
The higher you go, the wider the glow will appear:
Step 12: Change the contour to a cone
At this point, the effect does not yet look like spray paint. Our glow should look like an outline around the shapes of the letters.
To fix this, still in the Layer Style dialog box, go to the Layers section the quality , and click the small arrow next to the thumbnail to preview Contour :
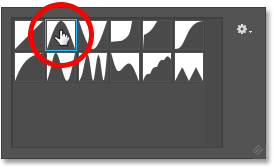
Then choose Circumference cone Double-clicking on the thumbnail. It's the one in the top row, the second from the left:
Contours affect the transparency of the drop shadow, changing how and where it transitions from opaque to transparent areas. And right away, we see a much stronger outline around the edges of the letters:
Step 13: Deselect "Layer Knocks Out Drop Shadow"
But notice that even though our text is transparent, the glow only appears around the part outer from him. We need to see the glow inside letters too.
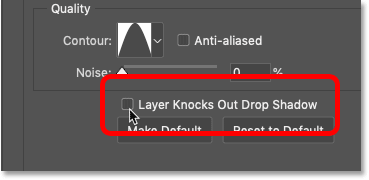
To fix this, uncheck the option that says Layer Knocks Out Drop Shadow :
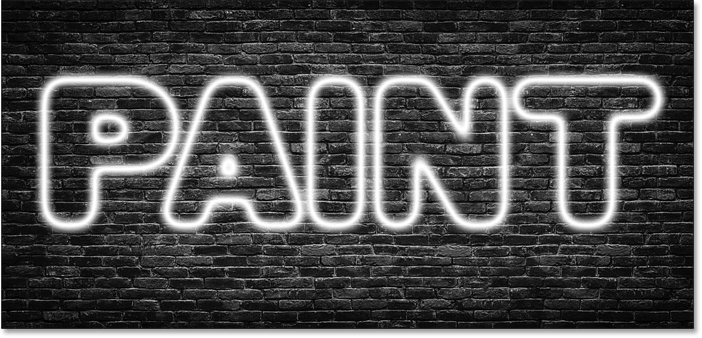
And now the chart shows both out و Inside the text:
Step 14: Reset the Volume value if necessary
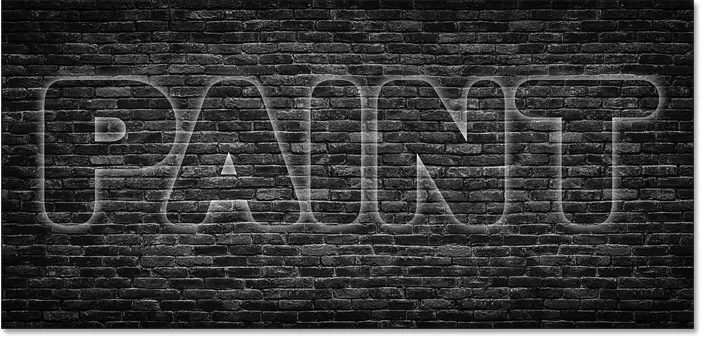
At this point, you may need to go back and reset a value Size To change the thickness of the outline. Don't go too high or you'll spread the glow too far. The exact size you need depends on the size of your text.
In my case, I'd go with a size value of about 120px, but you might need a different value:
Here's the result:

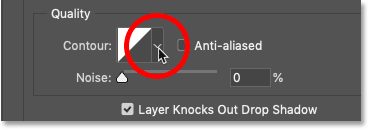
Step 15: Add the Noise
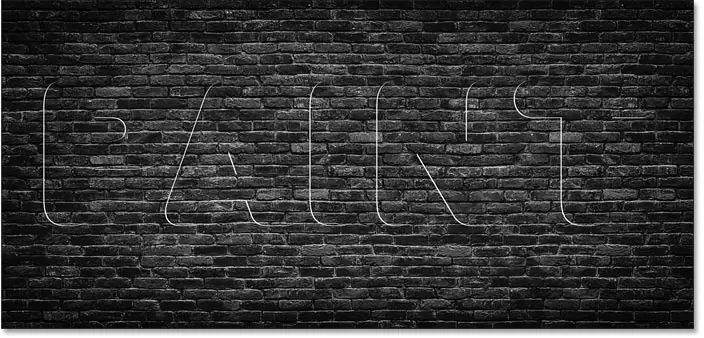
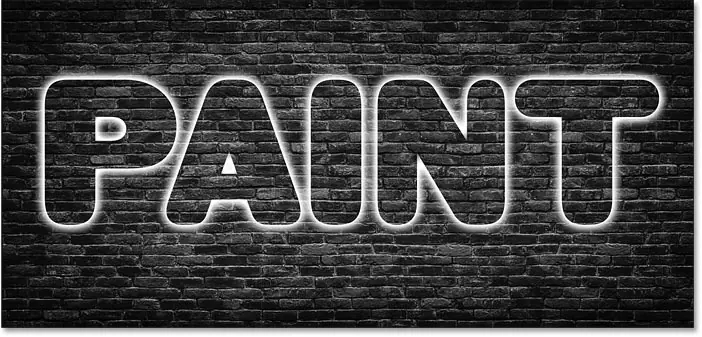
Finally, add some noise to the outline by increasing the value the noise . I'll limit mine to about 25-30%:
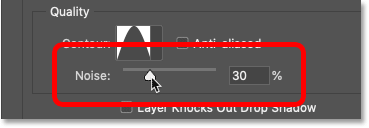
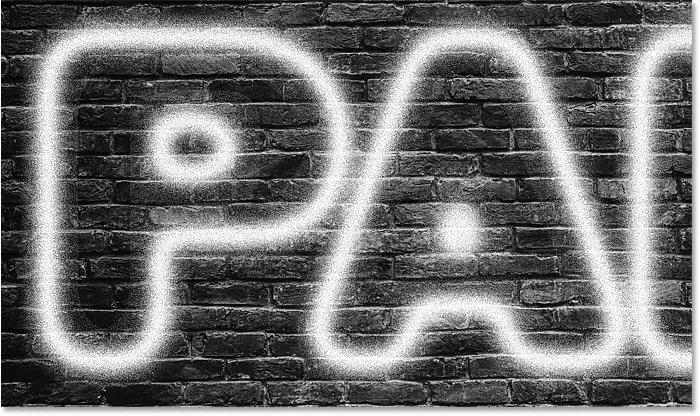
And now, if you zoom in, we see little spots in the outline, which makes it look more like spray paint.
Depending on the font size you use, you may notice some harsh, faded edges along the areas where the effect and background meet. In this screenshot, you can see it inside the letters "P" and "A". These edges will disappear once the text merges with the background, which we'll do next:
How to blend the spray painted text with the background
At this point, we're done with the Drop Shadow layer effect. So let's learn how to blend the effect with the background, so it looks like the text is actually drawn on the background and not just sitting in front of it. When we're done, I'll show you how to copy the effect to add more text while keeping the layer effects and blending options intact.
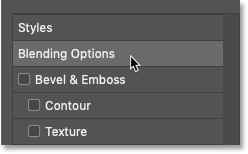
Step 16: Open Photoshop's Blending Options
Still in the Layer Style dialog box, select a class Blending Options on the left:
Step 17: Drag the black "Bottom Layer" slider to the right
At the bottom of the blending options are two sets of sliders. The one at the top says "this layer" and the one below says "the base layer". We can use these sliders to combine the text with the background image. And the group we need is the bottom group ( class subscripts):
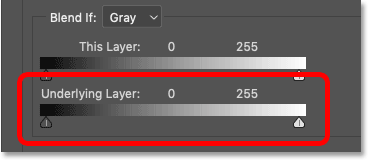
Notice the two scroll bars below the scale bar. There is a black slider on the left and a white slider on the right. We'll combine our text with the darkest parts of our background image. And for that, we need to Black slider .
Click on the black scroll bar and start dragging it towards the right:
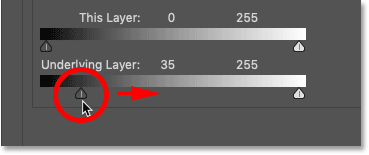
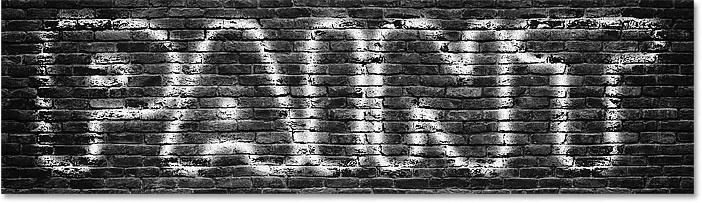
As you drag, watch your text and you'll see the darker areas of the background image start to show through. And the further you drag, the more and more background appears:
Step 18: Divide the Black Slider in Half
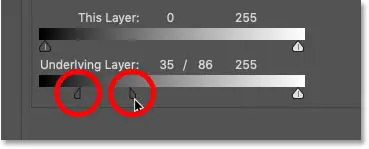
The problem is that the transitions between the text and the background are very harsh. To create smoother transitions, press and hold a key Alt (Win) / Option (Mac) on the keyboard. Click on the right side of the black slider and drag it away from the left side. This splits the scrollbar in half:
Step 19: Adjust the sliders to create a smooth transition
The left half of the slider now controls the brightness level as the text begins to appear in front of the background. The right half adjusts the brightness level so that the text becomes fully visible and the background is not visible through. The area between the two sliders becomes the transition area where the text and background merge together. The farther apart they are, the more gradual the transition appears.
Adjust each half of the slider until you are satisfied with the effect. There are no specific values to use here as it will depend on your background image.
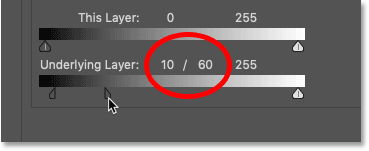
In my case, I would set the left half to a brightness level of 10 and the right half to a brightness level of 60. In other words, any areas of my background image at a brightness level of 10 or darker would be completely visible through the text. Areas at a brightness level of 60 or completely lighter will be hidden by the text. And brightness levels between (11 to 59) are where the transition happens:
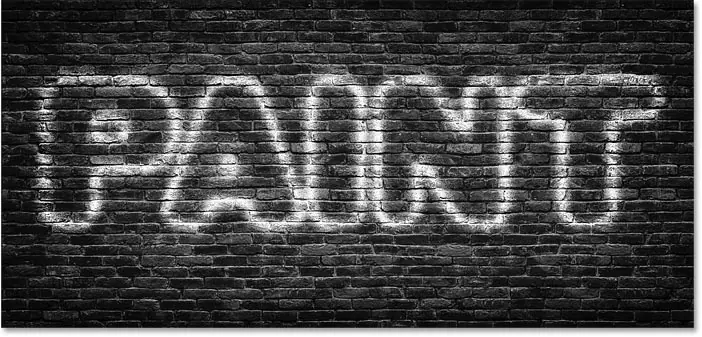
And with the text now merged with the image, we get a more realistic looking splatter effect:
Step 20: Close the Layer Style dialog box
We're done with the main effect, so go ahead and close the Layer Style dialog by clicking OK:
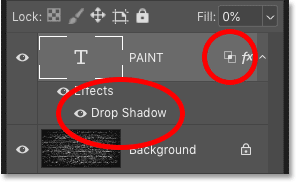
And in the Layers panel, we now see Drop Shadow listed as an effect below the Type layer. We also see a Blending Options icon next to the “fx” icon, telling us that we also have some advanced blending options applied to the layer:
How to duplicate the spray painted text effect
At this point it's easy to add more spray painted text.
Step 21: Make a Copy of the Type Layer
All we have to do is duplicate our type layer. Just drag it down to an icon Add New Layer Below the Layers panel:

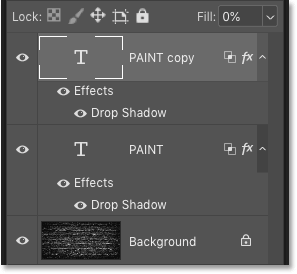
A copy of the graffiti layer appears over the original, complete with a Drop Shadow effect and our blending options:
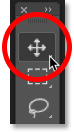
Step 22: Select the Move Tool
To change the position of the text, select move tool From the toolbar:
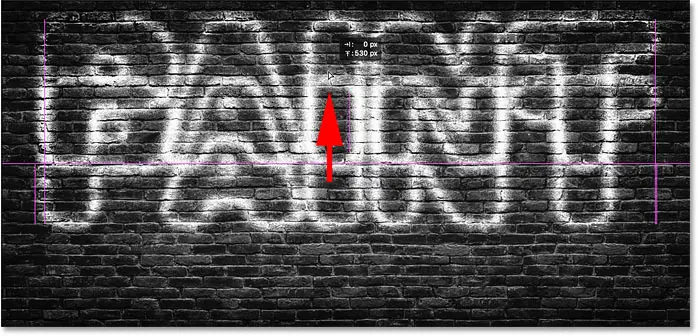
Step 23: Move the text into place
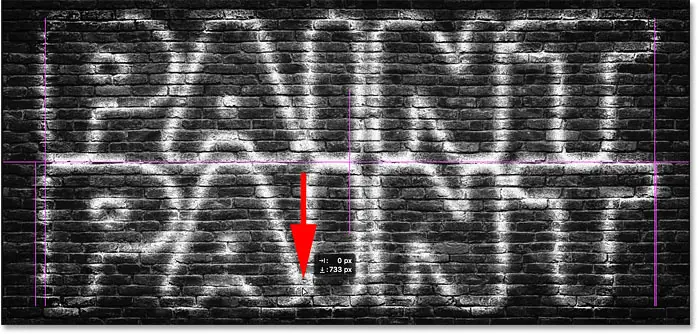
Then click on the text and move it into place. I'll drag the text copy up:
Then in the Layers panel I'll click on the original Type layer to select it:
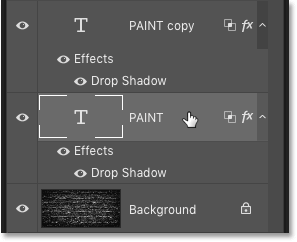
And I'll pull the original text down:
How to edit spray painted text
Since our text is still an editable type, we can easily edit the text and keep the splatter paint effect intact.
Step 24: Select the Type Tool
I don't want both words to be the same, so to edit the top text, I'll choose the Type tool from the toolbar:
Step 25: Select and edit the text
Next, double-click inside the word to highlight it:

And I'll change the word from "PAINT" to "SPRAY":
to accept it, I will press on check mark In the options bar:
Step 26: Resize the edited text with Free Transform
I will change the size of the top text by going to the menu Release and choose free conversion :
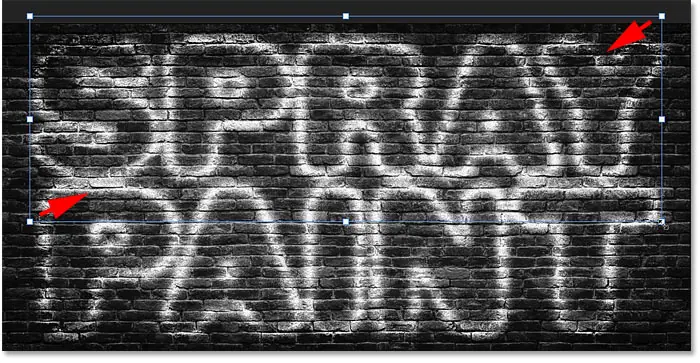
And then I'm going to drag the top corner handles to resize the word so that it's the same width as the bottom word. To accept it, I will press Enter (Win) / Return (Mac) On my keyboard:
How to change the color of spray paint
And finally, let's look at how to change the color of the effect.
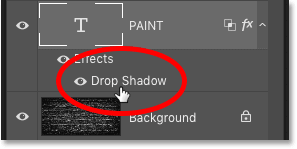
Step 27: Double click on the drop shadow layer effect
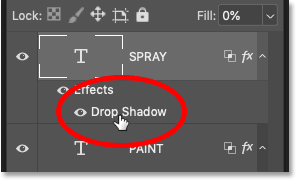
To change the color of the paint splash, double-click the words "Drop Shadow" below the type layer. If you have more than one Type layer like I do, make sure to double-click the layer you want to edit.
In my case, I'd start with the word "SPRAY" at the top:
Step 28: Click on the Color Swatch
This reopens the Layer Style dialog box. Click color swatch :
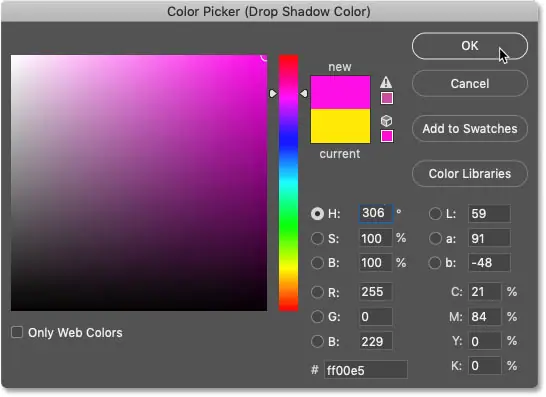
Step 29: Choose a new color from the Color Picker
Then in the Color Picker, choose a new color. I would choose something bright, like yellow:
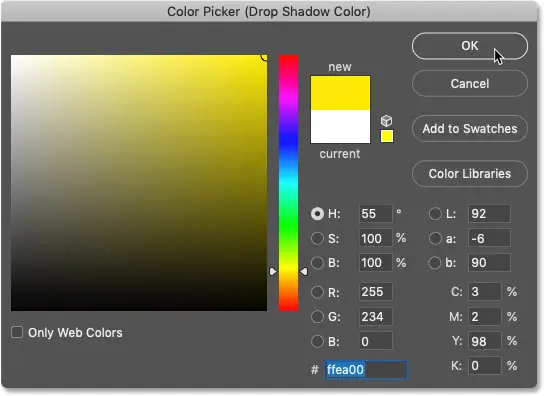
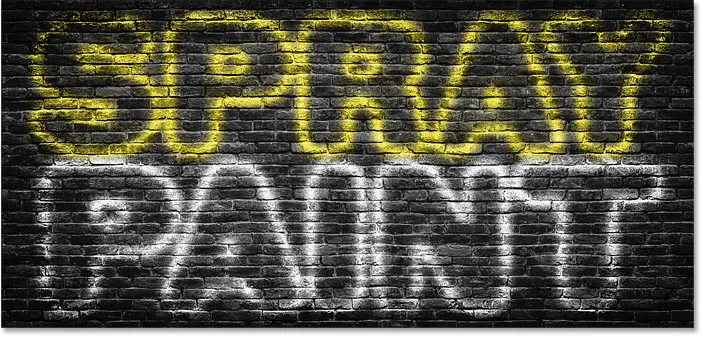
Click OK to close the Color Picker, and then click OK to close the Layer Style dialog box. And now the top text is colored yellow:
Change the color of the bottom text
I will do the same with the bottom text. I'll double-click the words "Drop Shadow" to reopen the Layer Style dialog:
And then I'll click on the color swatch:
And I will choose a new color from the Color Picker. For the bottom text, I'll again choose something bright, like reddish-pink:
I'll hit OK again to close the Color Picker, then OK to close the Layer Style dialog.
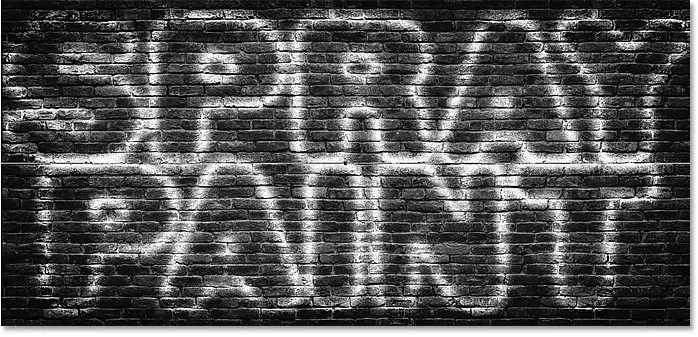
And here, after adding color to two words, is the end result: