


Change text effect backgrounds in Photoshop
text effect
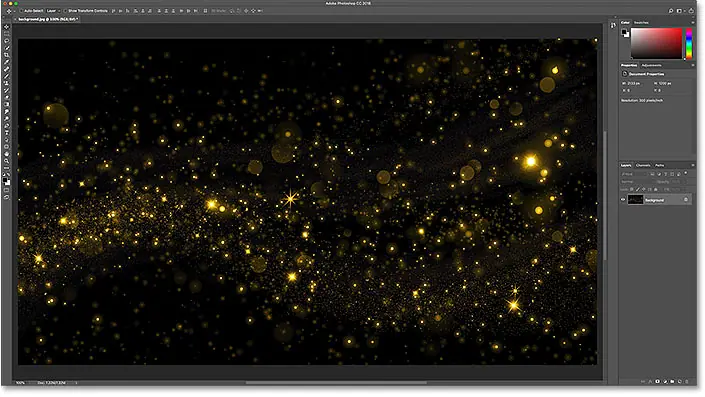
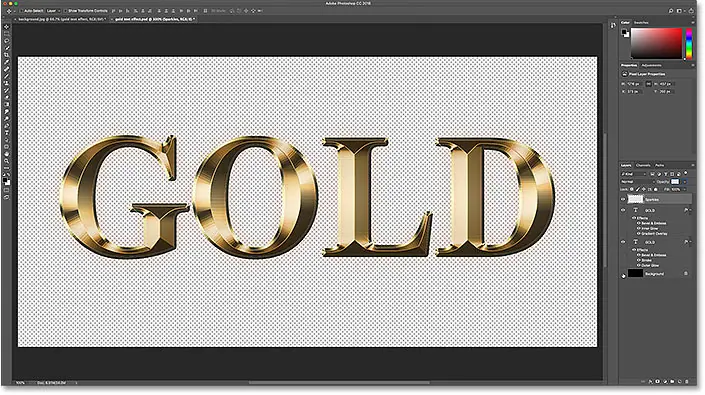
This is the text effect I'll be using. Notice that the effect is on a black background:

new background
This is the new background that I want to place the text in.

How to make the background transparent
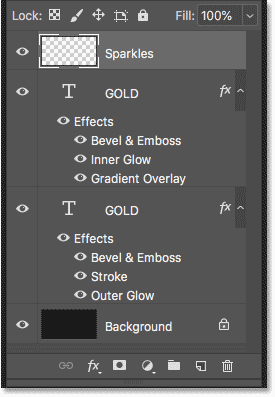
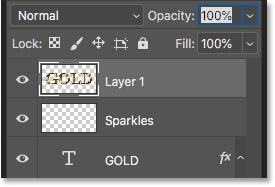
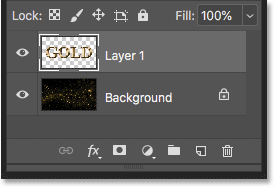
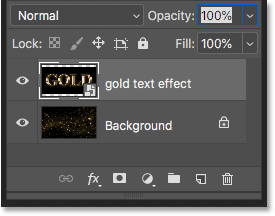
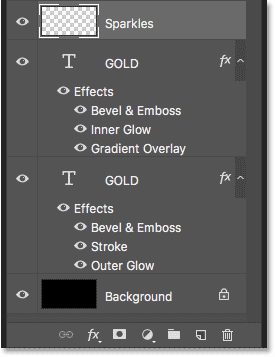
I'll go back to my text effect. And if we look at Layers panel , we see the three layers that make up the effect. We have a "Sparkles" layer on top, and two Type layers below it. We also have background layer At the bottom full of black:
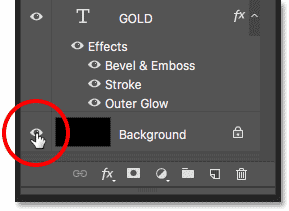
Turn off the background layer
The first thing we need to do is remove the original background and replace it with the transparent one. To hide the background, simply turn off the background layer by clicking vision symbol own:
This leaves our text in front of a transparent background. Photoshop represents transparency in a checkerboard pattern:

How to transfer text effect to new background
Now that we've made the background transparent, how do we transfer the effect to its new background? There are several ways to do this.
Read also:How to create colored text in PhotoshopMethod XNUMX: Use the PNG file format
One way is to save the effect in a file format that supports transparency. JPEG does not support transparency, so it won't work. But format PNG It works, and this is the format we need.
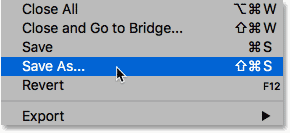
How to save the effect as a PNG file
To save the text effect as a PNG file, go to the “menu” a file in the menu bar and select Save as" :
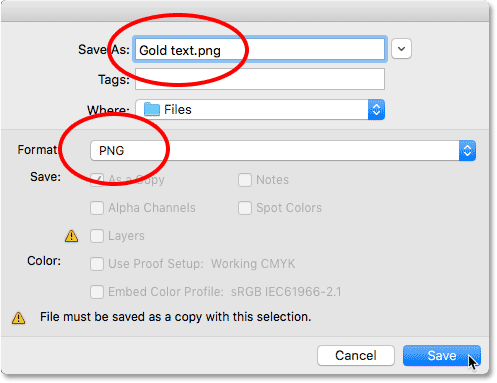
In the dialog, name your file (I'll name it my Gold Text), then set coordination on PNG . Choose where you want to save it, then click save :
Set PNG format options
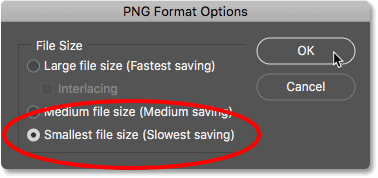
Photoshop will ask you to choose a compression setting for the PNG file. This will look different depending on which version of Photoshop you're using, but I always choose the option for the smallest file size. Click OK to close the dialog:
Open your new background
After saving the file, open your new background:

Place a PNG file in your document
Go to list Fillet , and in Photoshop CC, choose Place Embedded . In Photoshop CS6 or earlier, choose Place :
Read also:How to convert text to XNUMXD in Photoshop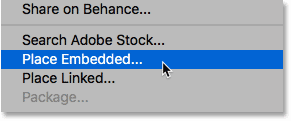
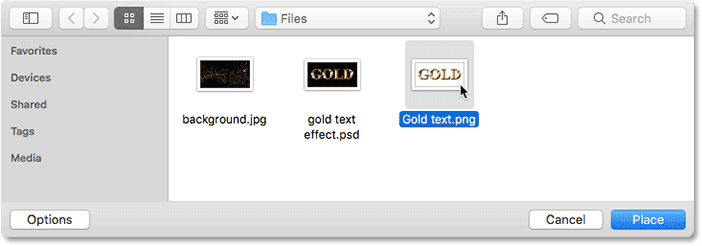
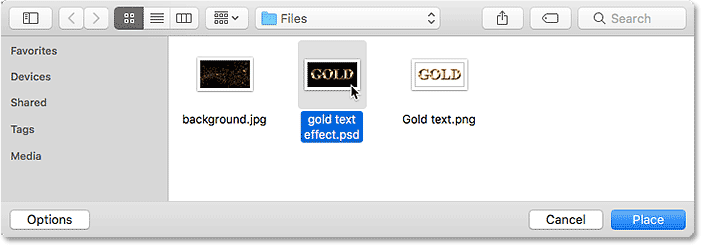
Choose the PNG file you just saved, then click situation :
Photoshop places the file in front of the background:

You can use handles free conversion Change the text size if necessary. But in my case, I'll just accept it by clicking on Enter (Win) / Return (Mac) on the keyboard. In this way, the effect of the text has been transferred to its new background:

If we look in the Layers panel, we see that our text effect has been added as a smart being above the image. We know it's a smart object by the icon in the lower right of the thumbnail. One of the great things about Smart Objects is that we can resize them without any quality loss. You can learn more about Resize Smart Objects In a separate tutorial:
Method 2: Copy and Paste
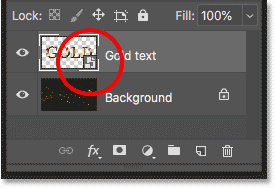
This is one way to transfer the text effect to a new background. Let's look at a second method, one in which you don't need to save the document as a separate file. I will delete my effect by dragging it down to Trash Below the Layers panel:
Read also:How to split text in photoshop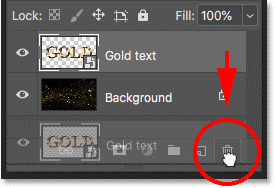
This leaves me with just my background image:

I'll switch to my text effect document, and because the background layer is still disabled, we can still see the transparent background behind the text:
Merge the text effect into a new layer
Another way to transfer your effect to a new background is to copy and paste it into the other document. To make it easier, we'll merge the layers that make up our text effect into a new layer.
First, make sure the background layer is turned off so you can see a transparent background behind the text. Then click top layer To select it:
To merge the text effect into a new layer, on a Windows PC, press Shift + Ctrl + Alt + E on the keyboard. On a Mac, press Shift + Command + Option + E . This merges all visible layers into a new layer above it. This new layer holds the text effect and nothing else:
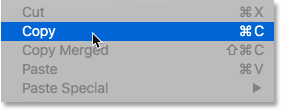
Make sure the merged layer is selected, then go to List Editing And choose copies :
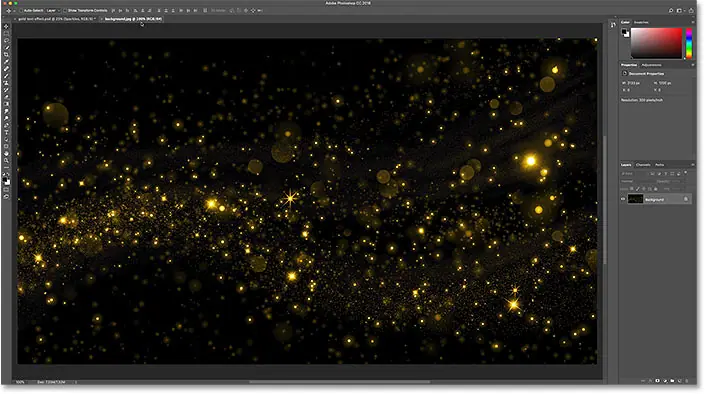
Open the new background image:
Then back to the list.” Release "choose" sticky" :
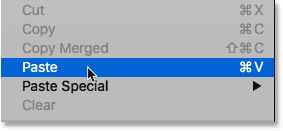
Photoshop pastes the text effect onto the new background:

In the Layers panel, we see a text effect layer on top of the image. This time, it's just a regular layer, not a smart object:
Method XNUMX: Place the text effect document as a Smart Object
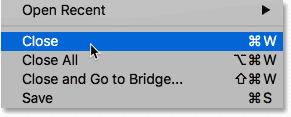
These are two ways to transfer the text effect to a new background. Let's look at another method, which is also my favorite. Again, I'll delete my effect by dragging it down to the trash:
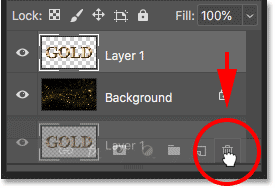
And then I'll switch back to my text effect document:

Restart the background layer
Before I go any further, I'm going to do a reboot layer background by clicking vision icon In the Layers panel:

This restores the original black background behind the text:
Delete the merged text effect layer
I will also delete the merged text effect layer by selecting it and hitting Backspace (Win) / Delete (Mac) On the keyboard:
Save and close the document
Now that I've got the document back the way it was originally, I'll save it by navigating to a menu a file and choose save :
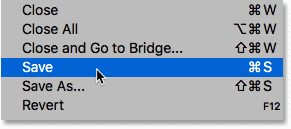
And then I'll close my text effect by going back to a list.” a file “choice” Close" :
This leaves me with just the new background image:
Set the text effect as a smart object
Earlier, we knew that we could move our text effect to a new background by turning off the background layer, saving the effect as a PNG file, and then placing the PNG file in the other document as a Smart Object. But we can actually place our entire text effect document as a Smart Object! The advantage is that the document will still be editable.
To place a text effect document in a background image document, I'll go to the “ a file “I will choose.” Embedded mode . In Photoshop CS6 or earlier, I'd choose Place :

This time, instead of choosing the PNG file I saved earlier, I'll choose the actual Photoshop document for the text effect (.psd file). I'll click on it to select it, then click situation :
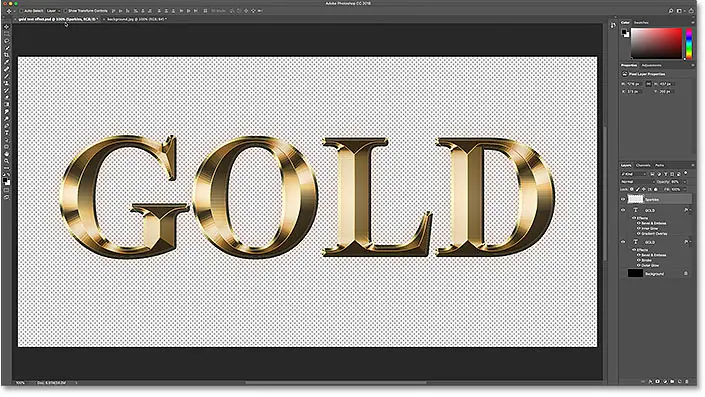
Photoshop places the text effect in front of the background, just as it did before:

Again, we can resize it using the Free Transform handles, but I'll just accept it by pressing Enter (Win) / Return (Mac). Note, however, that the original black background still appears behind the text, blocking the new background from view. This is because the background layer was still running. But this is not a problem because it is easy to fix:

Edit the contents of the Smart Object
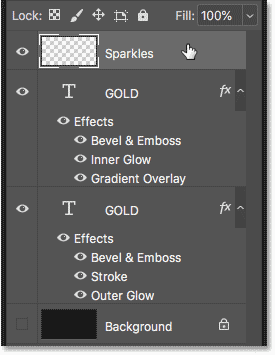
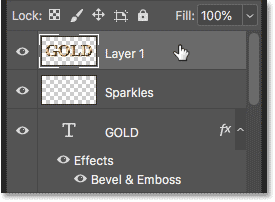
If we look in the Layers panel, we again see the text effect added as a Smart Object over the image:
But this time, instead of preserving the PNG file, the smart object keeps a copy of the entire text effect document. To open the Smart Object and view its contents, double-click on its thumbnail:
Text effect opens:
And if we look in the Layers panel, we can see that all of our layers are still intact:
Turn off the background layer
To hide the original background, I'll turn off the background layer by clicking vision icon :

This again leaves us with a transparent background:
Save and close the smart object
In order for our change to appear in the main document, we need to save and close the smart object. To save it, go to the "menu" a file "choose" save" :

Then to close it, go back to the “menu” a file "choose" Close" :

Going back to the main document, the original background is now gone and we see the new background in its place:
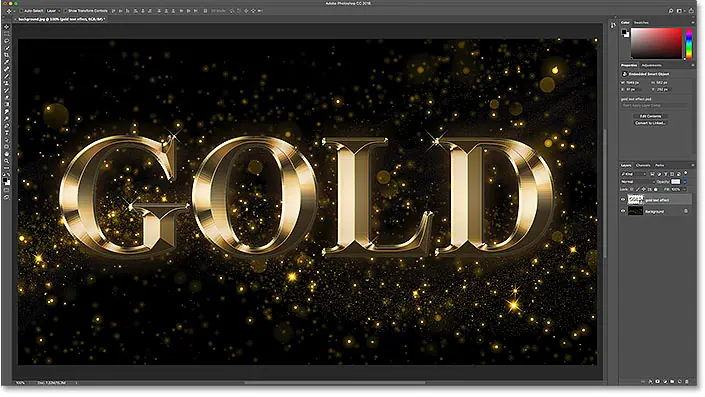
Bonus: enhancing effect
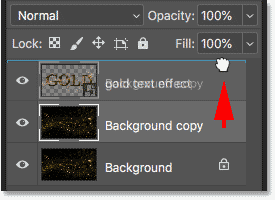
To finish things off, I'm going to use my background image to quickly improve the sparkle effect around text. In the Layers panel, I will select the background layer:
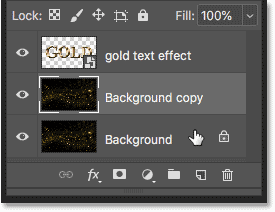
Then I will make a copy of the image by clicking on Ctrl + J (Win) / Command+J (Mac). The copy appears above the original:
I'm going to click on the copy and I'm going to drag it up over the text effect:
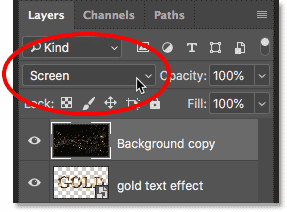
This temporarily blocks the display of text:

Finally, to hide the black areas and blend the gold glitter with the text, I will change the blending mode for the image from normal to Monitor :
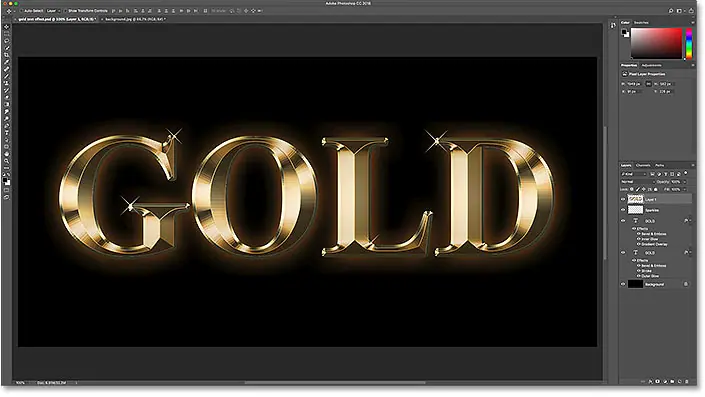
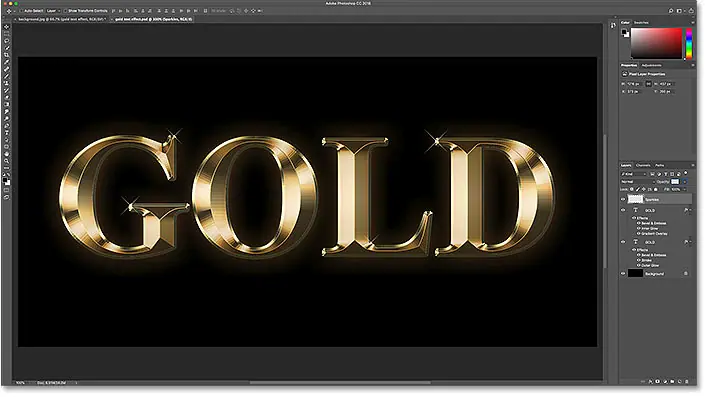
Here's my final result: