


How to split text in photoshop
Step 1: Add your text to the document
The first step in creating a split text effect is to add some text. I've gone ahead and added the text to my document, but you can easily follow along with: Create a new document And add any text you want:
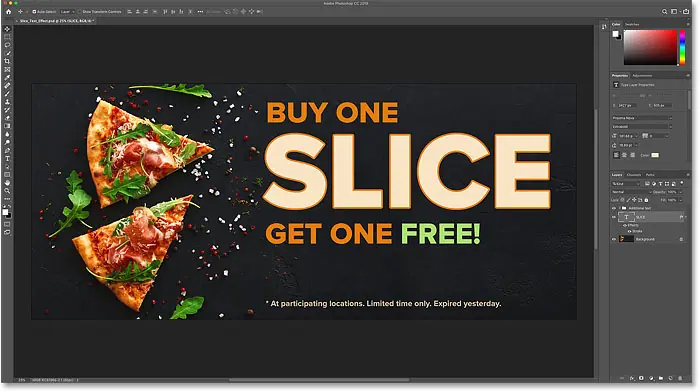
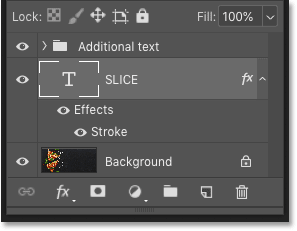
If we look at Layers panel , we'll see how my document is set up. Main image is on background layer , and the word “SLICE” is on the Type layer above it. I've added a border around the characters, and it's included as an effect below the type layer.
The remaining text ("BUY ONE", "Get ONE FREE", etc.) is in a layer group above called "Extra Text". I put him in a group just to get him out of the way. For this effect, the only text we care about is the word "SLICE":
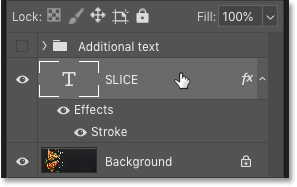
Turn off extra text
To keep things simple, I'll turn off the layer group for now by clicking vision symbol own:
![]()
Now we only see the word “SLICE” in front of the background image.
Read also:How to put multiple images into text using Photoshop
Step 2: Convert the Type layer to a Smart Object
To keep the text editable as you slice it, convert the Type layer to Smart object . First, make sure you select the type layer you need:
Then click menu icon Top right of the Layers panel:
![]()
And choose Convert to a smart object From the list:
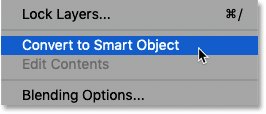
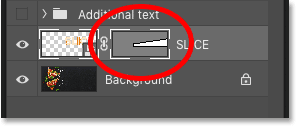
A Smart object icon A thumbnail preview appears at the bottom right, telling us that our text is now safely inside the Smart Object:

Step 3: Select the Rectangle Tool
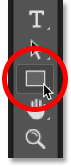
To draw the slices, we'll use Rectangle tool in Photoshop. Select the rectangle tool from Toolbar :
Step 4: Set the Tool Position to the Path
Then in the options bar, set Tool mode on path :
Read also:How to create XNUMXD text using Photoshop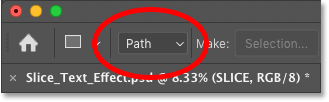
Step 5: Draw a path around the bottom half of the text
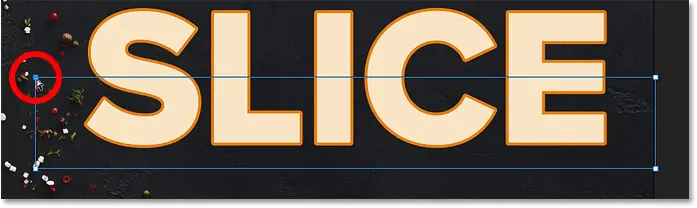
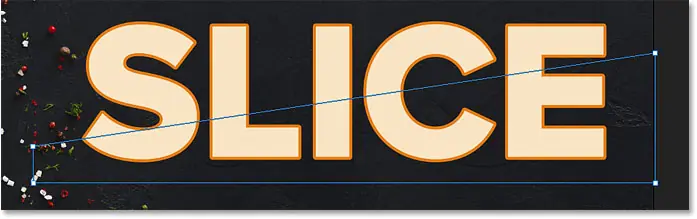
Drag a rectangular path around the bottom half of the text. We will use this path to create the bottom slice. For best results, try to make the path wider than the text itself, so that if you need to edit the text later, and the new text is slightly longer than the original, the new text will still fit on the slide.
If you need to change the position of the path while drawing it, press and hold spacebar , drag the path into place, and then release the spacebar to continue drawing the path:

Step 6: Choose the Direct Selection Tool
Now that we have our path, we'll reshape it into a diagonal spline.
Locate Direct Selection Tool Photoshop from the toolbar. By default, it hides behind the Path Selection Tool (black arrow tool). You'll need to tap and hold the Path Selection Tool until a pop-up menu appears, then choose the Direct Selection Tool (white arrow tool) from the list:

Step 7: Deselect the path
Click anywhere away from the path to deselect it. And anchor point Every corner of the path will disappear, leaving only the outline of the path itself:
Read also:How to put multiple images into text using Photoshop
Step 8: Select and drag the top-left anchor point down
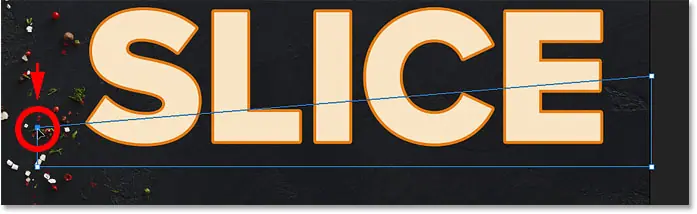
Then click in the upper-left corner of the path to select just one anchor point:
And drag the point down to turn the top of the path into a slanting line:
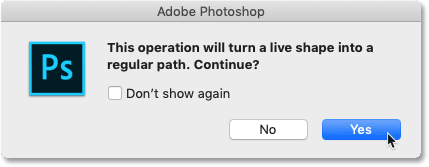
Convert the live shape into a regular path
Photoshop will ask you if you want to convert the live shape into a regular path. Click نعم :
Step 9: Select and drag the top right anchor point up
Then click the anchor point in the upper right corner of the path to select it:
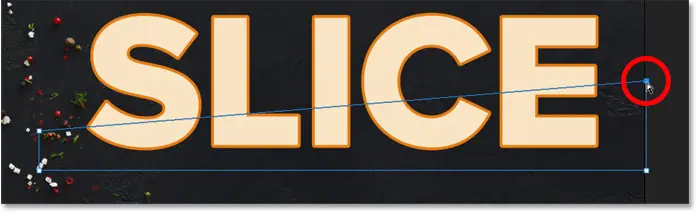
And drag that point up. You can move back and forth with the two points, clicking on them and dragging them up or down as needed, until you're happy with the angle of the slice:

Step 10: Convert the Path to a Vector Mask
To create the slice, we need to convert the path to vector mask . Go to Layers panel your own, press and hold Ctrl . key (Win) / Command (Mac) on the keyboard, and click the icon Add LayerMask :
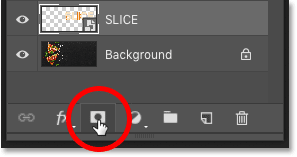
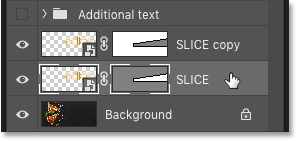
A Vector mask thumbnails The thumbnail preview appears next to the smart object:
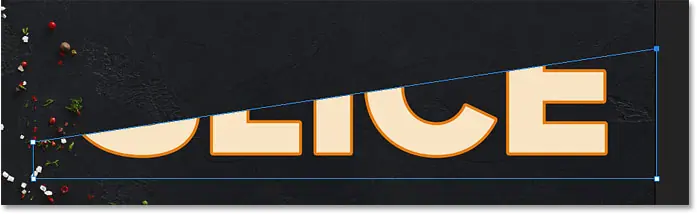
And in the document, we see that the upper part of the text has disappeared. Only the bottom part inside the vector mask remains visible, which creates our first slice:
Step 11: Make a copy of the smart object
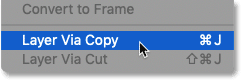
To create the top slice, make a copy of the smart object by going to List class , choose New , Then choose layer via copy . Or you can press a keyboard shortcut Ctrl + J (Win) / Command+J (Mac):
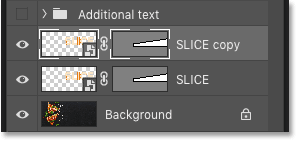
In the Layers panel, a copy of the smart object appears over the original:
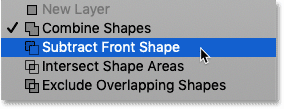
Step 12: Choose "Subtract Front Shape"
in Options bar , click the icon track operations :
![]()
And choose Subtract Front Shape From the list:
This inverts the vector mask, making the top slice visible, and we now have both slices:
Hide the way
We don't need to see the route diagram anymore. So to hide the path, click anywhere outside of it:

slideshow
It may appear that our text is still in one piece. But you can turn on and off individual slides by clicking vision icons in the Layers panel.
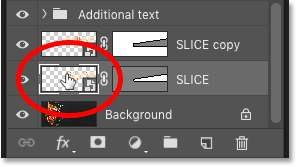
If you click the visibility icon to turn off the top smart object:
![]()
We only see the bottom part of the text:

I will click the same visibility icon again to turn the top slide back on. And if you then turn off the bottom bracket by clicking on its visibility icon:
![]()
We see only the upper part of the text. To turn the bottom slide back on, click again on its visibility icon:

Step 13: Select the Move Tool
To move the slides apart, select move tool In Photoshop from the toolbar:
Step 14: Pull the Strips apart
Choose the slide you want to move by clicking on it in the Layers panel, then drag it into position in the document. Or, instead of dragging with the Move tool, you can tap arrow keys on your keyboard to push the slide into place (you'll still need to select the Move tool).
I will select the bottom slice in the Layers panel:
Next, I'll use the arrow keys on my keyboard to push the bottom bracket down and to the right:

Additional text restart
I will restart my additional text by clicking vision symbol layer group:
And here we see the layout with the clipped text effect added:

How to edit text within slides
Now that we've created the cropped text effect, let's learn how to edit the text inside the slides.
Although we created the slides using two objects smart Separately, each Smart Object carries the exact same type class. So if we change the text in one smart object, the same change will appear in both.
Step 1: Double-click the Smart Object thumbnail
to edit text, Double click one Thumbnails for Smart Objects . Either one will work:
The text opens in its own separate document:
Step 2: Select the Type Tool
Locate a tool Type in Photoshop from the toolbar:
Step 3: Edit your text
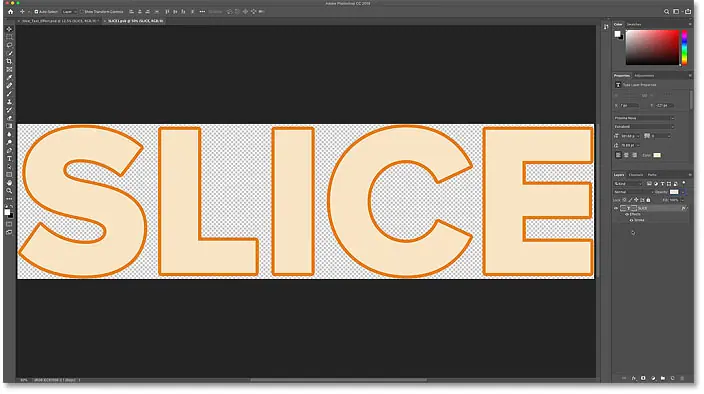
Then edit your text. I will press Twice on the text to highlight the whole word:

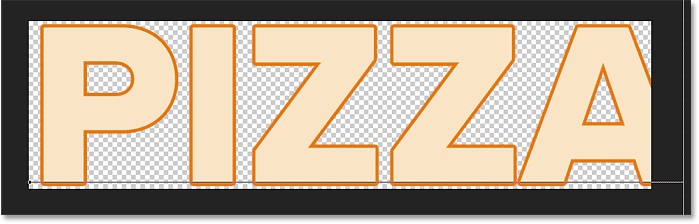
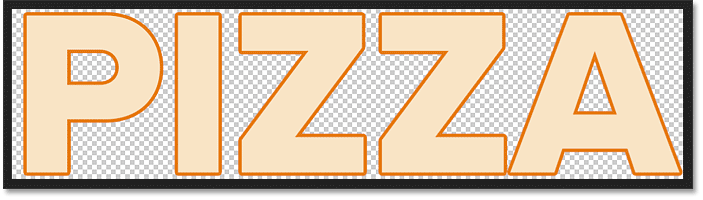
Then I'll change the word from "SLICE" to "PIZZA":
Step 4: Click on the checkmark in the options bar
to accept change, I will press on check mark In the options bar:
Step 5: Choose Reveal All if necessary
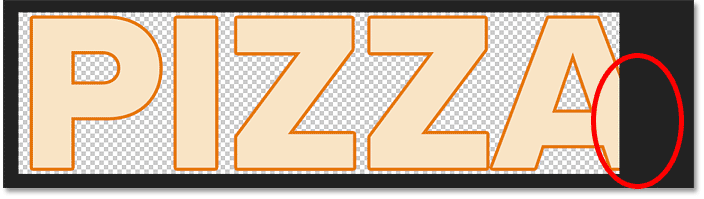
Note that in this case editing the text created a problem. The new text is too long to fit in the viewable area of the document, so part of the letter "A" on the right extends out of the canvas:
If this happens with your text, go for a list Pictures in the menu bar and select Reveal all :
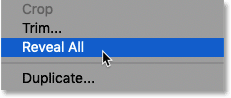
And Photoshop instantly resizes the canvas to fit all of the text:
Step 6: Save and close the smart object document
To accept the change and go back to the main document, we need to save and close the smart object document.
go up to the list ” a file "choose" save" :
Then go back to the list a file "choose" Close" :
Again in the main document, we see the same effect, but this time with our edited text: