
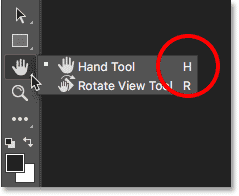
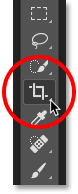
The first thing we will learn is how to manually rotate an image. We do this using Crop Tool . I will select the Crop Tool from Toolbar Along the left of the screen:
Quickly select the crop tool, Photoshop surrounds the image with the initial crop borders . As we learned in the special tutorial How to crop images , I can ignore the default cropping limits and instead click and drag inside the image to draw my own. But since I want to rotate and straighten the image before cropping it, I'll stick to the default crop limit for now.
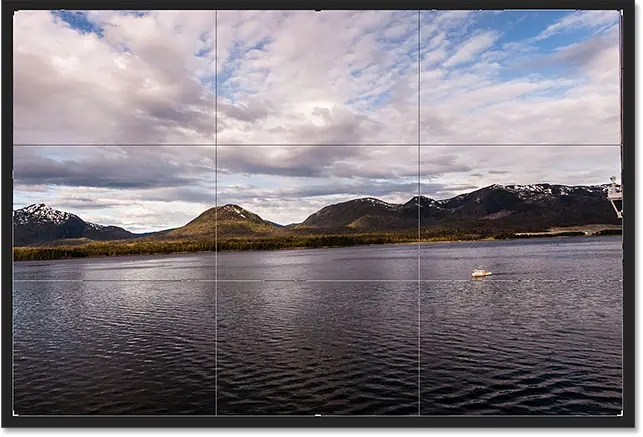
To make the crop borders more visible, I'm going to compress the image with the Crop Tool. This displays a grid rule of thirds 3 x 3 in front of the photo:
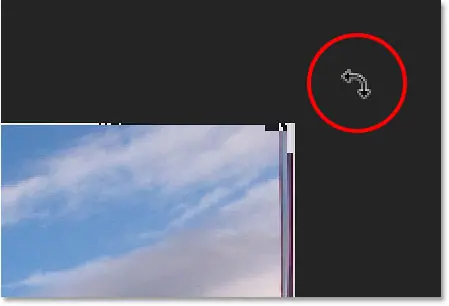
To rotate the image, move the mouse pointer anywhere outside the crop boundary. The cursor will change to an icon rotate (Curved line with an arrow on each end). I've zoomed in here for a closer look after moving the cursor outside the top right corner of the image:
With the mouse pointer outside the crop bounds, click and hold the mouse button. Once clicked, the 3x3 grid will turn into a more elaborate grid:
Read also:How to Photoshop color settings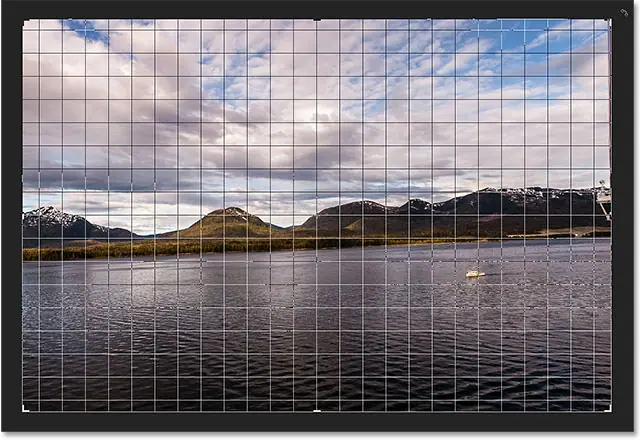
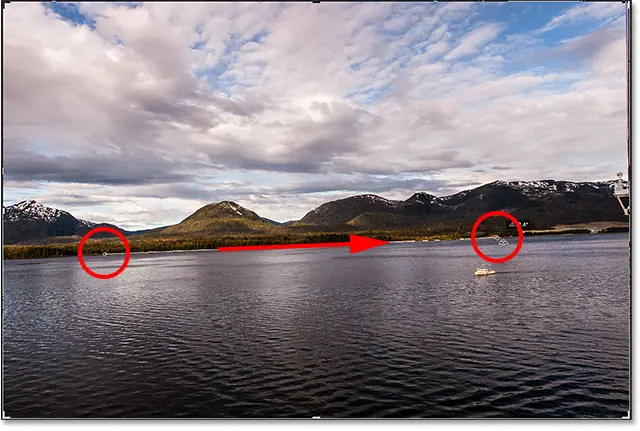
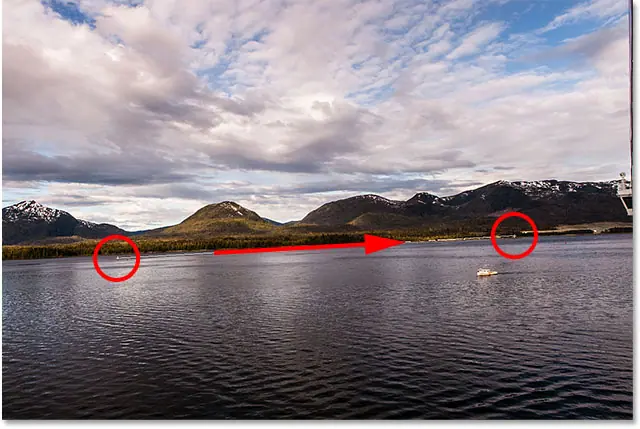
Then, while still holding the mouse button, drag the mouse to rotate the image. As you rotate it, find something in the image that should be straight, vertical or horizontal, and try to align it with the grid lines. Here, I'm using the water line just below the mountains as my guide:
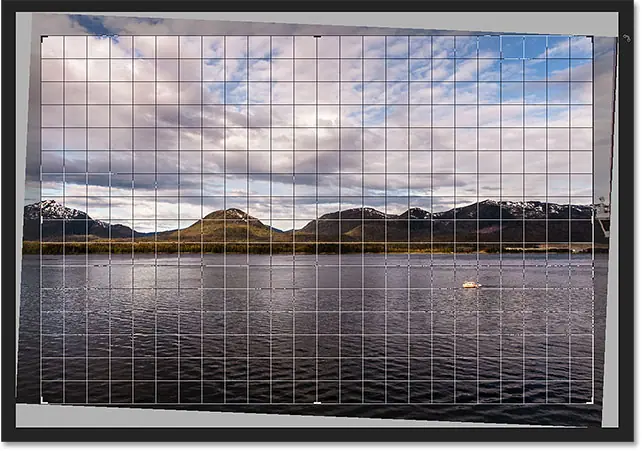
Note that as you rotate, Photoshop automatically resizes the crop borders to keep them within the borders of the image. Here, I've rotated it quite a bit so we can see just how much the cropping strokes get smaller:
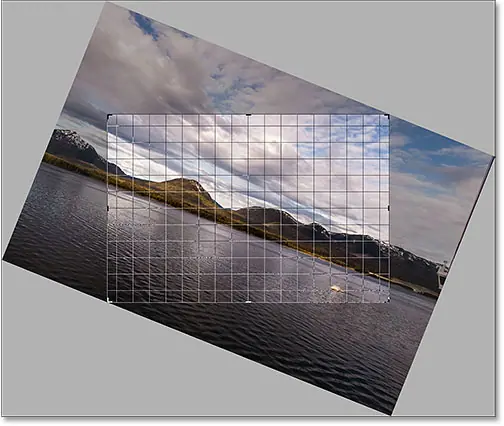
I'll rotate the image back to the way I got it so that the waterline and horizontal grid lines match:
Once the image looks straight, release the mouse button. The overlay in front of the image will revert to a 3x3 rule of thirds grid:

At this point, you can resize the crop borders as needed by clicking on any of the existing handles around the limit and withdraw it . I've covered resizing crop borders in detail in Our first lesson In this chapter. So here, I'm going to quickly resize the borders to make them a bit smaller, and I'm going to click and drag inside the crop borders to reposition the image:
Read also:Photoshop screen modes and interface tricks
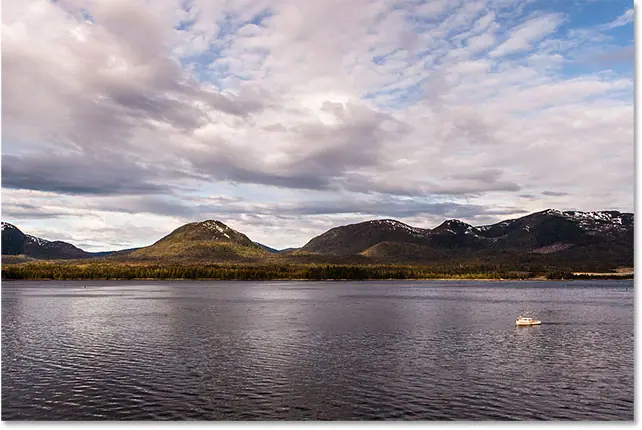
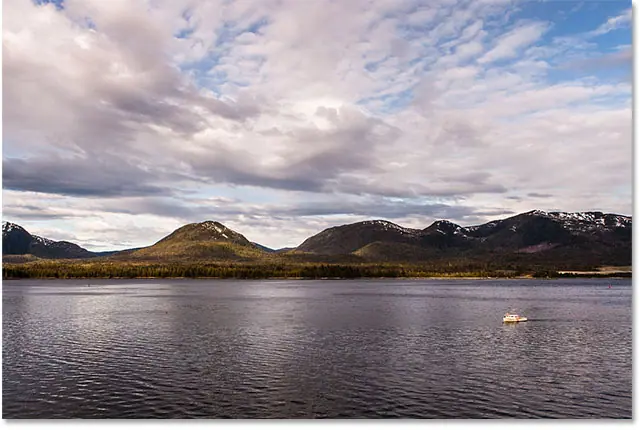
When you're happy with how things turned out, hit Enter (Win) / Return (Mac) on the keyboard to install the crop. Here is my result, a definite improvement over the original version:

How to straighten an image with the Straighten Tool
So far, we have seen how to manually rotate an image. Let's look at how to straighten an image using Straighten Tool in Photoshop.
First, I'll undo a crop by going to the "" Modification in the menu bar along the top of the screen and choose Back off the cut.” . Or I can simply click on Ctrl + Z (Win) / Command + Z (Mac) On the keyboard:
This restores my image to how it originally looked:

The Straighten Tool is somewhat of a hidden tool in Photoshop. You won't find it anywhere in the toolbar. Instead, you will find it at Options bar whenever you specify Crop Tool .
I'll reselect the Crop Tool from the toolbar:
Read also:How to use the Navigator Panel in Photoshop
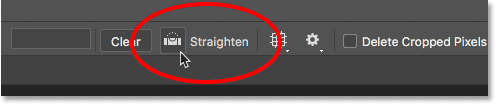
Then, with the Crop Tool activated, I will choose the leveling tool From the options bar along the top of the screen:
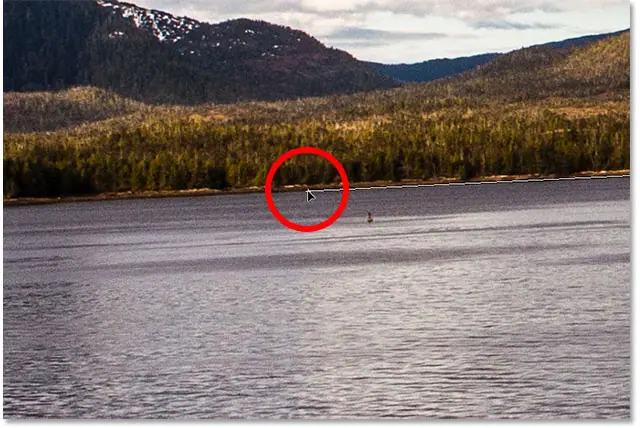
Using the Straighten Tool is very simple. Just find something in your image that should be straight, horizontal or vertical, and draw a line across it with the Straighten Tool. Photoshop will then use the angle of the line to automatically rotate and straighten the image.
Since the waterline in my image needs to be horizontal, I'll click on the left side of it to set a starting point for the line. Then, with the mouse button still held down, I'll drag to the right side of the waterline to set the end point. Photoshop draws a thin, straight line between the two points:
When I release the mouse button, Photoshop looks at the corner of the line and immediately rotates the image so that the waterline appears straight. Note that again, Photoshop also resized the cropping border to keep it inside the image border:

Quick tip: Here's a helpful tip for using the leveler. You don't actually need to select it from the options bar. Instead, with the Crop Tool activated
You can quickly switch to the Straighten Tool just by pressing and holding Ctrl . key (Win) / Command (Mac) on the keyboard.
Now that the image is modified, I'm going to resize the cropping borders again by dragging the handles, and I'm going to click and drag inside the borders to reposition the image and adjust the composition:

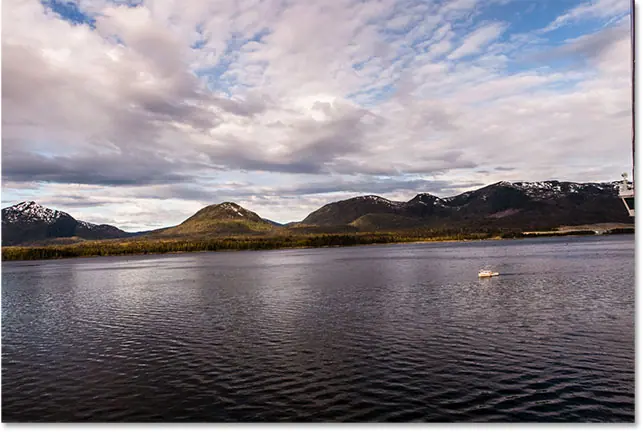
I will press Enter (Win) / Return (Mac) on my keyboard to stabilize the crop, here's the result after straightening the image with the Straighten Tool:
Let's take a look at another way to straighten an image in Photoshop, and why it's my favorite of the three. This time, we will not be using the Crop Tool or the Straighten Tool. Instead, we'll use Ruler Tool .
Before we do that, I'm going to quickly undo my last crop by navigating back to the menu. Release “choice” Back off the cut.” , or by pressing Ctrl + Z (Win) / Command + Z (Mac) On my keyboard:
This takes me back to the original uncropped version:
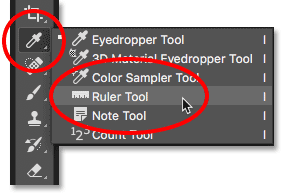
By default, the Ruler Tool is nested behind Eyedropper tool in the toolbar. to select it, Right click (Win) / Control-click (Mac) on the Eyedropper tool, then choose the Ruler Tool from the pop-up menu:
Using the Ruler Tool to straighten an image is similar to using the Straighten Tool, but with some important differences. Like the Straighten Tool, we start by drawing a line across something in the image that needs to be straight, either vertically or horizontally.
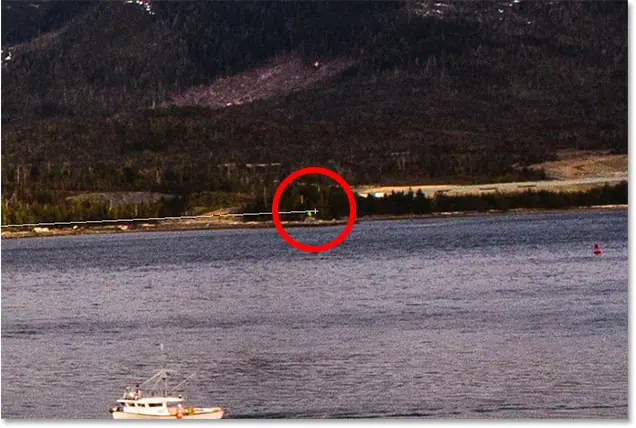
I'll click on the left side of the waterline in my image to set a starting point for the line. Then, with the mouse button still held down, I'll drag to the right side to set the endpoint. Just like with the Straighten Tool, Photoshop draws a thin, straight line between the two points, and will use the angle of that line to figure out how much it needs to rotate the image:
But here's the first big difference between the Straighten Tool and the Ruler Tool, and why I prefer the Ruler Tool. With the Straighten Tool, the moment you release the mouse button, Photoshop rotates the image to straighten it. This may sound like a cool feature, but it really isn't because it means you only get one shot at drawing the line correctly. If the start or end point is slightly off, the angle of the line will be off as well, and the image will remain crooked even after it is rotated.
With the ruler tool, though, Photoshop does not Automatically rotate the image. Instead, we are free to go back and make adjustments to the starting and ending points as needed.
If I zoom in on my starting point, we can see that it's not actually on the waterline where it should be. Instead, it is very low:

To fix it, all I have to do is click on the starting point with the Ruler Tool, hold the mouse button, and drag the point up to change its position. The Straighten Tool doesn't give us the opportunity to do this, but with the Ruler Tool it's easy:
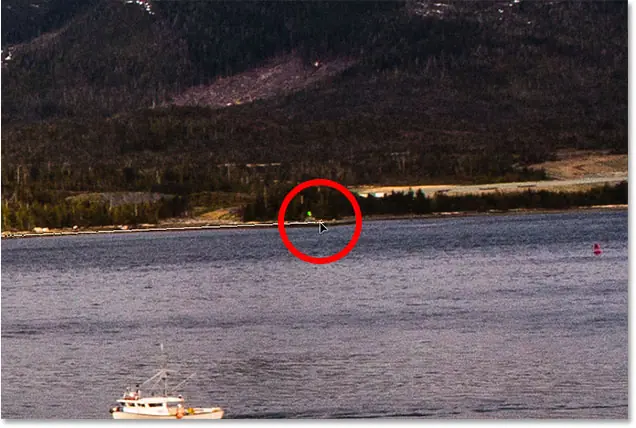
I'd do the same with the endpoint on the right, as we can see it's quite high:
Again, all I have to do is click on it with the Ruler Tool, hold the mouse button, and drag it down to the waterline where it should be:
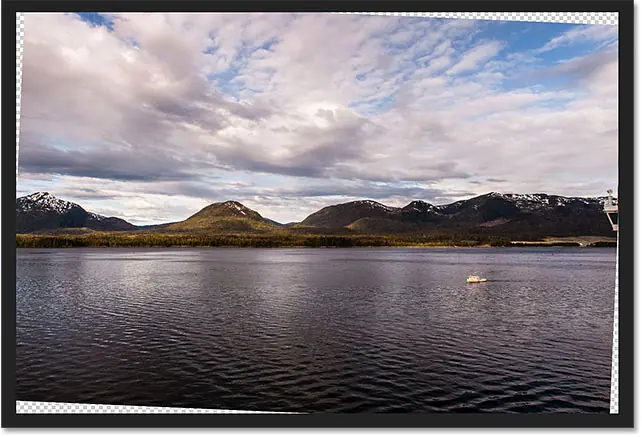
Once you have the start and end points exactly where you want them to be, to flatten the image, click the button Straighten layer In the options bar:
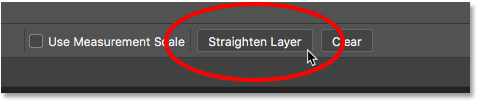
Photoshop rotates the image to straighten it. Note, however, that we now see chessboard pattern in the corners around the image. The checkerboard pattern is how Photoshop represents it The library , which means that we no longer have any part of our image in those areas. We need to crop these areas away, which is what we'll do next:
This brings us to the other big difference between the Ruler Tool and the Straighten Tool. With the Ruler Tool, Photoshop makes no attempt to automatically crop the image after it's straightened. And in fact, there is absolutely no way to crop the image with the Ruler Tool. That's okay, because all we need to do at this point is switch to Crop Tool :
With the Crop Tool now selected, I'll quickly resize the crop borders and reposition the image inside, making sure to stay away from the transparent areas in the corners:

After that, I will click on Enter (Win) / Return (Mac) on my keyboard to install the crop. And here, after straightening the image with the Ruler Tool and then cropping it with the Crop Tool, the final result: