


جدول المحتويات
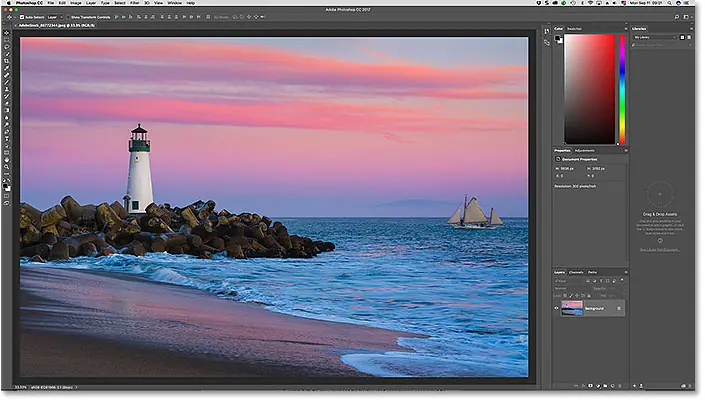
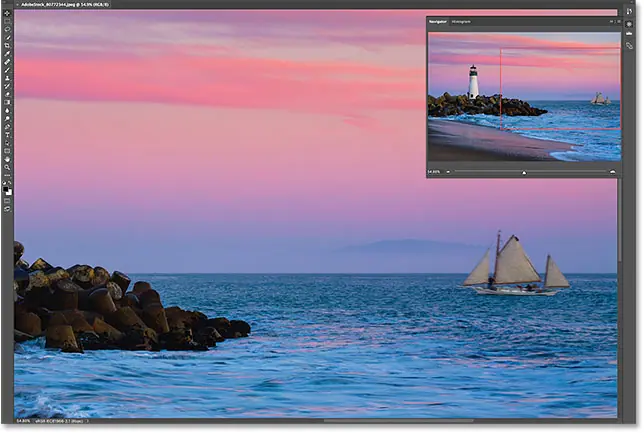
يمكنك المتابعة من خلال فتح أي صورة في Photoshop. ها هي الصورة التي سأستخدمها ( صورة منارة من Adobe Stock):
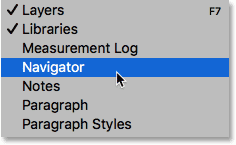
كما تعلمنا في ، يستخدم Photoshop مساحات العمل لتحديد أي من لوحاته العديدة يتم عرضها على شاشتك. ومن المعروف أن مساحة العمل الافتراضية أساسيات . إذا كنت قد استخدمت مساحة عمل Essentials فقط ، فربما لم تسمع من قبل بلوحة Navigator. ذلك لأن لوحة Navigator غير مضمنة في مساحة عمل Essentials ، مما يعني أنه بشكل افتراضي على الأقل ، لا يمكن العثور عليها في أي مكان على شاشتك. لا بأس بذلك ، لأن Photoshop يتيح لنا فتح أي لوحة نحتاجها في أي وقت نحتاج إليها. يمكن فتح جميع لوحات Photoshop من قائمة Window في شريط القوائم على طول الجزء العلوي من الشاشة. لفتح لوحة Navigator ، انتقل إلى قائمة Window واختر Navigator من القائمة. إذا رأيت علامة اختيار بجوار اسم اللوحة ، فهذا يعني أن اللوحة مفتوحة بالفعل. في حالتي ، لا توجد علامة اختيار بجوار لوحة Navigator ، لذلك سأحددها لفتحها:
توجد اللوحات المفتوحة في Photoshop في أعمدة بطول يمين الواجهة. بشكل افتراضي ، يقوم Photoshop بإرساء لوحة Navigator في العمود الصغير الضيق على اليسار ، حيث تظهر اللوحات كرموز فقط. تبدو أيقونة لوحة Navigator مثل عجلة قيادة السفينة. يمكنك فتح ( توسيع ) أو إغلاق ( طي ) اللوحة من خلال النقر على أيقونتها:
إقرأ أيضا:كيفية الوصول إلى تفضيلات Photoshop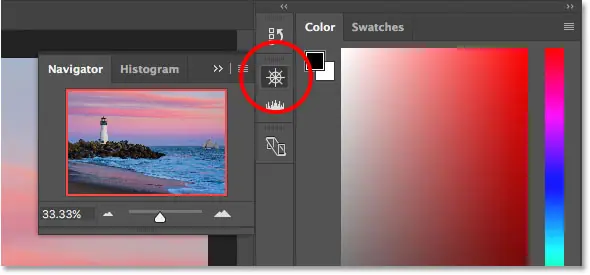
تغيير حجم لوحة المستكشف
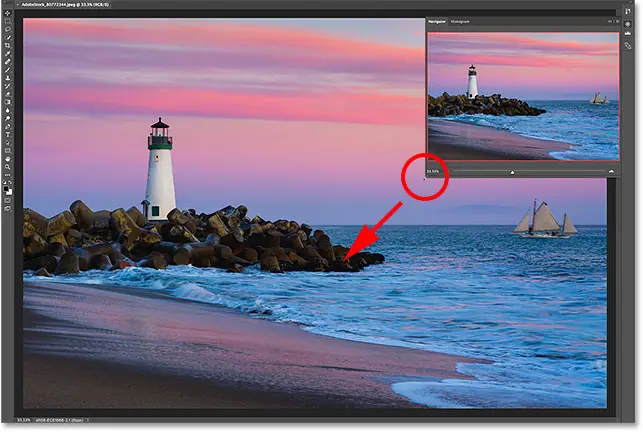
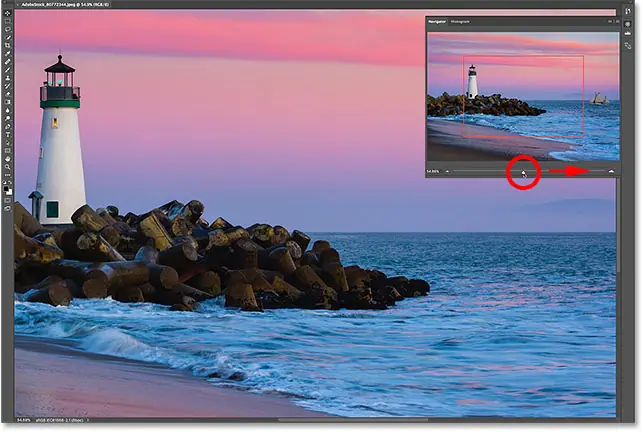
في حجمها الافتراضي ، لا تكون لوحة Navigator مفيدة للغاية ، ولكن يمكننا بسهولة تكبيرها. لتغيير حجم اللوحة ، انقر فوق الزاوية اليسرى السفلية واسحبها للخارج. يمكنك جعل لوحة Navigator كبيرة كما تريد ، ولكن بالطبع سترغب في ترك مساحة لرؤية صورتك في نافذة المستند. إذا كنت تعمل باستخدام شاشتين ، فيمكنك نقل لوحة Navigator إلى الشاشة الثانية وتغيير حجمها لملء الشاشة بأكملها. في حالتي ، سأجعلها كبيرة بما يكفي بحيث يسهل رؤية صورتي داخلها:
منطقة المعاينة وصندوق العرض
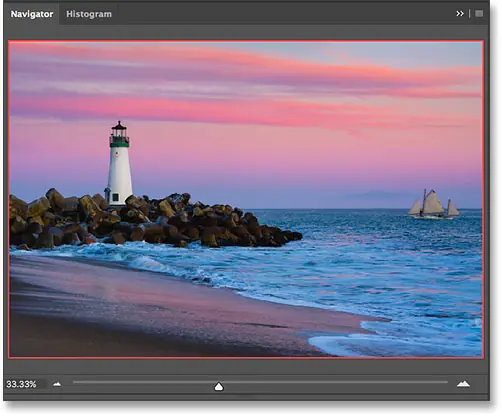
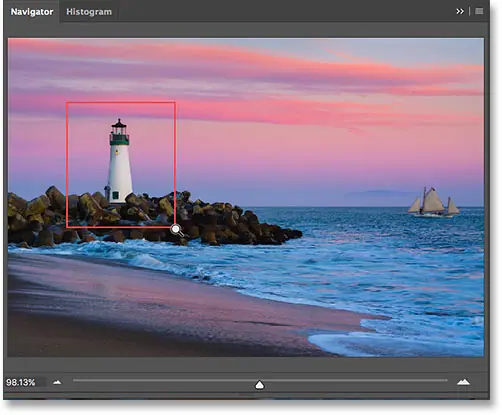
الميزة الأكثر وضوحًا للوحة Navigator هي منطقة معاينة الصورة . تُظهر لنا منطقة المعاينة الصورة بأكملها ، حتى عندما نقوم بالتكبير. سنرى سبب أهمية ذلك في لحظة. لاحظ أن منطقة المعاينة محاطة بحد أحمر رفيع. يُعرف هذا باسم مربع العرض . يمثل مربع العرض قسم الصورة الذي نراه حاليًا في نافذة المستند. عندما نفتح صورة لأول مرة ، يلائم Photoshop الصورة بأكملها على الشاشة. لذلك ، نظرًا لأنه يمكننا رؤية الصورة بأكملها ، فإن الصورة بأكملها في لوحة Navigator محاطة بمربع العرض:
عرض مستوى التكبير الحالي
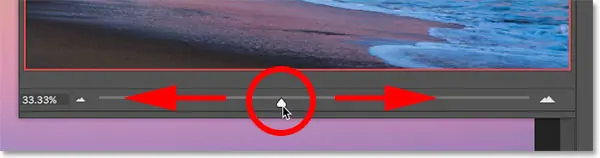
مثلما يمكننا عرض مستوى التكبير / التصغير الحالي للصورة في الزاوية اليسرى السفلية من نافذة المستند ، يمكننا أيضًا عرضها في الجزء السفلي الأيسر من لوحة Navigator. هنا ، يظهر المربع أنني أرى صورتي على الشاشة بحجم تكبير 33.33٪. سنعود إلى مربع مستوى التكبير هذا لاحقًا:
إقرأ أيضا:كيفيه إعدادات ألوان الفوتوشوب Photoshop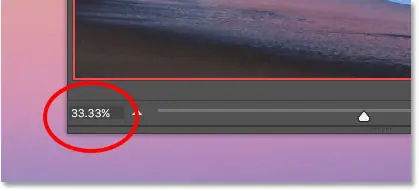
تغيير مستوى التكبير باستخدام شريط التمرير
دعونا نرى ما يحدث مع مربع العرض في منطقة المعاينة عندما نغير مستوى تكبير الصورة. تتمثل إحدى طرق تغيير مستوى التكبير / التصغير من لوحة Navigator في استخدام شريط التمرير . ستجد شريط التمرير أسفل اللوحة. اسحب شريط التمرير إلى اليمين للتكبير ، أو إلى اليسار للتصغير:
هنا ، أقوم بالتكبير عن طريق سحب شريط التمرير إلى اليمين. يمكننا أن نرى أنني قمت بتكبير صورتي في نافذة المستند. لكن ، لاحظ أن منطقة المعاينة في لوحة Navigator لا تزال تعرض الصورة بأكملها ، كما لو أنني لم أقوم بتكبيرها على الإطلاق:
نظرة فاحصة على مربع العرض
الطريقة التي تعمل بها لوحة Navigator هي أن منطقة المعاينة تعرض الصورة بأكملها دائمًا ، بغض النظر عن مستوى التكبير / التصغير. من ناحية أخرى ، يختلف مربع العرض. يوضح لنا أي جزء من الصورة نراه في نافذة المستند بمستوى التكبير / التصغير الحالي . في وقت سابق ، عندما كانت الصورة بأكملها مرئية على الشاشة ، أحاط مربع العرض بالصورة بأكملها. ولكن الآن بعد أن قمت بالتكبير ، وأصبحت الصورة الآن أكبر من أن تتناسب مع الشاشة ، تم تغيير حجم مربع العرض. إنه يحيط الآن بقسم أصغر فقط في وسط الصورة. المنطقة الموجودة داخل مربع العرض هي المنطقة المرئية في نافذة المستند بمستوى التكبير الحالي. كل شيء خارج مربع العرض يمتد الآن خارج الشاشة:
إقرأ أيضا:كيفية إنشاء وثيقة فوتوشوب جديدة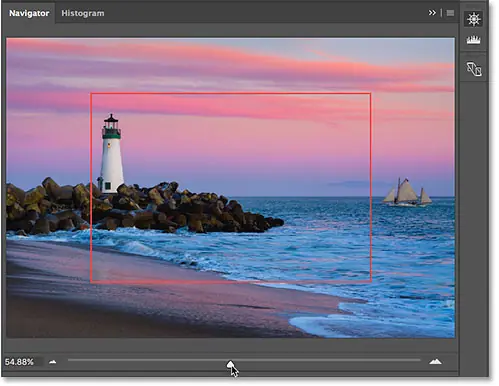
تحريك الصورة باستخدام مربع العرض
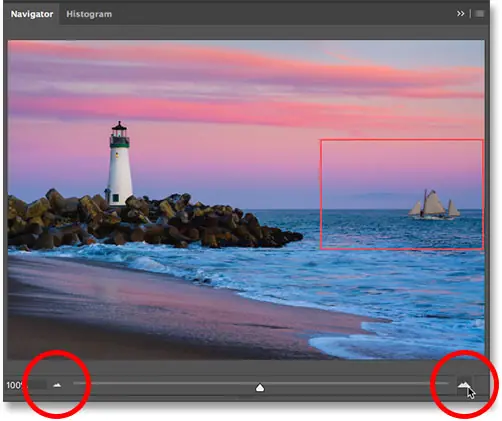
يسهّل مربع العرض في لوحة المستكشف معرفة أي جزء من الصورة الذي ننظر إليه عندما نقوم بتكبير الصورة. ولكن هناك ما هو أكثر من ذلك في مربع العرض. يمكننا أيضًا استخدامه لتغيير أي جزء من الصورة نراه. لتحريك أو نقل جزء مختلف من الصورة ، ما عليك سوى النقر داخل مربع العرض واسحبه إلى موقع جديد. يصبح الموقع الجديد هو المنطقة التي تراها في نافذة المستند. سأقوم بسحب الصندوق إلى اليمين ، بعيدًا عن المنارة ، بحيث تكون السفينة في أقصى يمين الصورة داخل حدود مربع العرض:
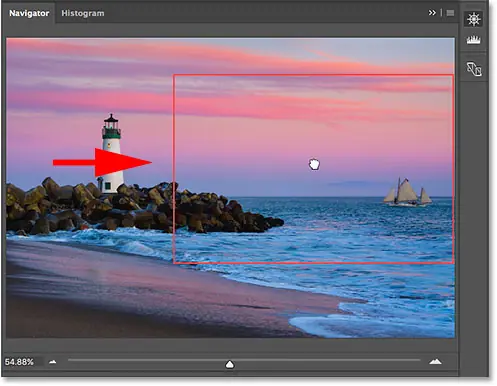
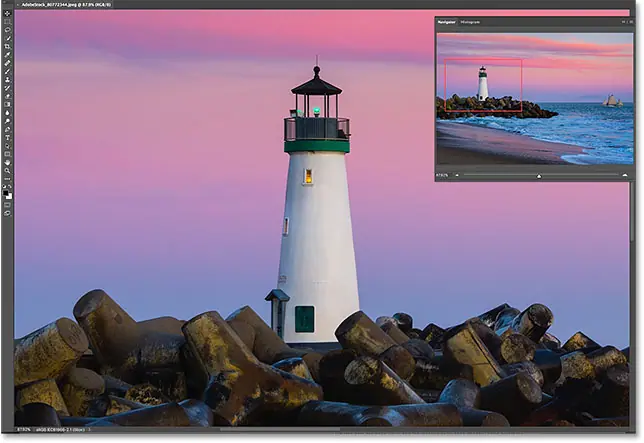
بعد تحريك مربع العرض ، أصبحت السفينة الآن مرئية في نافذة المستند ، بينما تم نقل المنارة إلى الجانب:
زري التكبير والتصغير
لقد رأينا أنه يمكننا تكبير الصورة وتصغيرها باستخدام شريط التمرير أسفل لوحة Navigator. هناك طريقة أخرى للتكبير والتصغير وهي باستخدام زري Zoom In و Zoom Out على جانبي شريط التمرير. انقر فوق الزر Zoom In (سلسلة الجبال الكبيرة) على اليمين للتكبير ، أو الزر Zoom Out (سلسلة الجبال الصغيرة) على اليسار للتصغير. يؤدي النقر فوق الزر نفسه بشكل متكرر إلى تكبيرك أو تصغيره بشكل أكبر بخطوات تدريجية. مرة أخرى ، يتم تغيير حجم مربع العرض لإظهار المنطقة المرئية الآن في نافذة المستند. يمكنك النقر فوق مربع العرض وسحبه لفحص مناطق مختلفة من الصورة عند مستوى التكبير الجديد:
تغيير مستوى التكبير من مربع مستوى التكبير الحالي
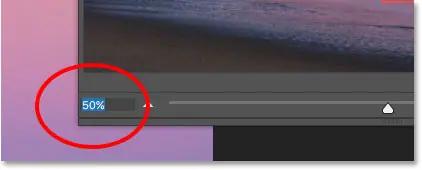
في وقت سابق ، علمنا أنه يمكننا عرض مستوى التكبير / التصغير الحالي في المربع الموجود في الزاوية اليسرى السفلية من لوحة Navigator. يمكننا أيضًا تغيير مستوى التكبير / التصغير من نفس المربع. انقر داخل المربع لتمييز القيمة الحالية. اكتب القيمة الجديدة الخاصة بك ، ثم اضغط على Enter (Win) / Return (Mac) على لوحة المفاتيح لقبولها. إذا ضغطت مع الاستمرار على مفتاح Shift أثناء الضغط على Enter (Win) / Return (Mac) ، فستحتفظ بالقيمة مميزة بعد قبولها. يتيح لك هذا إدخال قيمة تكبير مختلفة بسرعة دون الحاجة إلى النقر أولاً داخل المربع لتمييزها مرة أخرى. سيضيف Photoshop تلقائيًا رمز٪ ، لذا لا داعي لكتابته بنفسك:
تغيير مستوى التكبير باستخدام شريط التمرير Scrubby
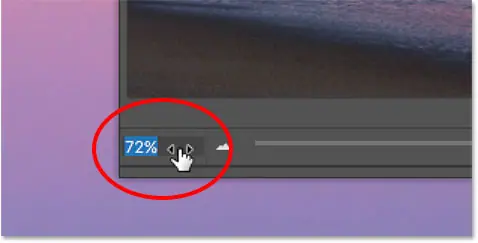
لمزيد من التحكم الدقيق في مستوى التكبير / التصغير في لوحة Navigator ، استخدم Scrubby Slider . قم بتمرير مؤشر الماوس فوق مستوى التكبير / التصغير الحالي في الزاوية اليسرى السفلية. ثم اضغط مع الاستمرار على مفتاح Ctrl (Win) / Command (Mac) على لوحة المفاتيح. سيتغير المؤشر إلى شكل يد مع سهام الاتجاه تشير إلى اليسار واليمين. هذا هو رمز Scrubby Slider في Photoshop. انقر مع الاستمرار فوق زر الماوس ، ثم اسحب لليسار أو لليمين لتغيير مستوى التكبير / التصغير بزيادات قدرها 1٪. اسحب إلى اليمين لزيادة مستوى التكبير ، أو إلى اليسار لتقليله. إذا ضغطت مع الاستمرار على مفتاح Shift وأنت تسحب (مع الاستمرار في الضغط على مفتاح Ctrl (Win) / Command (Mac)) ، فسوف تقوم بتغيير مستوى التكبير / التصغير بزيادات قدرها 10٪:
تحديد منطقة لتكبيرها يدويًا
الطريقة الأسرع والأسهل لتكبير جزء من صورتك باستخدام لوحة Navigator هي ببساطة سحب تحديد حول المنطقة التي تريدها. حرك مؤشر الماوس فوق منطقة المعاينة ، ثم اضغط مع الاستمرار على مفتاح Ctrl (Win) / Command (Mac) على لوحة المفاتيح. سيتحول المؤشر إلى عدسة مكبرة ، على غرار مؤشر أداة التكبير. مع الضغط باستمرار على مفتاح Ctrl (Win) / Command (Mac) ، انقر واسحب مربع العرض حول المنطقة التي تريد تكبيرها. هنا ، أسحب حول المنارة:
عند تحرير زر الماوس ، يقوم Photoshop على الفور بتكبير ذلك الجزء من الصورة في نافذة المستند. في حالتي ، المنارة الآن في المقدمة والوسط:
تغيير لون مربع العرض
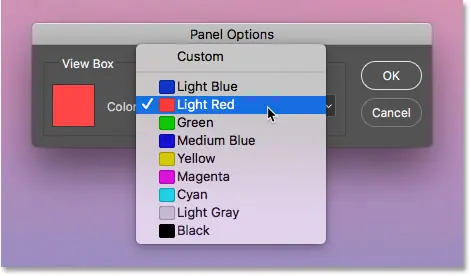
أخيرًا ، دعنا نتعلم كيفية تغيير لون مربع العرض. اللون الافتراضي هو الأحمر الفاتح ، ولكن اعتمادًا على صورتك ، قد لا يكون من السهل رؤية اللون الأحمر الفاتح. لتغيير اللون ، انقر فوق رمز القائمة أعلى يمين لوحة Navigator:
ثم اختر خيارات اللوحة من القائمة:
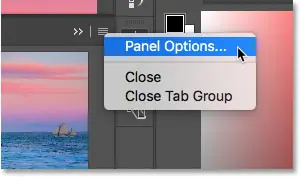
في مربع الحوار Panel Options ، انقر فوق Light Red الافتراضي واختر لونًا مختلفًا لمربع العرض من القائمة. أو انقر فوق Custom في الجزء العلوي لفتح Color Picker في Photoshop حيث يمكنك اختيار أي لون تريده. انقر فوق “موافق” عند الانتهاء لقبولها وإغلاق مربع الحوار: