Create a new background layer action in Photoshop

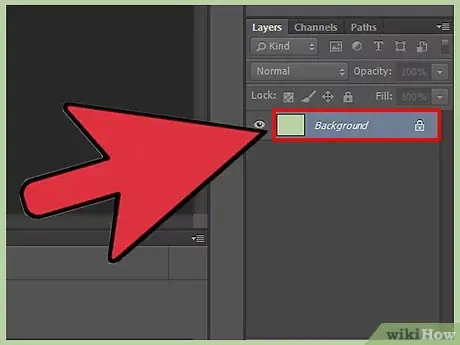
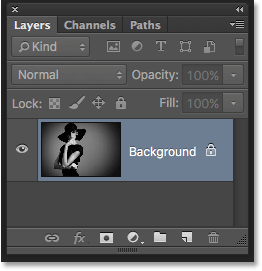
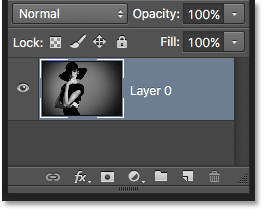
When we open an image, Photoshop automatically places it on the Background layer, as we can see here in my Layers panel:
Let's say I want this image to appear in front of a white background, with the white background acting as a border around the image. Seems easy enough, right? However, there is a problem. Since my photo she Document background Currently, how can I put a different background under it? The answer is, I can't. Photoshop will not allow us to place any more layers below the background layer.
And let's say I also want to add a basic drop shadow at the bottom of the image. Again, it sounds easy, but we're running into the same issue. The image would need something else below it for the shadow to be visible, but Photoshop wouldn't let us place anything below the background layer.
Read also:How to resize images for printing using Photoshop
In fact, if we look at the code Layer Styles ("fx" icon) At the bottom of the Layers panel, which is what we normally click to add a drop shadow (as well as any other layer effects), we see that the icon is grayed out. Photoshop will not allow us to add layer effects to the background layer:
![]()
So what is the solution? Well, the solution has two parts. First, we need to convert our initial background layer into a normal layer. This way, we will have complete control over the image and will be able to do whatever we need to do with it. Second, we need to create a new background layer from scratch and place it below the image.
Fortunately, the steps to do both of these things are very simple. But even simple things take time. So, since this is what we'll need to do a lot in Photoshop, rather than manually performing the steps each time, we'll go through them once here and save them all as Action .
what is the job? In Photoshop, an action is a pre-recorded series of steps. You simply create a new action and then record your steps. Then, any time you need to perform the same steps again, rather than doing them yourself, just run the action and let Photoshop do the work for you! In our case here, once we've recorded the steps for creating a new background layer, then in the future, we can let Photoshop create a layer for us once we run the action. Let's see how it works.
Read also:Managing panels Photoshop CCHow to create a background layer action
Step 1: Check the background color
When we create a new background layer, Photoshop will fill the layer background color Present . So before we go any further, and to avoid unexpected results, we must check to make sure that the background color is set to the color we need.
We can see the current foreground and background colors in Color swatches near the bottom of Tools panel . By default, Photoshop sets the foreground color to black and the background color to white. Since white is the most popular background color, these default colors work great.
If the foreground and background colors are set to something other than the default settings, tap the letter D in your keyboard to quickly reset them (think “D” for “Default Colors”):
If you'd rather fill the background layer with black instead of white, first tap on the letter D on the keyboard to reset the foreground and background colors to their default settings (if necessary). Then tap on the letter X on the keyboard to toggle it, which will set the background color to black:
Read also:How to enlarge and reduce an image using Photoshop
You can press X again if you change your mind to switch it back to the default settings, which I will do because I want the background layer to be filled with white. Either way, just be sure to check the background color before creating the background layer.
Step 2: Open the Actions panel
To record our action, we need to use Actions panel Photoshop. Unlike the Layers panel, the Actions panel is not one of the panels that Photoshop opens for us by default, so we'll need to open it ourselves.
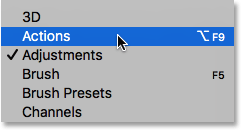
Go up to a list Window in The menu bar along the top of the screen. Here you will find a list of every palette available to us in Photoshop. Select the Actions panel from the list. If you see a checkmark next to the name of the board, it means that the board is already open somewhere on your screen. If you don't see the checkmark, go ahead and select it:
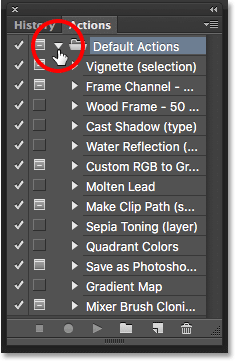
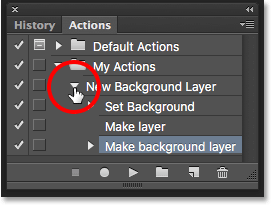
This opens the Actions panel. Photoshop includes a set of default actions that are in a group default actions cleverly named. You can rotate the opened default set of actions to view the actions within it by clicking an icon existing triangle to the left of the small folder icon. Clicking the triangle again will close the group:
Step 3: Create a new action group
We're going to create our own action, and instead of adding them using the default Photoshop actions, let's create a group Procedures New . A set of actions is like a folder containing the actions inside. Creating different action groups allows us to keep related actions together.
To create a new group, click on the icon New Set (folder icon) at the bottom of the Actions panel:
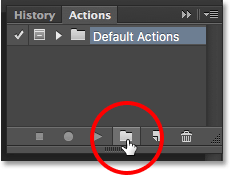
This opens the New Set dialog where we give the group a name. You can name it anything you want. I will name my actions. Click OK when you're done closing the dialog:
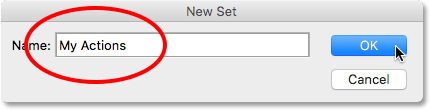
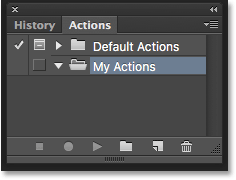
The new set of actions appears below the default set of actions in the Actions panel:
Step 4: Create a new action
Now that we have our group, let's create a new action. Click icon new procedure Directly to the right of the new group icon:
![]()
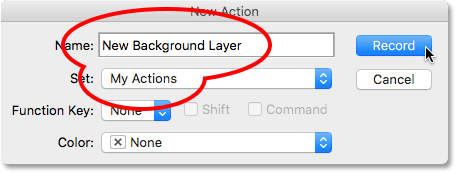
This opens the New Action dialog box. Give your business a descriptive name. I'll name mine "New Background Layer". After that, make sure that the option Set (short for Action Set) directly below it displays the set of actions I just created, called in my case "My Actions". We want to make sure the action is put into the correct group:
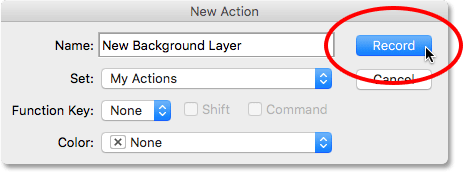
Step 5: Click on “Register”
When you are ready, click the button. registration" To close the dialog and start recording your action:
If we look again at the Actions panel, we will notice that an icon has been activated Register red, letting us know we're now in recording mode:
![]()
From now on, Photoshop will record all our steps so we can play them back later. But don't worry about how long it takes you to complete the steps. Recording an action in Photoshop is not like recording a movie. In other words, we are not recording in real time. Photoshop only records the steps themselves, not the time it takes to complete them. So sit back, relax, take all the time you need and let's record what we did!
Step 6: Convert the background layer to a normal layer
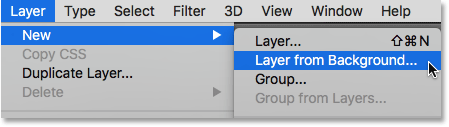
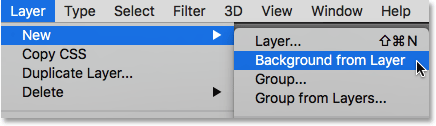
The first thing we need to do is convert the current background layer into a normal layer. To do this, go to List class at the top of the screen, and select New , then choose layer of background :
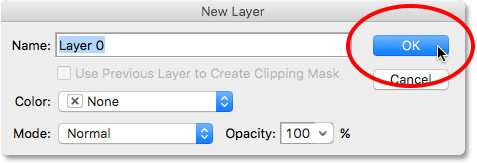
This opens the New Layer dialog box. Leave the name set to Layer 0 and click OK to close out of the dialog:
If we look at the Layers panel, we see that our background layer is no longer a background layer. It is now a regular layer called "Layer 0". So far, so good:
Step 7: Add a New Layer
Next, we'll add a new layer that will become our new background layer. Click icon New layer At the bottom of the Layers panel:
![]()
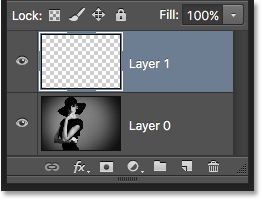
Photoshop adds a new blank layer called "Layer 1" above the image:
Step 8: Convert the layer to a background layer
Let's convert the new layer into a background layer. Go back to list Layer , and select New , then choose Background from Layer :
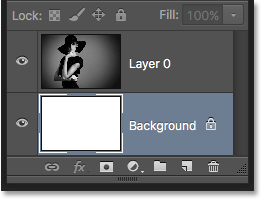
Two things happen. First, once you convert the layer into a background layer, Photoshop automatically moves the layer from Top photo to Down The image is in the Layers panel. This is because one of the main rules for background layers is that they should always be the bottom layer in the document. No other layers can appear below the background layer.
Secondly, if we look at the photo Thumbnail to preview Background layer To the left of the layer name, we see that Photoshop has filled the background layer in white . As we learned earlier, this is because Photoshop automatically fills the background layer with the current background color. In my case, it was white:

Step 9: Stop recording
At this point, we've done everything we need to do. We've converted the original background layer into a regular layer, and created a completely new background layer from scratch. Since there are no more steps to complete, let's stop recording our action by clicking on an icon Suspension (box) at the bottom of the Actions panel:
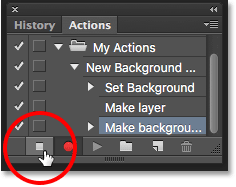
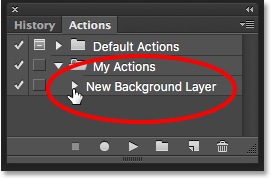
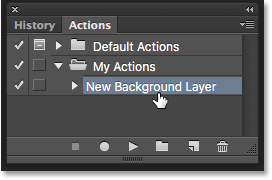
The steps to create a new background layer are now saved as an action! We can see the steps are listed under the procedure name. We don't need to see them, so I'll toggle the action closed by clicking on an icon existing triangle To the left of his name:
And now we only see the name of the action (“New Background Layer”) listed under the “My Actions” group:
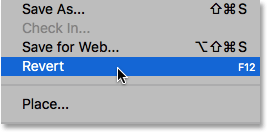
Step 10: Redo the image
Let's test our new procedure to make sure it works. To do this, we will return the image to its original state by going to the “menu” a file At the top of the screen, choose back” :
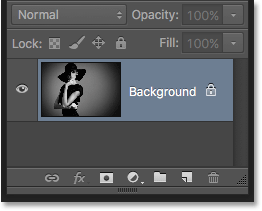
The Revert command in Photoshop restores the image either to its previously saved copy or, as in our case here, to its original, newly opened copy. If we look in the Layers panel, we see that we're back with our image as the document's background layer:
Step 11: Play The Action
Before we test the action, I'm going to switch the foreground and background colors by clicking on the letter X on the keyboard so that it becomes background color right Now black instead of white:

Let's play the action and see what happens. To run it, click on its name in the Actions panel to select it:
Then, click running Code (triangle) to turn it on:
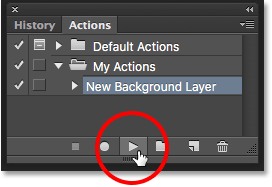
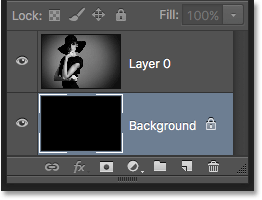
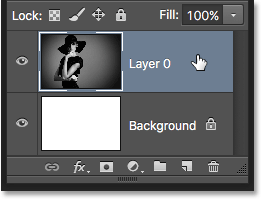
No matter how long it took you to record the steps, Photoshop plays them back right away. And if we look again in the Layers panel, we see that everything is already done! The original background layer has been converted to a regular layer called “Layer 0” and a new background layer has been created and placed below it!
Notice that the preview thumbnail of my new background layer fills with black this time instead of white. This is because I set the background color to black before running the action:
Change the color of the background layer
If you forgot to check the background color before running the action and ended up with the wrong color for the background layer, don't worry. You can easily change its color afterwards. First, make sure the background layer is selected in the Layers panel. Then go to the list Release at the top of the screen and select fill" :
I need the background layer to be white, so I'm going to set an option the use at the top of the Fill On dialog box the White :
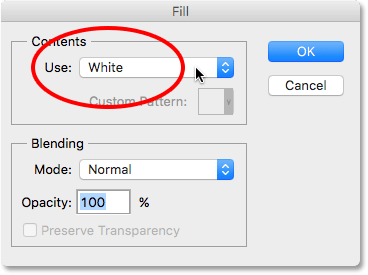
Click OK to close out of the screen, at which point Photoshop fills the background layer with your chosen color. If we look again at the preview thumbnail of my background layer, we'll see that it's now filled with white:
Of course, we haven't actually seen the Background layer yet in the document because the image is preventing it from displaying, so I'll quickly resize my image by first selecting its layer (Layer 0) in the Layers panel:
Then I will move on to the list Editing at the top of the screen and select free conversion :
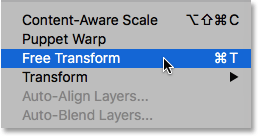
This sets up the free transform box and manipulates the image. I'm going to press and hold on shift+alt (Win) / Shift+Option (Mac) on my keyboard while clicking and dragging the handle in the upper left corner of the image inward to make the image a little smaller. Holding Shift while dragging locks the image's aspect ratio while resizing it, while Alt (Win) / Option (Mac) resizes the image from its center rather than the corner.
With the image now smaller, we can see the white background appear as a border around it:
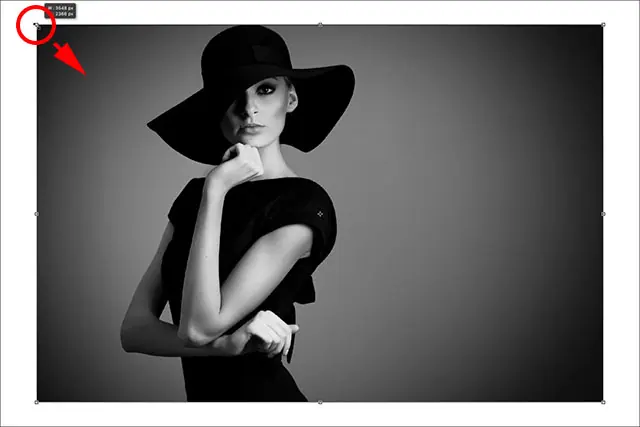
I will press Enter (Win) / Return (Mac) on my keyboard to accept the transformation and close the Free Transform command. Next, I will add a drop shadow to the image by clicking on an icon Layer Styles at the bottom of the Layers panel. This is the same icon that was grayed out earlier when the image was on the background layer:
![]()
I will choose Drop Shadow From the list of layer styles that appears:
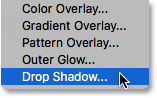
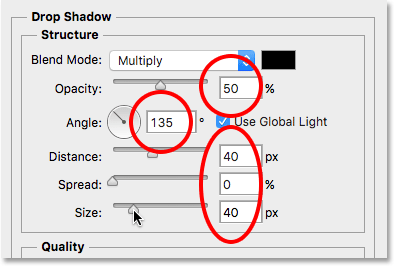
This opens the Photoshop Layer Style dialog set to the Drop Shadow options in the center column. I will adjust corner shade on 135 degrees So that the light source comes from the top left. Then, since I'm working on a fairly large image here, I'll set distance shade to 40 pixels , and I will set a value Size (which controls the softness of shadow edges) on 40 pixels also . finally , I will lower the opacity shade to 50% :
I'll hit OK to accept my settings and close the dialog, here's the end result with the drop shadow applied: