Preparing tools and equipment
To begin the process of manufacturing solar cell panels, the necessary materials and equipment are first prepared, and the most important of these materials are solar cells that can be purchased through the Internet at prices that depend on the country of origin, efficiency, and guarantees that the buyer obtains regarding the purchase process. This is followed by preparing the rest of the tools, which include: A soldering iron, soldering paste, a saw, some wooden boards, protective glasses, voltage and current measuring devices, in addition to a pencil and a ruler.
Work and installation steps
Solar cells are installed as follows:
- The first step is to create a base to install the solar cells on using wooden boards and cardboard, then create a frame that is sized to fit this base using thin wooden boards, making sure that the outer frame is not too high. To ensure that the sun's rays are not blocked, then paint the base, frame, and pegboard.
- Assemble the solar cells and connect them to each other using taping wire and soldering iron, paying attention to the fact that the bottom side of these cells is considered their positive electrode, and the upper side is the negative electrode, and connect the cells in succession with a total equivalent to 36 cells; To give 63 watts, connect strings of solar cells using bus wire.
- Installing a pegboard inside the frame, after placing the solar cells in it temporarily to confirm the location of the screws, then removing them from it after placing the required marks, then drilling two holes at the end of the frame to allow the positive and negative electrical connections to pass through them.
- Install the solar cells and glue them to the pegboard using silicone, then connect the solar cell strings together using welding and bus wires, paying attention to measuring the electrical voltage and current after each connection. To ensure that problems related to the above do not occur at the end of the work, we solder 22 gauge wires with bus wires. Plastic wrap can be used to cover the wires if desired to improve the shape of the solar cell.
- Start with the electrical connections to the solar cell panel, and for this use the deep cycle battery, the charge controller, and the inverter, and connect these units to the solar panel using wires, with the need to pay attention to the connection method. The correct one includes connecting the solar panels with their part in the charge regulator, connecting the battery with its part with the charge regulator, and connecting the inverter with the battery.
- Install another frame of the type of thin wood used to make the outer frame of the solar panel, of an equal size, over the plexiglass after placing it over the solar panels, using screws designated for wood treated against pressure, and pay attention while drilling the glass to attach the screws to it to avoid breaking it.
- Install another panel of thin wood on the back of the solar panel; To support it, it is recommended to install a box on the back of the solar panel that contains a blocking diode to prevent the electric current from returning in the opposite direction. As a precautionary step in cases of power surges, the solar cell panel is thus ready to be installed on the roof.
The working principle of solar cells
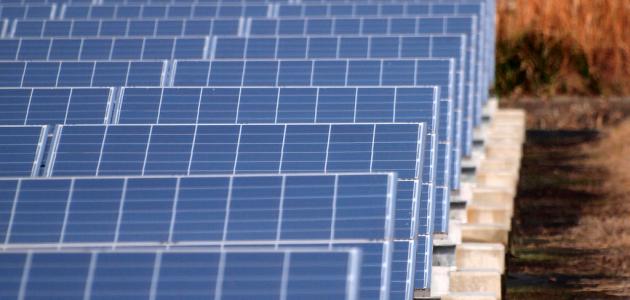
Solar or photovoltaic cells convert light energy into electrical energy. Most types of these cells are made of silicon, taking into account differences in efficiency and cost. Unlike other units that convert energy into electrical energy, such as batteries or fuel cells, solar cells do not depend on interactions. Chemicals or fuel to produce electrical energy, and it does not contain moving parts like electric generators.
Read also:The importance of information technology


