


How to install Adobe Bridge
Step 1: Open the Creative Cloud app
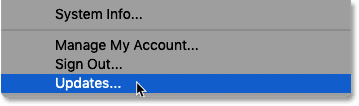
First, we need to open the Creative Cloud app. And the easiest way to open it is from within Photoshop.
in Photoshop , go to List Instructions in the menu bar and select Updates :
Step 2: Scroll down to Bridge
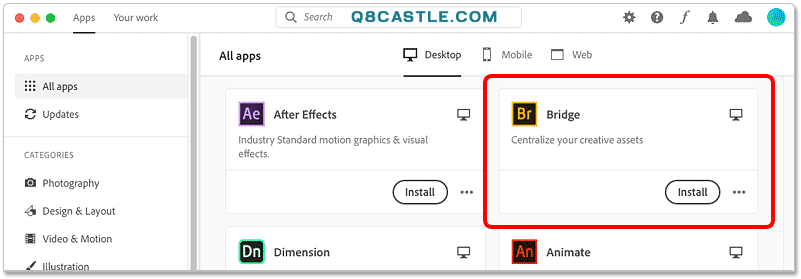
The Creative Cloud app opens with a list of all the Adobe software currently installed on your computer.
Below is a list of other available applications. The number of apps available depends on your Creative Cloud subscription, but Bridge is included with all of them.
Scroll down the list until you see it Bridge :
How to install Adobe Bridge
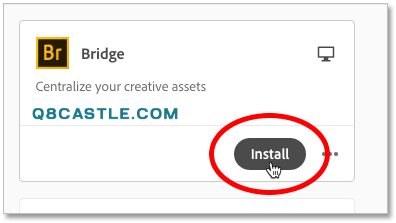
Step 3: Click on Install
Then to install Bridge, you just need to click a button Installation :
Installation may take a few minutes:
Read also:How to access Photoshop preferences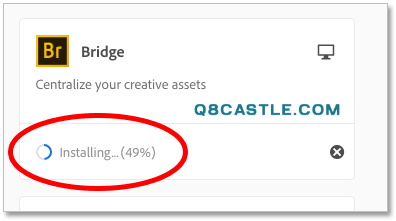
When finished, Bridge will move to the top of the list in the Creative Cloud app so it appears with your other installed programs.
You can now open Bridge at any time from within the Creative Cloud app by clicking the button open .
Read also:Explanation of tools in Photoshop


