

Photoshop Layers - Layer groups
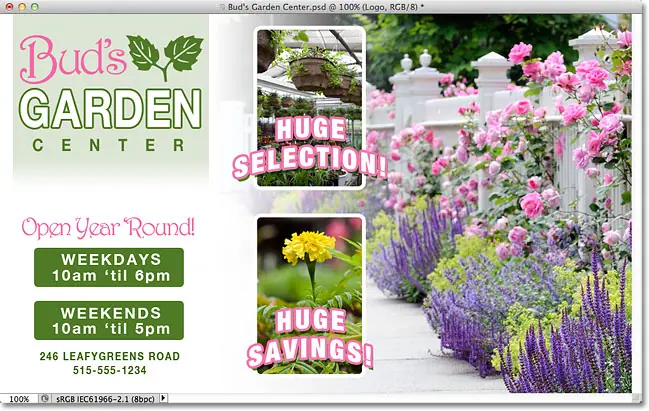
Here is a creative of an ad I opened on my screen for a fictional garden center:
If we look at my Layers panel we see that although I've gone ahead and renamed many layers
There are still quite a few layers to sort through. In reality
I had to split the Layers panel in half here to fit it more easily on the page. The upper half on the left and the lower half on the right:
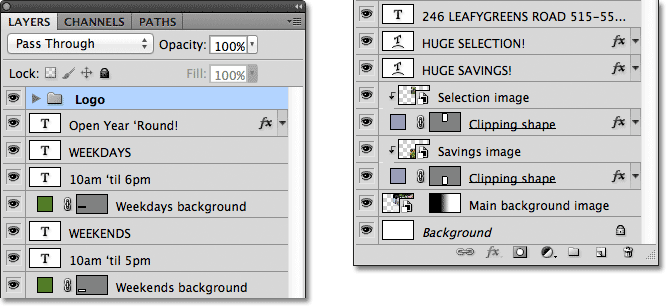
It may seem like there are a lot of layers in your document, but there really are layers أكثر from what we see. If we look at the top of the layer stack
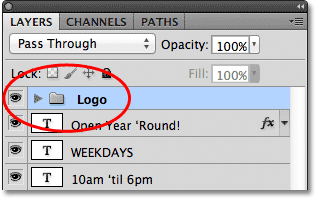
You'll notice that I've already added a layer group, which I name "Logo." We know it's layered because Existing folder icon To the left of the group name:
Opening and closing layer groups
I've gone ahead and placed a few layers inside the group, but by default, the layer groups are locked
Read also:Managing panels Photoshop CCThis is why we can't see any of the layers inside. To open a group, just click on triangle icon The little one to the left of the folder icon:
![]()
This opens the group and displays the layers inside it. Photoshop lets us know which layers are part of a group by indenting them slightly to the right.
Here, we can see that my logo group contains five layers (“Bud's”, “GARDEN”, “CENTER”, “leaves” and “Logo background”). To close a layer group after opening it, just click again on the triangle icon:
![]()
You might have guessed that the reason I put these five layers in a group called "Logo" is because those are the layers that make up the "Bud's Garden Center" logo design in the upper left corner of the document:
![]()
One of the added benefits of using layer groups, besides keeping things organized, is that they make it easy to turn several layers on or off at once in a document.
Read also:How to convert a photo into a drawing using PhotoshopNormally, to turn one layer on or off, we press Its layer visibility icon (“eyeball”) on the far left of the layer in the Layers panel.
We can do the same with layer groups. Each group has its own vision icon. I'll pause the "Logo" group by clicking on the eyeball:
![]()
With group itself turned off, the five layers within the group are instantly hidden in the document. To turn them all back on at once
I would simply need to click again on the group visibility icon:
![]()
Create a new layer group Let's look at how to create a new layer group.
The quickest and easiest way to create a new group is to click on an icon New Layer Group at the bottom of the Layers panel. It's the icon that looks like a folder:
![]()
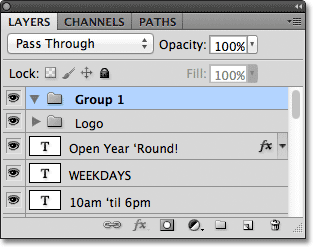
Photoshop will create a new layer group, give it a default global name (in this case, “Group 1”) and place it directly on top of whatever layer or layer group is selected when you click the New Layer Group icon.
Read also:Explanation of the Rectangular Marquee ToolIn my case, my "Logo" group was selected, so Photoshop placed the new group on top of it:
The problem with creating new layer groups this way is that all we did was create an empty group. There are no layers inside it. to place the layers in the group
We need to select and drag them manually. I will press Ctrl + Z (Win) / Command + Z (Mac) on the keyboard to undo my last step and remove the group I added.
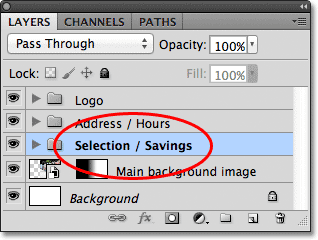
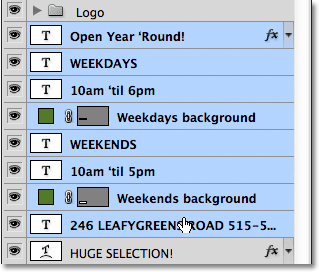
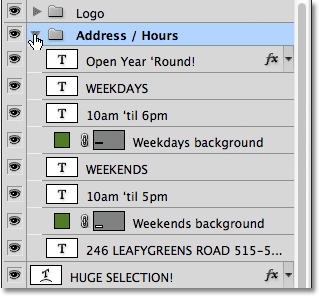
The best way is to first define the layers we want to put inside the group. For example, let's say I want to take layers that show a garden center's address and hours
(in the lower left corner of the layout) and put it inside its own group. There are eight layers in total that I will need to select. To do this, I'll start by clicking on the highest layer I need (the 'Open Year 'Round' text layer):
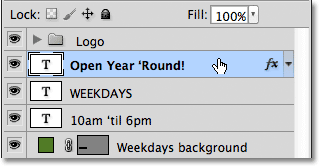
Next, I'll hold down a key Shift and I'll press on the bottom layer. This selects both layers, as well as all layers in between. I now have eight layers selected.
It's very important to note here that all of the layers I'm about to put inside a group are sitting directly above or below each other in a connected column.
Trying to group layers scattered all over the Layers panel together, with other layers in between, will cause problems with your layout. Layer groups work best with layers on a continuous column such as these:
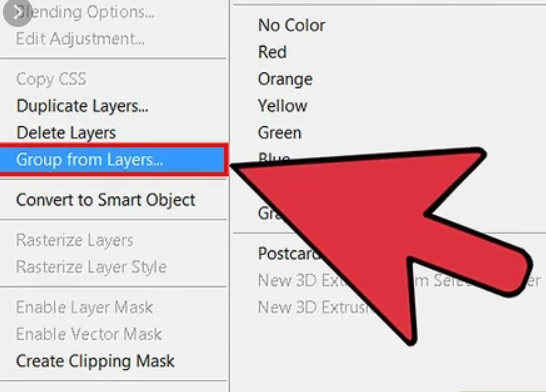
With all the layers you want selected, click menu icon In the upper right corner of the Layers panel (in earlier versions of Photoshop, the menu icon looks like a small arrow):
![]()
Locate New set of layers From the list that appears:
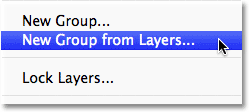
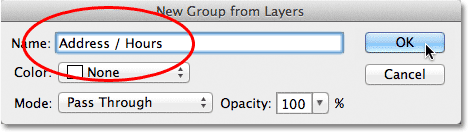
Photoshop will open a dialog asking you to name the new group. I'll call it "address/hours". Click OK when you're done closing the dialog:
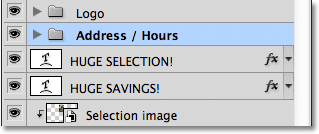
We can see in the Layers panel that I now have a new layer group called “Title/Hours” located below the “Logo” group.
As I mentioned earlier, the new group is closed by default so currently the layers are nested away within it:
If I want to see the layers within the group, I can rotate the group by clicking on its triangle icon, and now all XNUMX layers are visible:
I'll close the group again so we can see that once those XNUMX linked layers are put into a layer group
I was able to save quite a bit of space in the Layers panel and greatly reduce clutter:
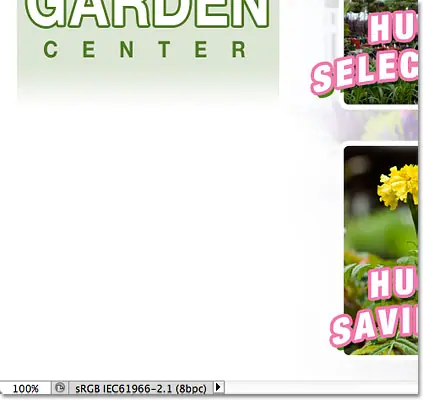
Just as we saw earlier with the "Logo" group, I can now turn off all layers within the "Title/Hours" group at once by clicking the group's visibility icon:
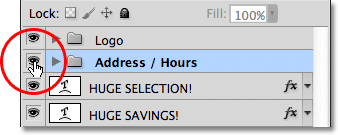
Immediately, all information in the lower left corner of the layout is turned off.
I can turn it back on anytime I want by clicking again on the group visibility icon:
There are many other things we can do with group layers in Photoshop besides turning them on and off. We can move them all at once using the Move tool
And we can resize and reshape them all with a command free conversion . We can even add layer masks To the groups! To avoid going completely off topic
In this tutorial we'll focus on the main purpose and benefits of layer groups, which is to keep our layers and the Layers panel better organized.
Shortcodes, Actions, and Filters plugin: shortcode error [ ads-basics-middle-2 ]
Remove layers from the group
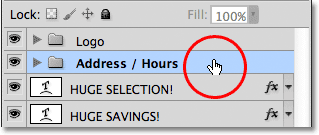
If, after grouping the layers together, you need to ungroup them
The easiest way to do this is Right click (Win) / Control-click (Mac) Anywhere in the group in the Layers panel:
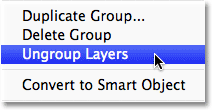
Then choose Ungroup Layers From the list that appears:
This returns the layers to their original, ungrouped state. The layer group itself has been deleted:

Groups nested within other groups
Not only does Photoshop let us group layers together, it also lets us group layers! For example
I'd like to take the two layer groups I've already added ("Logo" and "Title/Hours") and put them together inside another new group.
Grouping two or more layer groups together is not the same as grouping individual layers. Firstly
We need to decide which groups we want. You have already selected the "Title/Hours" group
So I will hold down a key Shift And click on the “Logo” group above. This selects both groups at once:
With both groups selected, I'll click on menu icon in the upper right corner of the Layers panel, just as you did before:
![]()
I will choose New set of layers from the list that appears. It still says "new group of layers" even though we're already creating a new group from other groups:
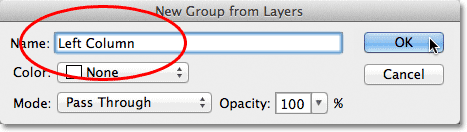
I'll name the new group "Left Column" in the dialog that appears, since the contents of the "Logo" and "Title/Hours" groups make up the left column of my layout:
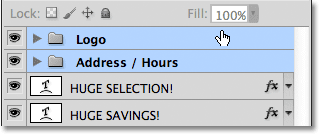
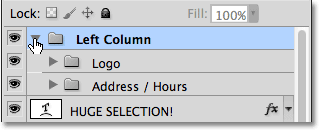
I'll click OK to close out of the dialog, at which point Photoshop creates a new layer group called Left Column.
If you rotate the new group by clicking on its triangle icon, we see the “Logo” and “Title/Hours” groups nested inside it:
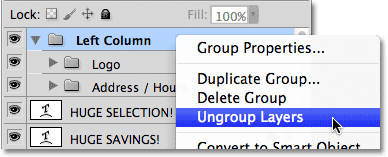
Groups are also removed from a larger group in the same way as individual layers are ungrouped.
You just need to click right-click (Win) / Control-click (Mac) Anywhere in the Layers group in the Layers panel and choose Ungroup Layers From the list that appears:
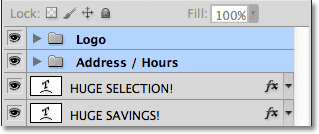
And now back to the two groups of individual layers:
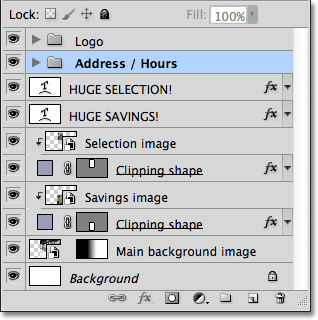
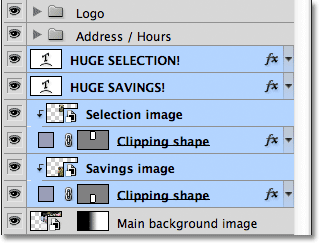
To finish organizing my Layers panel, I'll quickly select all the layers that make up the middle column of the layout ("Huge Selection!" and "Huge Savings!" text and images):
If you're the type who prefers keyboard shortcuts to menu commands
The really quick way to create a group of selected layers is to simply press Ctrl + G (Win) / Command+G (Mac) on the keyboard. Photoshop will instantly put your layers into a group
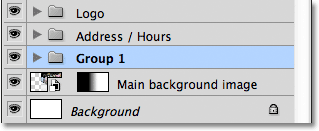
Although it will give the group a default generic name instead of giving you the chance to name it first. Here, my layers have been placed into a new group called "Group 1":
To ungroup layers using a keyboard shortcut, press Shift + Ctrl + G (Win) / Shift + Command + G (Sword).
To rename the group and give it a more descriptive name, double-click directly on the group name in the layers panel and type in a new name.
As if you were renaming a normal layer. I'm going to call it "choice/thrift". Click on Enter (Win) / Return (Mac) When you're done accepting the name change: