
How to create transparent text
Create transparent text using Photoshop's blending options. But layer effects can give you more interesting and creative results because there are so many effects to choose from!
The trick to creating transparent text with layer effects is knowing how to make the text itself transparent while keeping the layer effects visible.
So once you've added our text to the image, I'll show you how to mask the text without masking your strokes, drop shadows, glows, or any other effects you've applied! Let's see how it works.
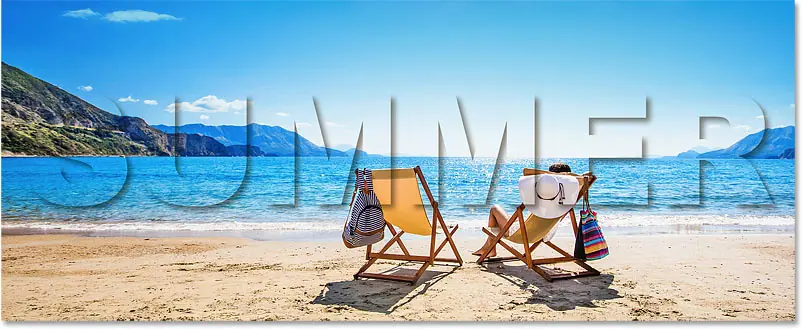
Below is an example of what the transparent text effect would look like. Your result will depend on the layer effects you use:
The ultimate transparent text effect.
Step 1: Open your photo
Start by opening your image in Photoshop. I will use this image
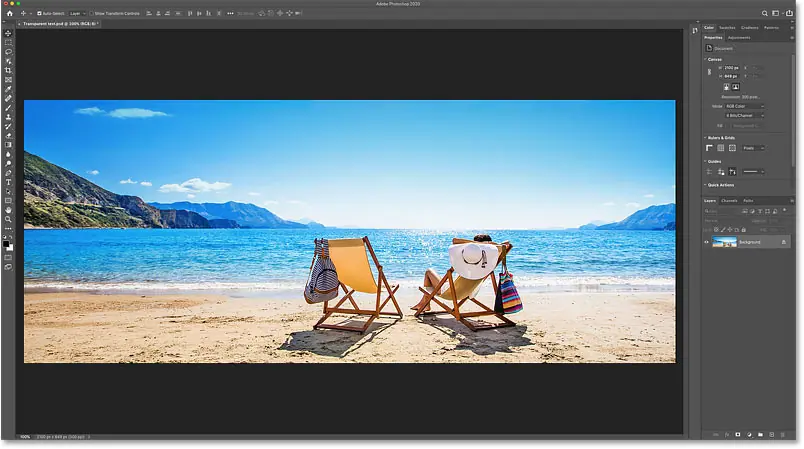
The original picture. Credit: Adobe Stock.
Step 2: Select the Type Tool
To add your own text, select a tool Writing from the toolbar:
Choose a writing tool.
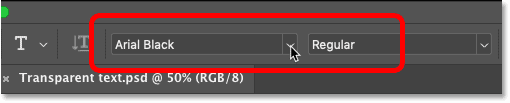
Step 3: Choose your font
Then in the options bar choose your font. Any font will work, but larger, thicker fonts work best.
I'll keep things simple and go with Arial Black:
Font selection.
set حجم write on 72 points So we start with the largest preset size:
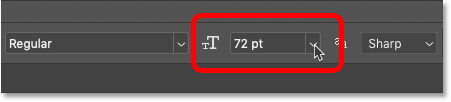
Determine the size of the type.
Then choose color for your type by clicking color swatch :
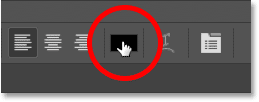
Clicking the color swatch.
Since we are going to make the text transparent, the color does not matter. But choose one that is easy to see while adding text to the image. I will choose white.
Click OK when you're done closing the Color Picker:
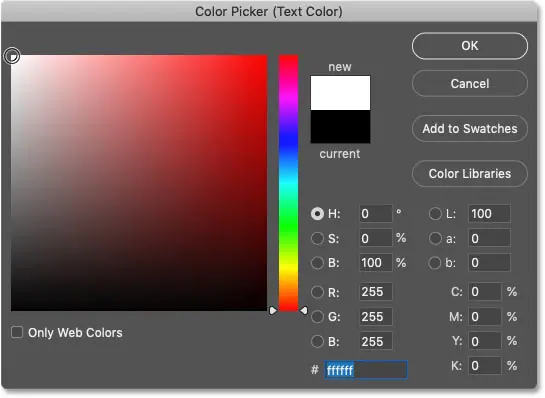
Set the writing color to white in the Color Picker.
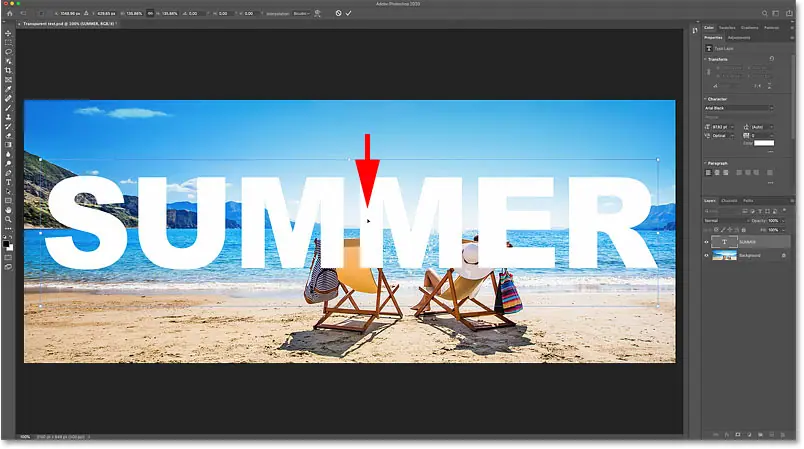
Step 4: Add your text
Next, click on Document and add your text. I will write the word "summer":
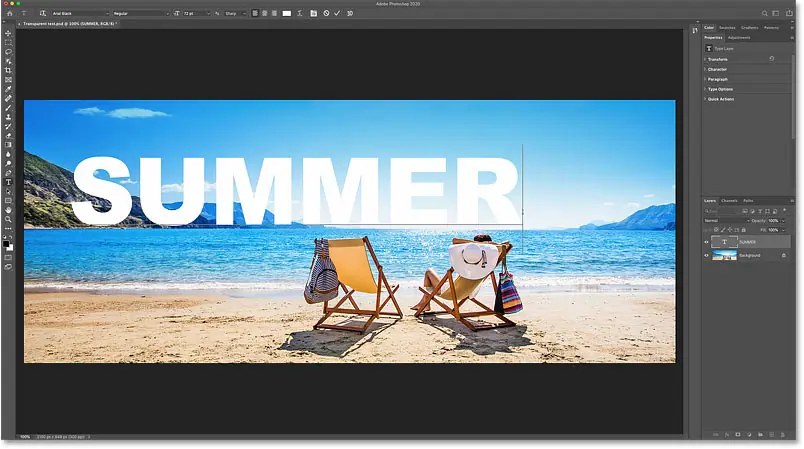
Add text to the document.
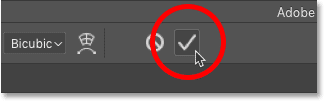
To accept it, click check mark In the options bar:
Clicking the check mark.
Step 5: Resize and reposition the text using Free Transform
To resize and move the text into place, we'll use Photoshop's Free Transform command.
go to menu” Release in the menu bar and select free conversion :
Go to Edit > Free Transform.
Then to change the size of the text, click and drag any of the handles. As of Photoshop CC 2019, Free Transform automatically locks the aspect ratio of text while dragging. But if you are using an earlier version of Photoshop, just hold down a key Shift while dragging to lock the aspect ratio in place.
Here I drag the left and right handles out to make the text bigger:
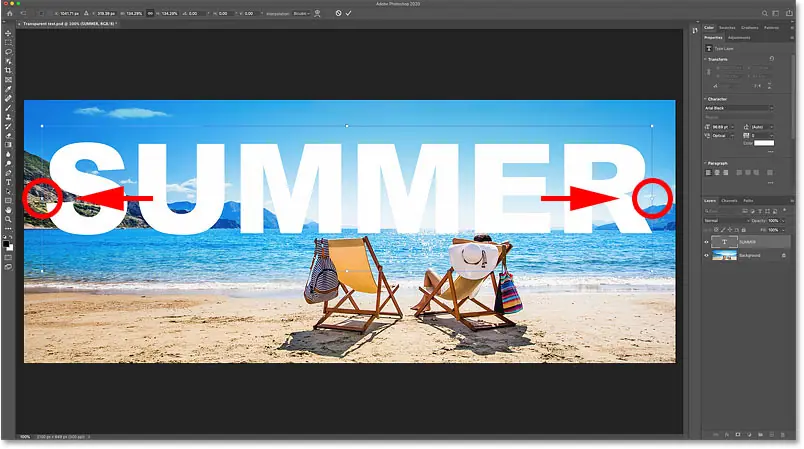
Resize the text by dragging the Free Transform handles.
Then to change the position of the text, click and drag inside the Free Transform box.
I'll drag down to center my text in front of the image:
Drag the text down to center it.
To accept it and close the free transfer, click check mark In the options bar:
Clicking the check mark to close the Free Transform.
And in the Layers panel, the text appears on write layer top photo:
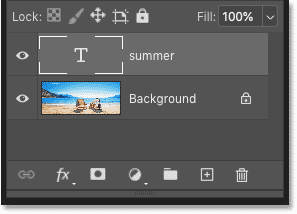
The Layers panel in Photoshop displays the new type layer.
Step 6: Lower the Type layer's Fill to 0 percent
Now that we've added the text, how do we make the text transparent? There are two ways to do this. One of them is by devaluing opacity Class, the other by decreasing the value packing . Both options are in the upper right of the Layers panel:
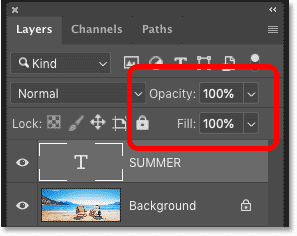
Opacity and Fill can both be used to make a layer transparent.
Layer opacity vs fill
The difference between opacity and fill is that the opacity affects each layer و Any layer effects that you have applied. So if we lower the opacity to 0 percent, both the text and the effects will be transparent, which is not what we want.
But the fill value only affects the layer itself. Or in this case, just text. It doesn't affect things like drop shadows, borders, or other effects you've applied to the text.
So to make the text transparent, Qom devalue packing To 0 percent :
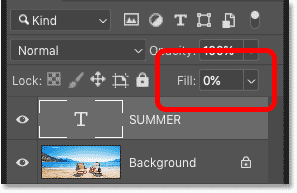
Reduce Fill to 0 percent.
As the fill value decreases, the text disappears:

The result after decreasing the fill value of the type layer.
Step 7: Add a Drop Shadow to the text
Now that our text is transparent, we can use layer effects to reveal the shapes of the letters. For example, let's add a Drop Shadow.
In the Layers panel, click an icon fx At the bottom:
![]()
Clicking the Layer Effects icon.
And choose Drop Shadow From the list:
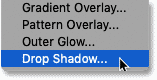
Choose "Drop Shadow".
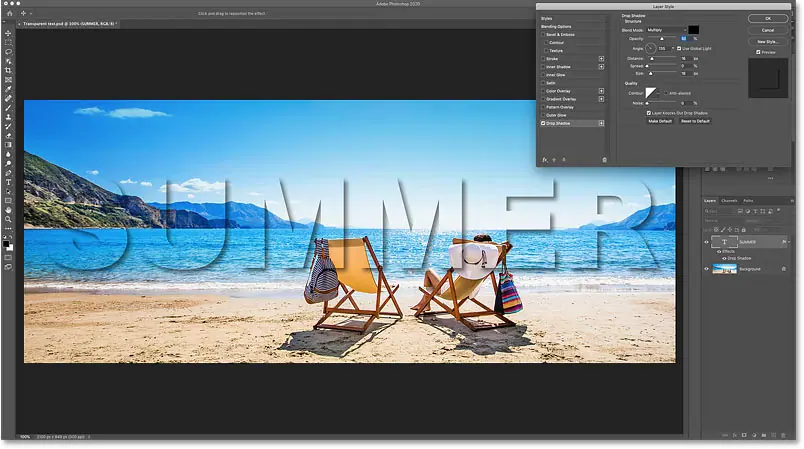
The drop shadow options open in the Layer Style dialog box in Photoshop.
angle and distance
Start by tuning corner و Diameter From the shade:

Angle and distance options for the drop shadow.
The easiest way to adjust angle and distance values is to click and drag within the document. Notice that although the text is transparent, the shadow is still hidden behind it, revealing the letters:

The drop shadow reveals the transparent letters.
You can also enter specific values in the dialog box. I wiped corner To 135 degrees و Diameter To 16 pixels . The values you need will depend on your image:

Adjust angle and distance.
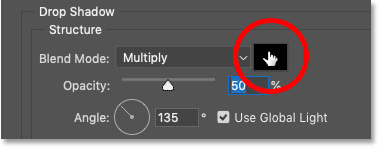
Opacity
Use a slider Opacity Sets the transparency of the drop shadow. I'm going to darken the shadow by increasing the Opacity to 50 percent :
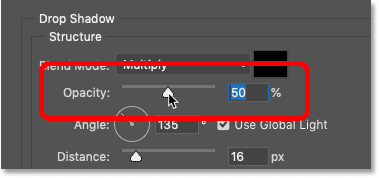
Increase the opacity value of the drop shadow.
size
You can soften shadow edges by increasing the value Size . I will add mine to 16 pixels :
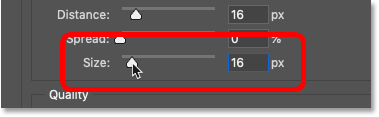
Soften the edges of the drop shadow by increasing the size.
Here is my result so far:
The drop shadow reveals the transparent text.
the color
The default shadow color is black, but you can change it by clicking color swatch :
Clicking the drop shadow color swatch.
Then choose a new color, either from the Color Picker or by sampling a color from the image.
I will click to sample the sand color:
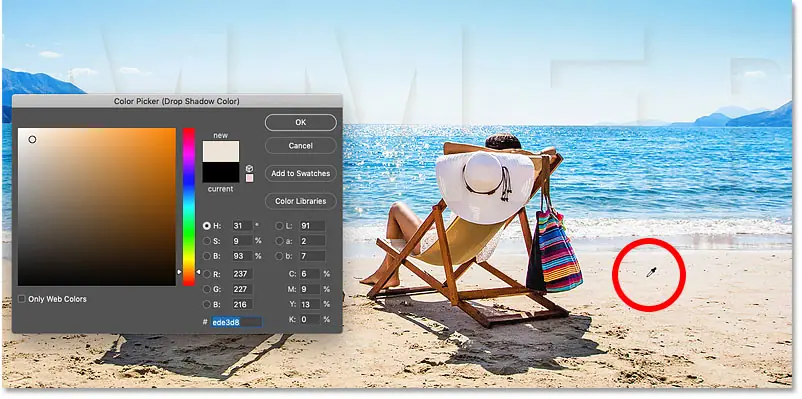
Click on the image to try a new color for the drop shadow.
And then in the Color Picker, I'll choose a darker saturated version of that color.
Then I'll hit OK to close the Color Picker:
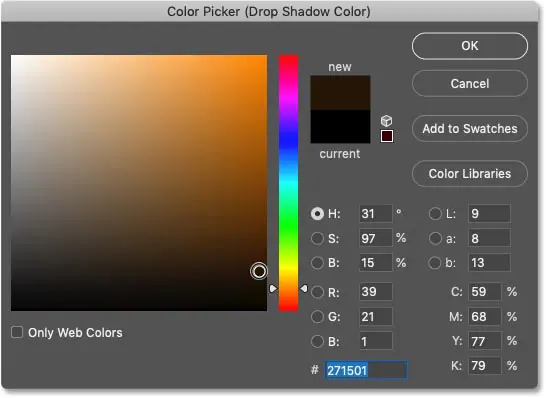
Dark, saturated colors work best with drop shadows.
And this is the result. Once we add the drop shadow, we can actually see our transparent text:
The first layer effect is added to the text.
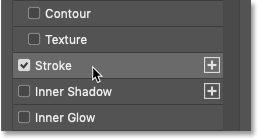
Step 8: Add a border around the text
Let's add more effects. In the Layer Style dialog box, choose Stroke from the column on the left. We can use a stroke to add a stroke around the letters:
Add a brush stroke layer effect.
the color
Choose a color for the border by clicking color swatch :
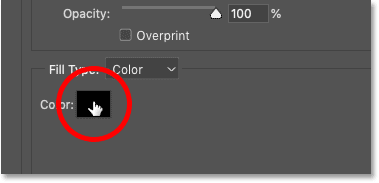
Clicking the border color swatch.
Then, just as with the drop shadow, choose a new stroke color either from the Color Picker or by sampling a color from the image.
I would choose something close to white by sampling a color from the brightest part of the sand. Then I'll hit OK to close the Color Picker:
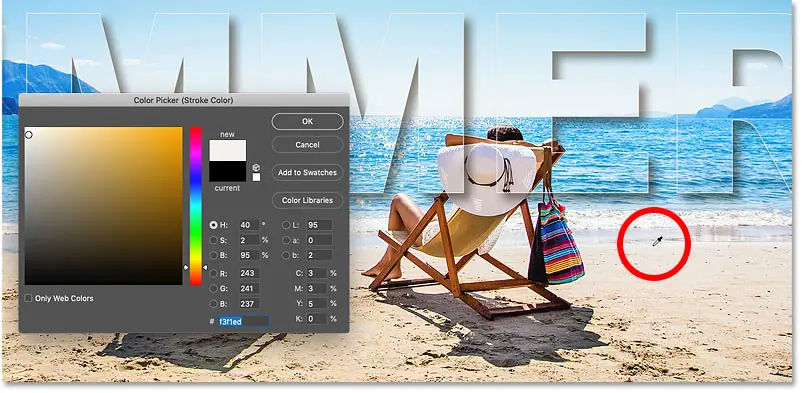
Sample a new border color from the image.
position
based choice position Move your stroke either inside the edges, outside the edges, or centered at the edges of the text. I will choose the outside :
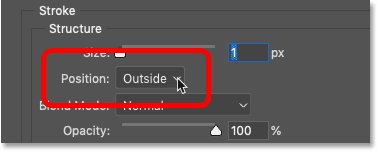
Determine the position of the stroke.
size
Then set the stroke width by dragging a slider Size . I will increase the size to 6 pixels :
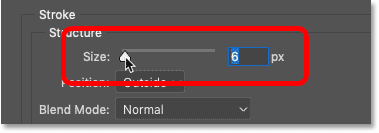
Determine the stroke size.
And here's my transparent text with the drop shadow and stroke applied:

The stroke makes the transparent characters easier to see.
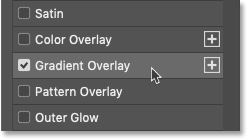
Step 9: Add a Gradient Overlay
The third and final effect We will add it . Gradient Overlay . By adding a gradient and then changing the gradient blending mode, we can increase the contrast of the image within the text.
Choose Gradient Overlay from the left column:
Add a gradient overlay effect.
Step 10: Choose the Black and White Gradient
Then choose a gradient by clicking the arrow next to the gradient swatch:
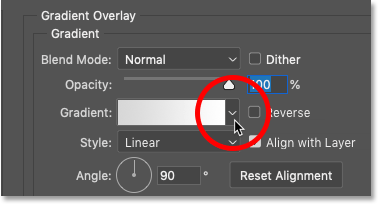
Choose a different hue.
Select the color gradient black and white Double-clicking on its thumbnail.
In Photoshop CC 2020 and later, gradients are grouped into folders. You will need to open a folder Circular basics To find the gradient:
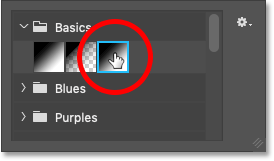
Choose a black and white gradient.
The scaling will temporarily prevent the image from being rendered:

Initial result with Gradient Overlay effect.
Step 11: Change the blend mode of the gradient to Overlay
Then to blend the gradient with the image, change blend mode Gradient from Normal to Overlay:
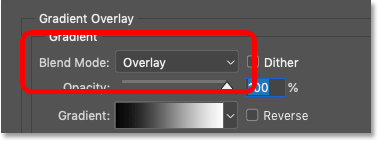
Change the blending mode to Overlay.
Now the contrast of the image inside the text is stronger than the surrounding image:

Transparent text with a Gradient Overlay effect applied.
Turn off other layer effects
To see the Gradient Overlay effect more clearly, turn off the Stroke and Drop Shadow effects by unchecking them:
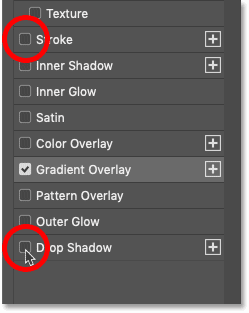
Deselect Stroke and Drop Shadow.
And now we see how the contrast highlights the letters:

Effect using only the Gradient Overlay effect.
Try the Soft Light blend mode
If the contrast is too strong, like with my photo, try blend mode Soft Light Instead of that:

Change the gradient blend mode to Soft Light.
Soft Light creates a similar but less intense result:

The result after changing the gradient's blend mode to Soft Light.
Replay other effects
To turn Stroke and Drop Shadow back on, click again inside their checkboxes:
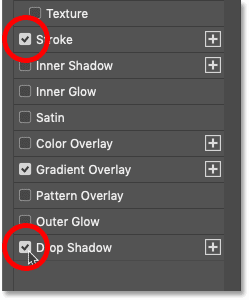
Play Stroke and Drop Shadow.
Step 12: Close the Layer Style dialog box
At this point, you can try adding other layer effects, or you can accept your own by clicking OK to close the Layer Style dialog:
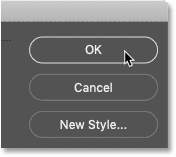
Clicking the OK button.
In the Layers panel, the effects we added to the text appear below the type layer.
You can click vision icon next to the effect name to toggle the effect on and off. Or you can directly double-click the name to reopen the Layer Style dialog and edit the effect if needed:
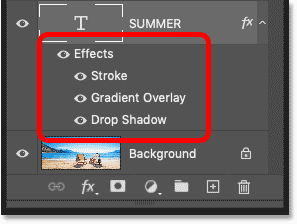
Layer effects have been applied to the text.
Step 13: Select the text
So we learned how to create a transparent text by lowering the fill value of the type layer and then adding layer effects. But we can enhance the effect further by lightening, darkening, or adding color to the surrounding image. To do this, we first need to define the area around the text.
In the Layers panel, press and hold Ctrl . key (Win) / Command (Mac) on your keyboard and click on the type layer thumbnail:
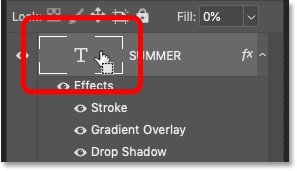
Clicking the type layer thumbnail.
This loads a selection around the characters:

The text itself is selected.
Step 14: Flip the Selection Over
Then to set everything Except text, flip the selection by going to List selection and choose inverse :
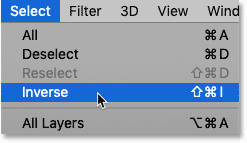
Go to Select > Inverse.
Step 15: Select the image layer
Back in the Layers panel, click on your image layer to select it:
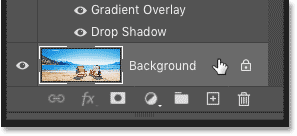
Choose the image layer.
Then click icon New Fill or Adjustment Layer :
![]()
Click the New Fill or Adjustment Layer icon.
and choose a fill layer solid color :
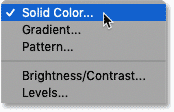
Add a solid color fill layer.
In the Color Picker, choose a color for the fill layer. I'm going for black for now, but I'll show you how to change the color in a moment.
Click OK when done:
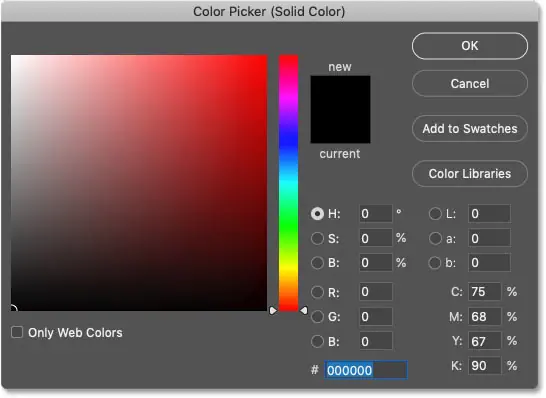
Choose a color for the fill layer from the Color Picker.
And the color now fills the surrounding areas of the text:

The result after adding a black fill layer.
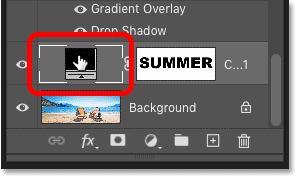
In the Layers panel, the fill layer appears between the image and the type layer.
The reason the fill layer doesn't affect the image within the characters is because Photoshop used the selection we made to create a layer mask, as we can see in Layer mask thumbnail . The white areas on the mask are where the fill layer is visible, and the black areas are where it is hidden:
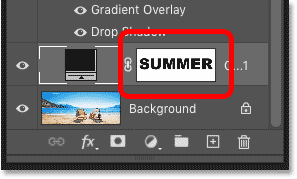
The layer mask controls the visibility of the fill layer.
Step 16: Lower the fill layer's opacity
To blend the color with the image, lower blackout fill layer.
I'll lower mine to 60 percent:
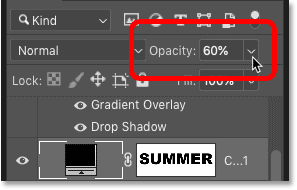
Decrease the opacity of the fill layer.
As the opacity decreases, the image appears through the fill layer. And since the fill color is black, it creates a dark effect:

The result after darkening the area around the transparent text.
How to change the color of the fill layer
To try a different color, double-click color swatch packing layer:
Double-click the color swatch.
Then choose a new color, again from the Color Picker or from the image.
Since I sampled the colors directly from the image, I'm going to choose orange by clicking on the back of the chair. Then I'll hit OK to close the Color Picker:
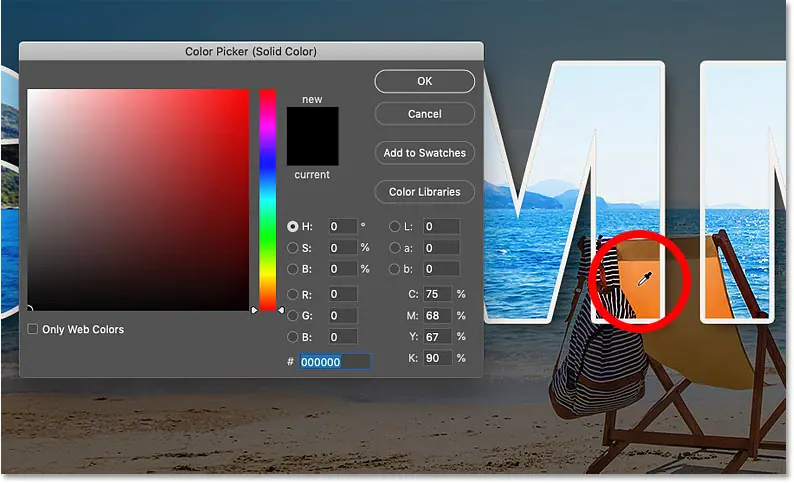
Sample a new fill color from the image.
Change the blending mode of the fill layer
Since I chose an actual color this time, I'm going to make a change blend mode For the packing layer from plain to Colored :
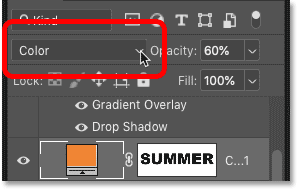
Change the layer's blend mode to color.
The color blend mode restores the original brightness of the image and blends only the color:

The result with the new fill color and blend mode.
Related topics: How to unify the colors in an image!
Lower the fill layer's opacity
Finally, I will reduce the intensity of the color by reducing opacity Filling layer to approx 25 percent :
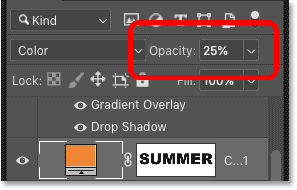
Lower the fill layer's opacity.
You can toggle the fill layer on and off to compare the effect to the original image by clicking vision icon :
![]()
Clicking the fill layer visibility icon.
And here, with now more accurate color, was the end result:

The ultimate transparent text effect.


