
How to put two photos side by side in photoshop
We'll start by learning how to load your images into layers within the same Photoshop document. And then I'll show you how to put the two pictures next to each other.
Step 1: Choose the "Upload files to Stack" command.
The first thing we need to do is open the photos. By default, Photoshop opens images in their separate documents. But since we want to display the images side by side, we need them to be in The same the document.
So instead of using the 'Open' command, go to the 'menu'. a file in the menu bar, and select scripts , then choose Load files into the stack :
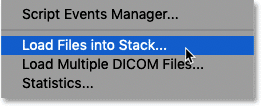
Go to File > Scripts > Upload Files in Stack.
Step 2: Select your photos
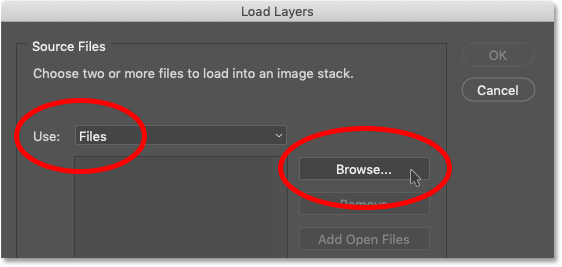
In the Load Layers dialog box, set Use to Files , then tap Browse :
Load Layers dialog box.
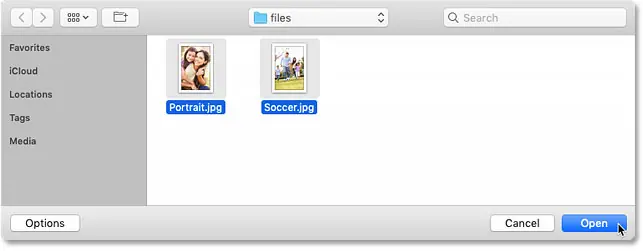
Go to the photos you want to open. Click on the first image, then press and hold a key Shift And click on the second picture. This selects both images at once. Then click open :
Selecting photos and clicking on “Open”.
Step 3: Load the images into Photoshop
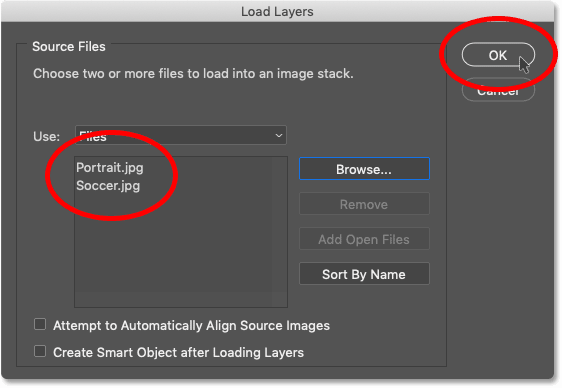
Returning to the Load Layers dialog box, the names of the images you selected appear.
Leave the two options at the bottom (“Attempt to automatically align source images” and “Create Smart Object after loading layers”) unchecked. Then load the images into Photoshop by clicking OK :
Clicking OK to load the images into Photoshop.
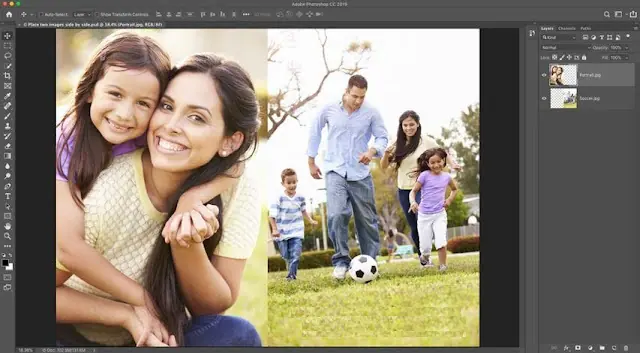
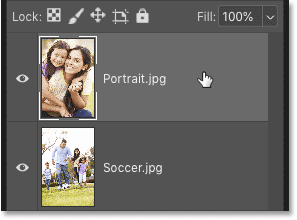
Photoshop loads both images into the same document. And in the Layers panel, each image appears on its own layer.
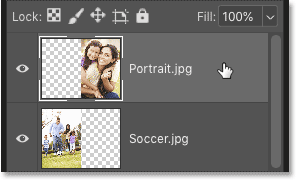
File names (in my case, “Portrait.jpg” and “Soccer.jpg”) are used as layer names:
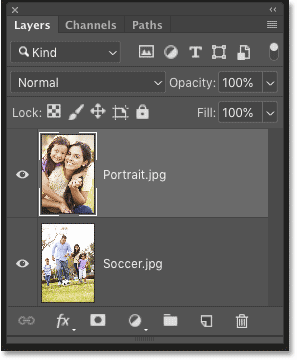
The Layers panel displays each image on its own layer.
View the two photos
Because the images are stacked on top of each other, only one image appears at a time. At least for the moment.
Here is my picture in the top layer (mother and daughter image from Adobe Stock):
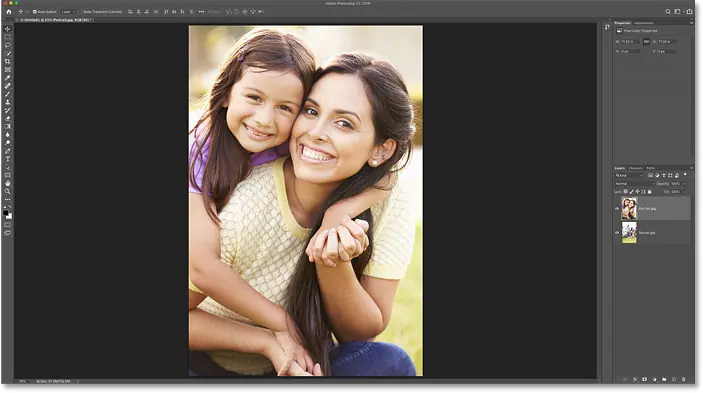
The first two pictures. Image credit: Adobe Stock.
And if you turn off the top layer by clicking its visibility icon:
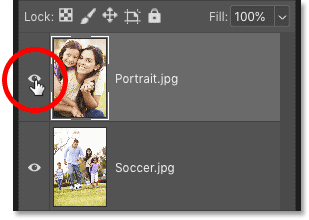
Hide the image on the top layer.
We see the image on the bottom layer (football image from Adobe Stock):

second picture. Image credit: Adobe Stock.
Before we go any further, I'll turn the top layer back on by clicking again on its visibility icon:
Restart the top layer.
Related: Learn all about layers in Photoshop!
Step 4: Select the Move Tool
Now that both images are in the same document, how do we put them side by side?
One way is to add more canvas area to your document using Photoshop's canvas size command, then drag an image into the new area.
But we can actually do both of those things, and move an image و Add more canvas space at the same time, using a simple trick.
First, select move tool From the toolbar:
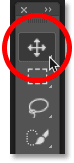
Choose the Move Tool.
Step 5: Make sure that 'Snap' and 'Snap To Document Bounds' are enabled
To use this trick, we'll need the image to snap to the edge of the document when we drag it. For this to happen, two options need to be turned on. Both are on by default, but it's a good idea to double check.
Go up to a list Display in the menu bar and make sure it is enabled Snap . You should see a check mark next to their name:
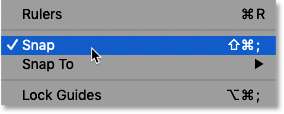
Make sure Snap is on (checked).
Then just below the Snap option, choose snap-to This time, make sure to select Document borders . Do not click any of these options if they already have a check mark next to them or you will turn them off:
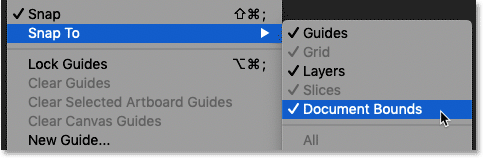
Also, be sure to check out Snap To Document Bounds.
Step 6: Select the top layer
In the Layers panel, select the image on the top layer:
Click on the top layer to select it.
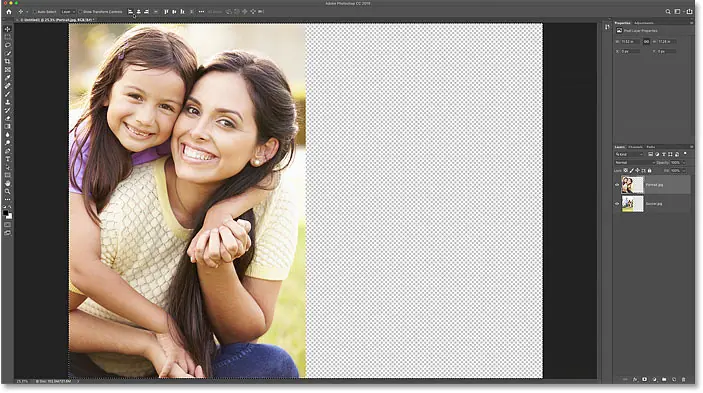
Step 7: Drag the image to the side of the other image
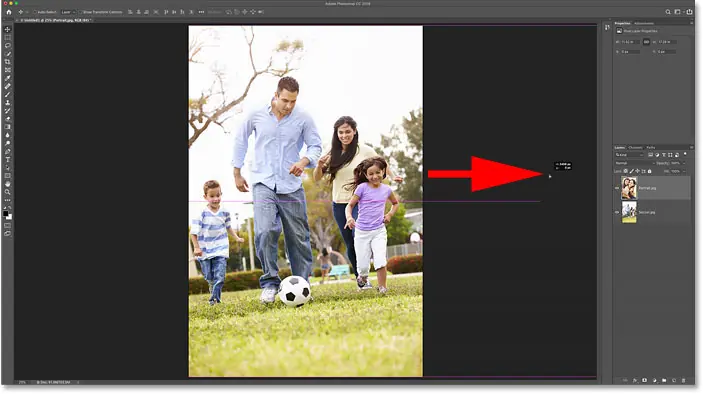
Then with the move tool selected, click on the image in the document and start dragging it to the left or right of the image below it. I will swipe to the right. Press and hold a key Shift while dragging to determine which direction you can move, making it easier to drag directly across.
Don't worry about the top image disappearing as you drag it off the canvas. We'll get back to it shortly:
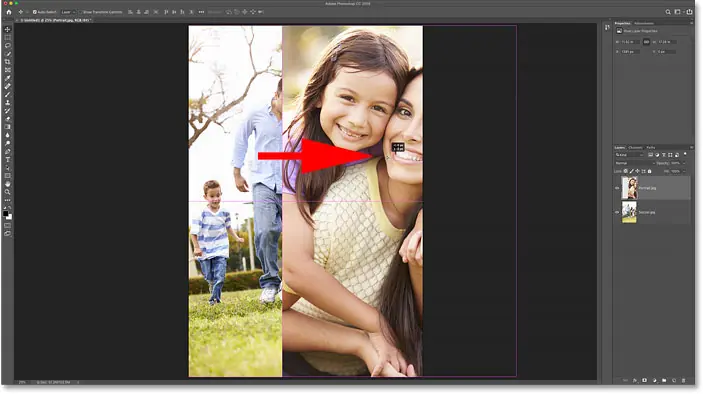
Drag the top image to the right of the bottom image.
The image snaps to the edge of the document
Once you get close enough to the edge of your document, your photo will suddenly snap to the edge.
When this happens, release the mouse button, then release the Shift key (in that order). The top image is now hidden, sitting on the side of the panel:
The top image is hidden to the side.
Step 8: Choose "Detect All"
To bring both images back into view, go to List Pictures in the menu bar and select Reveal all :

Go to Image > Reveal All.
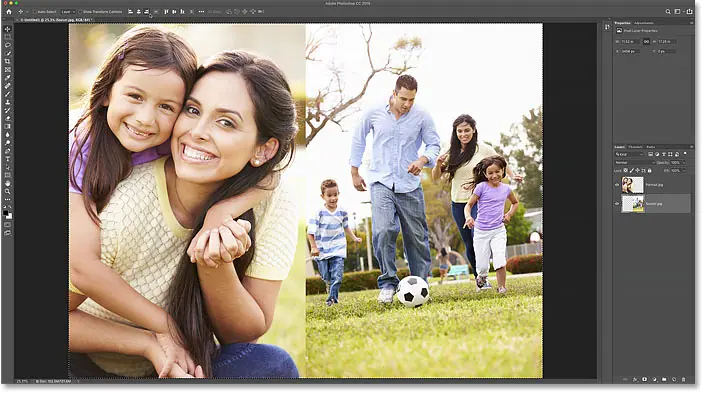
Photoshop instantly resizes the canvas to fit both images. Just like that, the images now appear side by side:
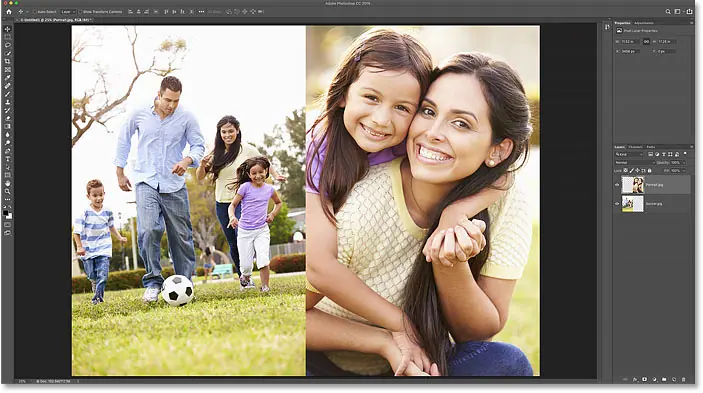
The result after selecting "Reveal All".
And that's how easy it is to put two images side by side in Photoshop!
But what if you thought the images would look better if they were shifted, so that the image on the left was moved to the right, and the image on the right to the left? Here's a quick way to swap them out.
Step 1: Select the Move Tool
First, make sure that move tool Still selected in the toolbar:

Ensure that the Move tool is active.
Step 2: Select the entire panel
We won't be using the Move tool itself, but it must be active in order for us to access Photoshop's layer alignment options. We'll swap the images by aligning their edges with the edges of the canvas.
To do this we need to select the entire board, so go to List selection in the menu bar and select All . A selection outline will appear around the edges of the document:
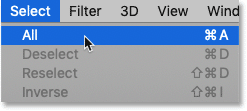
Go to Select > All.
Step 3: Select the top photo
In the Layers panel, click the top image to select it:
Choose the top layer.
Step 4: Click on the “Align Left Edges” or “Align Right Edges” icon
Then in the options bar, click on the icon Align the left edges or icon Align the right edges , depending on which direction you need to move the image.
In my case, I want to move the image from the right side to the left side, so I'll click on the Align Left Edges icon:
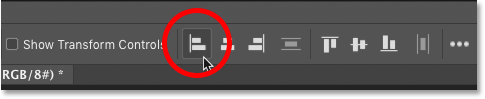
Clicking the Align Left Edges icon in the options bar.
And Photoshop immediately inserts the left edge of the image onto the left edge of the canvas:
The result after moving the top image from right to left.
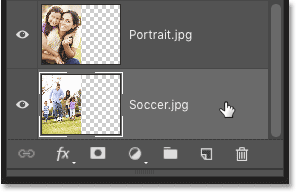
Step 5: Select the bottom image
To move the bottom image to the other side and fill in the empty space, select the bottom layer in the Layers panel:
Click on the bottom layer to select it.
Step 6: Click on the corresponding 'Align Edges' icon
Since I want to move the bottom image to the right, this time I'll click on an icon Align Right Edges In the options bar:
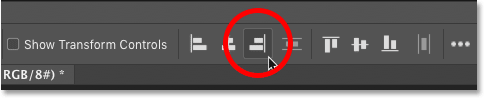
Clicking the Align Right Edges icon.
Photoshop instantly aligns the right edge of the image to the right edge of the canvas. To cancel the canvas, go up to Determination menu and selection Deselect , or press Ctrl+D (where) / Command + D (Mac) On the keyboard:
The result after moving the bottom image from left to right.


