

كيفية وضع صورة داخل الشكل
جدول المحتويات
- 1 كيفية وضع صورة داخل الشكل
- 2 كيفية ضبط الصورة أو الشكل بشكل مستقل
- 3 كيفية تقليم المناطق الشفافة
- 3.1 الخطوة 1: افتح صورة الخلفية
- 3.2 الخطوة 2: عد إلى مستند الشكل الخاص بك
- 3.3 الخطوة 3: حدد أداة التحريك
- 3.4 الخطوة 4: اربط الصورة والقناع المتجه
- 3.5 الخطوة 6: اضغط على مفتاح Shift واسحب لأسفل على صورة الخلفية
- 3.6 الخطوة 1: أضف تأثير طبقة Stroke
- 3.7 الخطوة 2: اختر لون الحد
- 3.8 الخطوة 3: اضبط حجم وموضع ضربة الفرشاة
سنبدأ بتعلم كيفية رسم الشكل الخاص بنا وكيفية وضع الصورة بداخله. ثم سأوضح لك كيفية نقل الشكل والصورة إلى خلفية جديدة.
الخطوة 1: افتح الصورة
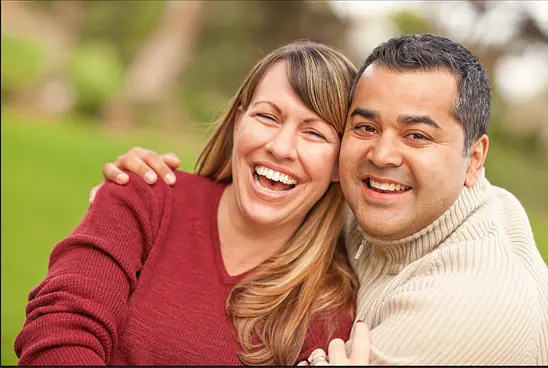
ابدأ بفتح الصورة التي تريد وضعها داخل الشكل الخاص بك.
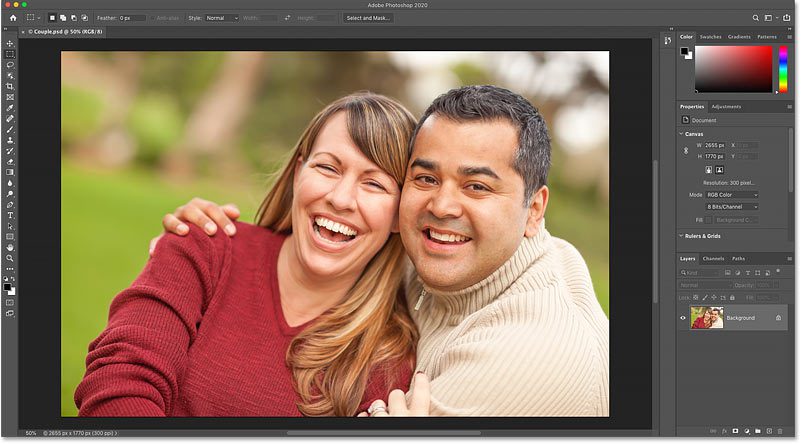
سأستخدم هذه الصورة
فتح الصورة.
في لوحة Layers ، تظهر الصورة على طبقة الخلفية ، وهي الطبقة الوحيدة حاليًا في المستند. في الواقع ، ستظل الطبقة الوحيدة حتى بعد وضع الصورة في شكل:
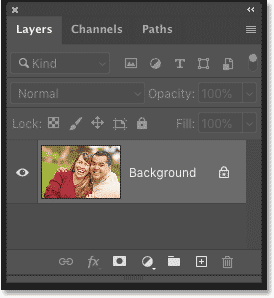
لوحة الطبقات.
الخطوة 2: افتح لوحة الأشكال
أسهل طريقة لإضافة شكل مخصص إلى وثيقتك في Photoshop CC 2020 هي باستخدام لوحة الأشكال الجديدة .
لفتح لوحة الأشكال ، انتقل إلى قائمة Window في شريط القائمة واختر الأشكال :
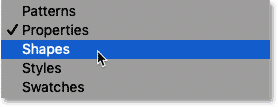
الذهاب إلى نافذة> الأشكال.
الأشكال الافتراضية
إذا لم تكن قد قمت بتحميل المزيد من الأشكال في Photoshop بعد ، ففي البداية ، كل ما ستراه في لوحة الأشكال هو الأشكال الافتراضية. في CC 2020 ، يتم تقسيم الأشكال إلى مجموعات ، ويتم تمثيل كل مجموعة بواسطة مجلد.
انقر فوق السهم الموجود بجانب المجلد لتدوير المجموعة وفتحها وعرض الأشكال الموجودة بداخلها:
التدوير افتح إحدى مجموعات الأشكال الافتراضية.
كيفية تحميل المزيد من الأشكال في لوحة الأشكال
لتحميل المزيد من الأشكال ، بما في ذلك المئات من الأشكال الجديدة تمامًا بالإضافة إلى الأشكال القديمة من إصدارات Photoshop السابقة ، انقر فوق أيقونة قائمة لوحة الأشكال :
![]()
النقر فوق رمز القائمة.
ثم اختر Legacy Shapes and More من القائمة:
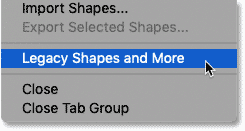
اختيار الأشكال القديمة والمزيد.
مرة أخرى في لوحة الأشكال ، يظهر مجلد “Legacy Shapes and More” جديد أسفل المجلدات الافتراضية:
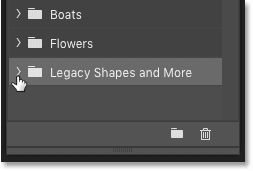
مجلد الأشكال القديمة والمزيد.
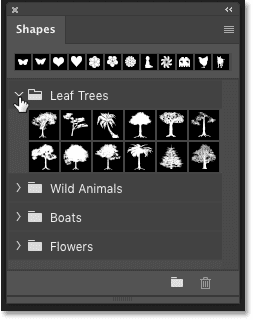
قم بتدوير المجلد وفتحه بالداخل ، ستجد مجلدين آخرين.
و الأشكال 2019 يحتوي المجلد مئات من الأشكال العلامة التجارية الجديدة. و جميع تراث افتراضي الأشكال مجلد يحتوي على كافة الأشكال عن الإصدارات السابقة:
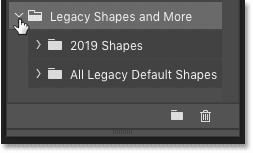
مجلدات الأشكال الجديدة والقديمة.
الخطوة 3: اسحب شكلاً إلى الصورة
لإضافة شكل إلى وثيقتك ، اختر ببساطة شكلاً في لوحة الأشكال ثم اسحب مصغره من لوحة الأشكال إلى صورتك.
في هذا البرنامج التعليمي ، سأستخدم شكل القلب القديم. ستجده في مجموعة الأشكال الافتراضية القديمة الموجودة داخل مجلد جميع الأشكال الافتراضية القديمة .
أولاً ، سأضغط على الصورة المصغرة الخاصة بها لتحديدها:
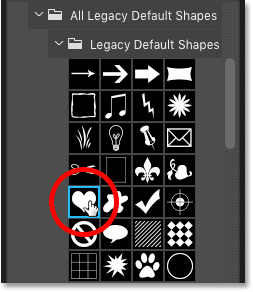
اختيار شكل مصغر.
وبعد ذلك سأقوم بسحب الشكل وإفلاته على صورتي:

سحب الشكل من لوحة الأشكال إلى المستند.
حرر زر الفأرة وسيرسم Photoshop الشكل على الفور.
لون الشكل الافتراضي هو الأسود ، لكن لا بأس إذا كان الشكل معبأ بلون مختلف. لن يحدث أي فرق بمجرد أن نملأ الشكل بصورتنا:
يظهر الشكل الأولي.
الخطوة 4: نقل الشكل وتغيير حجمه باستخدام التحويل الحر
عندما تقوم بسحب وإسقاط الأشكال من لوحة الأشكال ، فإن Photoshop يحيط بالشكل تلقائيًا بمربع Free Transform والمقابض. انقر واسحب أي من المقابض لتغيير حجم الشكل. يمكنك أيضًا السحب داخل المربع لتحريك الشكل إلى مكانه.
لا تقلق بشأن الحصول على حجم وموضع الشكل بشكل صحيح تمامًا. سنعود ونصقل الأمور لاحقًا:

تغيير حجم الشكل وتحريكه باستخدام التحويل الحر.
عند الانتهاء ، انقر فوق علامة الاختيار في شريط الخيارات لقبولها وإغلاق التحويل الحر. أو اضغط على Enter (Win) / Return (Mac) على لوحة المفاتيح:
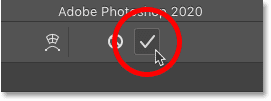
النقر فوق علامة الاختيار.
وفي لوحة Layers ، يظهر الشكل على طبقة الشكل الخاصة به فوق الصورة. سنستخدم هذا الشكل لإنشاء قناع المتجه الخاص بنا ، وسنفعل ذلك بعد ذلك:
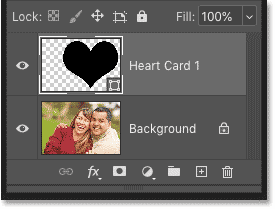
تظهر طبقة شكل جديدة.
الخطوة 5: افتح لوحة المسارات
لتحويل الشكل إلى قناع متجه ، لا نحتاج في الواقع إلى الشكل نفسه. ما نحتاجه هو المسار (المخطط) حول الشكل.
قم بالتبديل إلى لوحة Paths في Photoshop . ستجده في نفس مجموعة اللوحات مثل لوحة Layers:

فتح لوحة المسارات.
الخطوة 6: قم بعمل نسخة من مسار الشكل
بعد قليل ، سنقوم بحذف الشكل الذي أنشأناه. ولكن هذا سيؤدي أيضًا إلى حذف مخطط مساره. لذا قبل أن نحذف الشكل ، نحتاج إلى عمل نسخة من المسار.
انقر على مسار الشكل واسحبه لأسفل على أيقونة إنشاء مسار جديد في أسفل لوحة المسارات:

سحب مسار الشكل إلى أيقونة إنشاء مسار جديد.
تظهر نسخة من المسار فوق الأصل:
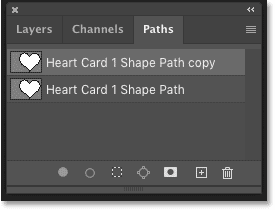
تم إنشاء نسخة من المسار.
الخطوة 7: احذف طبقة الشكل
بعد إنشاء نسخة المسار ، عد إلى لوحة Layers . ثم انقر فوق طبقة الشكل واحذفها عن طريق سحبها لأسفل في سلة المهملات .
لا تحاول حذف طبقة الشكل بالضغط على Backspace (Win) / Delete (Mac) على لوحة المفاتيح. سيؤدي هذا إلى حذف نسخة المسار التي أنشأناها للتو. تحتاج إلى سحب طبقة الشكل نفسها إلى سلة المهملات حتى يعمل هذا:

سحب طبقة الشكل إلى سلة المهملات.
يختفي الشكل ولكن يظل مخطط مساره أمام الصورة:
يبقى المسار بعد حذف الشكل.
الخطوة 8: تحويل المسار إلى قناع متجه
لتحويل المسار إلى قناع متجه ، انتقل إلى قائمة Layer في شريط القائمة ، واختر Vector Mask ، ثم اختر Current Path :
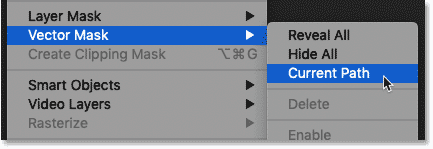
الذهاب إلى طبقة> قناع المتجه> المسار الحالي.
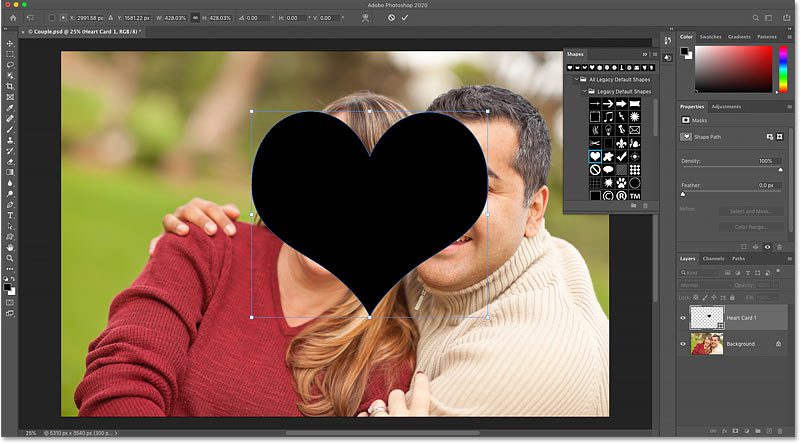
وبهذه الطريقة ، تظهر الصورة داخل الشكل. نمط رقعة الشطرنج المحيط بالشكل هو كيفية تمثيل Photoshop للشفافية:

النتيجة بعد تحويل المسار إلى قناع متجه.
في لوحة Layers ، يظهر مصغر قناع متجه على يمين الصورة المصغرة. وهذه هي كيفية وضع صورة داخل شكل باستخدام قناع متجه:
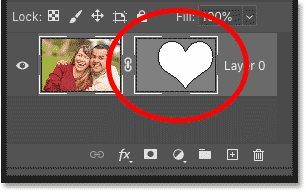
مصغر قناع المتجه.
كيفية ضبط الصورة أو الشكل بشكل مستقل
قبل أن ننقل الشكل والصورة إلى خلفية جديدة ، دعنا نضبط التأثير. سأوضح لك كيفية تغيير موضع الصورة داخل الشكل ، وكيفية تغيير حجم الشكل دون تغيير حجم الصورة.
كيفية فك ارتباط الصورة والقناع المتجه
بشكل افتراضي ، ترتبط الصورة والقناع المتجه معًا. لذلك إذا قمت بتحريك أحدهما أو تغيير حجمه ، فسيتم نقل الآخر أو تغيير حجمه معه. لتحريك الصورة أو الشكل بشكل مستقل ، قم أولاً بفك ارتباط الصورة والقناع المتجه بالنقر فوق رمز الارتباط بين الصور المصغرة:
![]()
فك ارتباط الصورة من قناع المتجه.
كيفية تحريك الصورة داخل الشكل
ثم لتحريك الصورة داخل الشكل ، حدد أداة التحريك في Photoshop من شريط الأدوات :

اختيار أداة التحريك.
ثم انقر فوق الصورة باستخدام أداة التحريك واسحبه إلى الموضع.
أنا هنا أنقل الصورة إلى اليمين بينما يظل الشكل في مكانه:
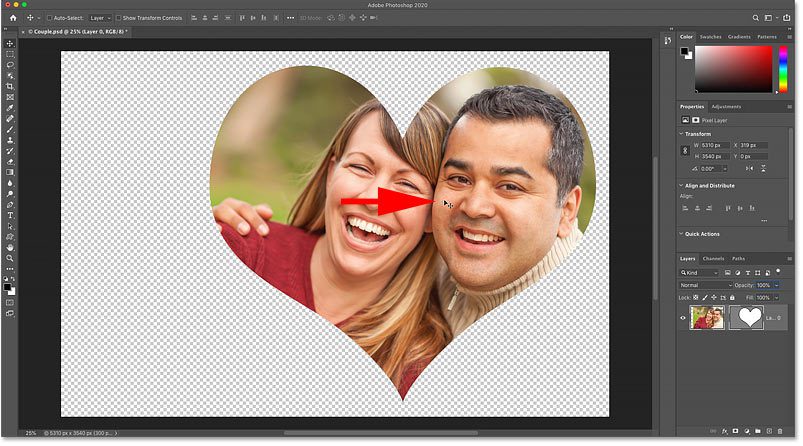
تحريك الصورة بدون تحريك الشكل.
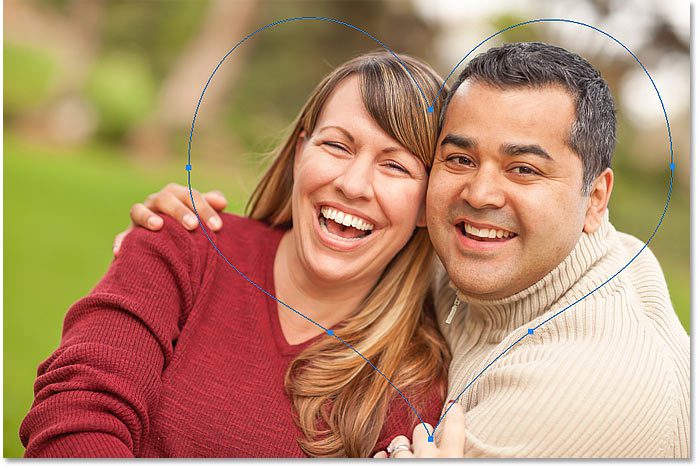
كيفية تغيير حجم الشكل
إذا كنت بحاجة إلى تغيير حجم الشكل ، فحدد أداة تحديد المسار (السهم الأسود) من شريط الأدوات:

اختيار أداة تحديد المسار.
ثم انقر داخل الشكل لتحديده. ستعرف أن الشكل قد تم تحديده لأن مخطط المسار المحيط به سيظهر مرة أخرى:
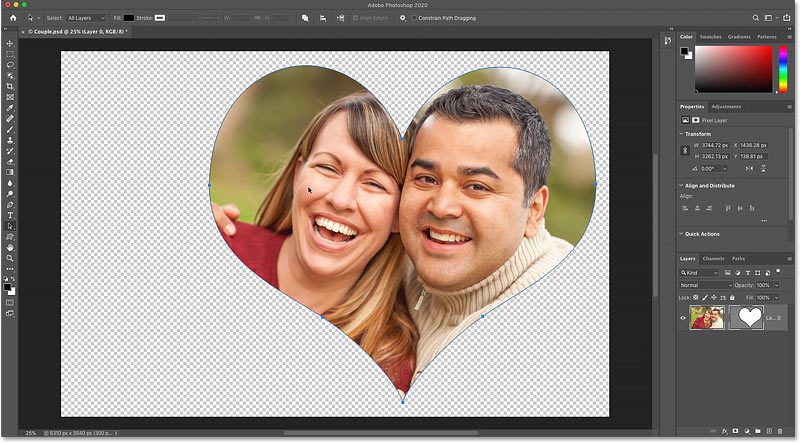
النقر داخل الشكل باستخدام أداة تحديد المسار.
انتقل إلى قائمة ” تحرير ” في شريط القوائم واختر مسار التحويل الحر . أو اضغط على Ctrl + T (Win) / Command + T (Mac) على لوحة المفاتيح:
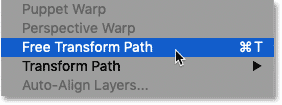
الذهاب إلى تحرير> مسار التحويل الحر.
ثم اسحب أي مقابض لتغيير حجم الشكل. ستبقى الصورة داخل الشكل بحجمها الأصلي.
سأقوم بسحب المقابض لجعل شكلي أكبر قليلاً:

تغيير حجم الشكل بدون تغيير حجم الصورة.
عند الانتهاء ، انقر فوق علامة الاختيار في شريط الخيارات. أو اضغط على Enter (Win) / Return (Mac) على لوحة المفاتيح:
النقر فوق علامة الاختيار.
كيفية تقليم المناطق الشفافة
آخر شيء يجب علينا فعله قبل نقل الشكل إلى خلفية مختلفة هو تقليم المناطق الشفافة حول الشكل. سيسهل هذا توسيط الشكل على الخلفية الجديدة.
اصعد إلى قائمة الصور في شريط القوائم واختر Trim :

الذهاب إلى الصورة> تقليم.
ثم في مربع الحوار Trim ، تأكد من تحديد Transparent Pixels في الأعلى ، وأن Top و Bottom و Left و Right محددون في الأسفل:
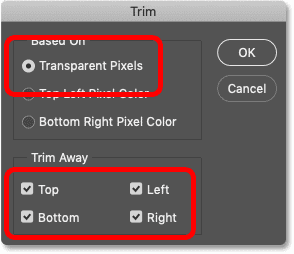
خيارات القطع.
انقر فوق OK لإغلاق مربع الحوار ، وسيتم اقتصاص وحدات البكسل الشفافة المحيطة على الفور:
![]()
النتيجة بعد اقتطاع البكسلات الشفافة.
في هذا الجزء الأخير من البرنامج التعليمي ، سأوضح لك كيفية نقل الشكل والصورة إلى خلفية جديدة. ثم ننتهي بإضافة حد حول الشكل.
الخطوة 1: افتح صورة الخلفية
ابدأ بفتح صورة الخلفية الخاصة بك.
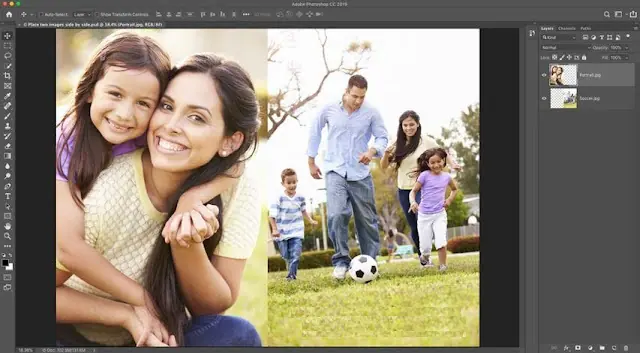
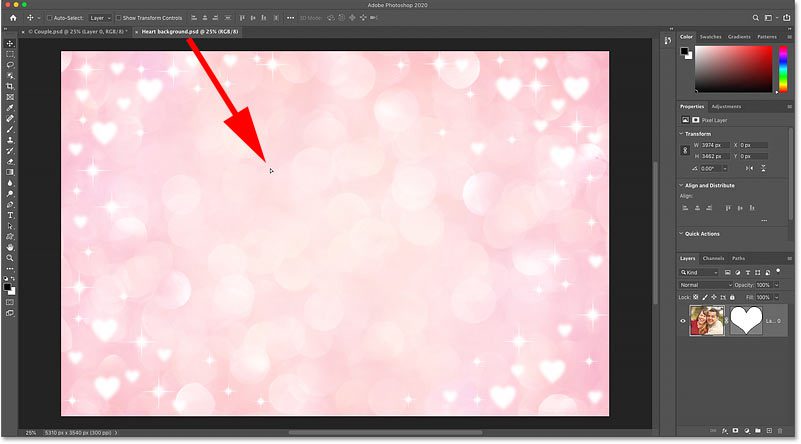
سأستخدم هذه الصورة من Adobe Stock. سيتم فتح الصورة في مستند Photoshop منفصل خاص بها:
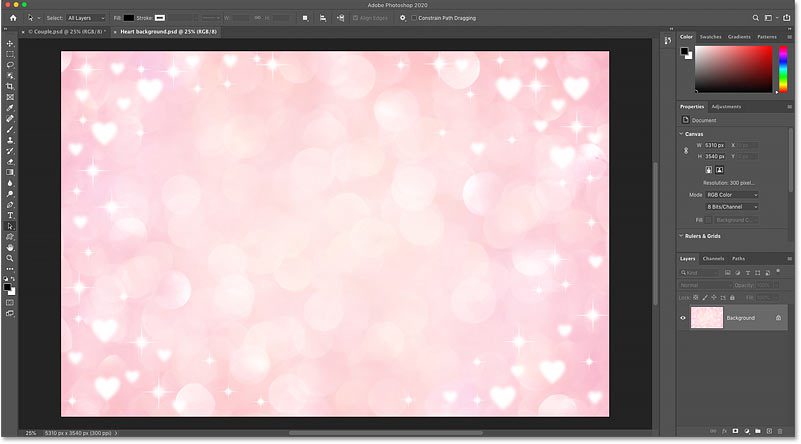
صورة الخلفية الجديدة.
الخطوة 2: عد إلى مستند الشكل الخاص بك
ثم عد إلى المستند الأصلي (المستند الذي يحمل الصورة داخل الشكل) بالنقر فوق علامة التبويب الخاصة بها :
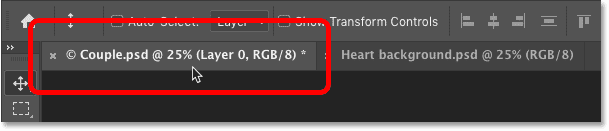
النقر فوق علامة تبويب المستند الأصلي.
الخطوة 3: حدد أداة التحريك
لنقل الشكل إلى مستند الخلفية ، سنقوم ببساطة بسحبه وإفلاته.
حدد أداة التحريك من شريط الأدوات:
اختيار أداة التحريك.
الخطوة 4: اربط الصورة والقناع المتجه
في لوحة Layers ، تأكد من ربط الصورة والقناع المتجه معًا. يجب أن تشاهد رمز ارتباط بين الصور المصغرة. إذا لم يكن كذلك ، فانقر فوق المساحة الفارغة بين الصور المصغرة لربطها:
![]()
يجب أن تكون أيقونة الارتباط مرئية.
الخطوة 5: اسحب الشكل إلى علامة تبويب مستند الخلفية
ثم انقر فوق الشكل باستخدام أداة التحريك واسحبه لأعلى وعلى علامة التبويب الخاصة بمستند صورة الخلفية:
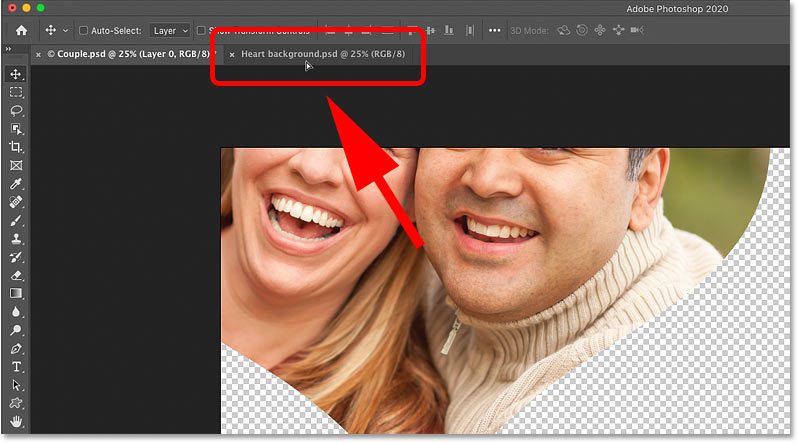
سحب الشكل إلى علامة تبويب مستند الخلفية.
الخطوة 6: اضغط على مفتاح Shift واسحب لأسفل على صورة الخلفية
استمر في الضغط على زر الماوس ومؤشر الماوس فوق علامة التبويب حتى ينتقل Photoshop إلى صورة الخلفية.
ثم اضغط مع الاستمرار على مفتاح Shift على لوحة المفاتيح ، واسحب مؤشر الماوس لأسفل على صورة الخلفية ، ثم حرر زر الماوس:
الضغط مع الاستمرار على مفتاح Shift والسحب لأسفل على صورة الخلفية.
يخبر المفتاح Shift Photoshop بتوسيط الشكل داخل المستند. لدينا الآن الشكل والصورة بداخله أمام الخلفية الجديدة.
استخدم Free Transform (اضغط على Ctrl + T (Win) / Command + T (Mac)) لتغيير حجم الشكل إذا لزم الأمر:
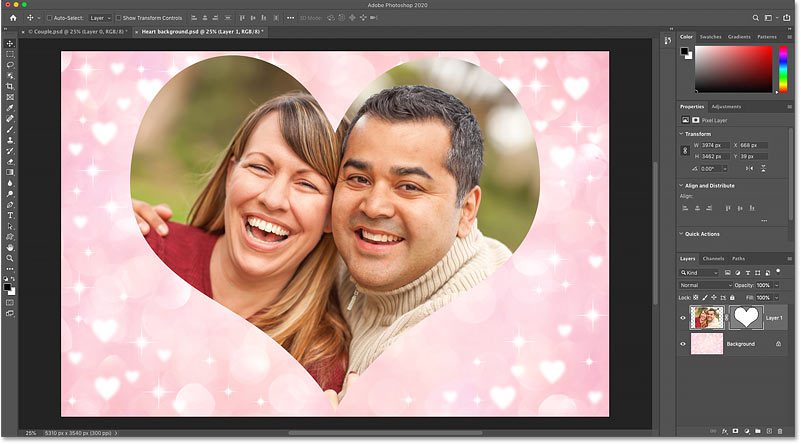
تم وضع الشكل والصورة على الخلفية الجديدة.
كيفية إضافة حدود حول الشكل
لإنهاء التأثير ، دعنا نضيف حدودًا حول الشكل. وسنفعل ذلك باستخدام تأثير الطبقة .
الخطوة 1: أضف تأثير طبقة Stroke
في لوحة Layers ، تأكد من تحديد الطبقة التي تحتوي على الصورة الأصلية والشكل.
ثم انقر فوق رمز Add Layer Style (رمز “fx”):
![]()
النقر فوق أيقونة Add Layer Style.
واختر Stroke من القائمة:

إضافة تأثير طبقة ضربة فرشاة.
الخطوة 2: اختر لون الحد
في شاشة Layer Style ، اضبط لون الحد بالنقر فوق عينة اللون :

النقر فوق حامل لون الحد.
ثم اختيار لون من Color Picker في Photoshop . سأختار الأبيض . انقر فوق “موافق” عندما تنتهي من إغلاق Color Picker:

اختيار لون الحد في Color Picker.
الخطوة 3: اضبط حجم وموضع ضربة الفرشاة
مرة أخرى في مربع الحوار نمط طبقة، تغيير الوظيفة من السكتة الدماغية إلى خارج .
وأخيرًا ، اضبط سمك الحد باستخدام خيار الحجم . تعتمد القيمة التي تحتاجها على حجم صورتك. سأذهب مع 24 بكسل:
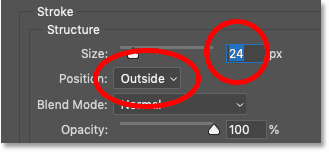
ضبط خيارات الموضع والحجم.
انقر فوق موافق لإغلاق مربع الحوار Layer Style ، ولدينا النتيجة النهائية:

تأثير “الصورة في الشكل” النهائي.


