

How to update the Creative Cloud app
Step 1: Open the Creative Cloud desktop app
if you Download Photoshop and install it, there's a good chance that the Creative Cloud desktop app is already running in the background on your computer. If so, you can open the Creative Cloud app by simply clicking on its icon.
On a Windows PC, the icon will appear in the system tray at the bottom right of the screen:
![]()
On a Mac, the icon will be in the upper right corner of your screen (in the menu bar):
![]()
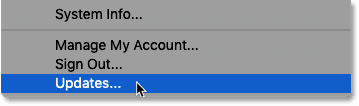
If the Creative Cloud app isn't running in the background, you can open it from within Photoshop. Go to list Instructions in the menu bar along the top of the screen (in Photoshop) and select Updates :
Step 2: Choose the category of updates
The Creative Cloud app will open to display the Adobe apps currently installed on your computer.
To view only apps for which updates are available, select “Updates” In the column on the right side:
Read also:How to make a group of layers in Photoshop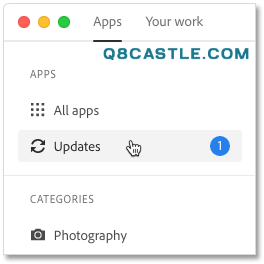
Step 3: Click the Update button
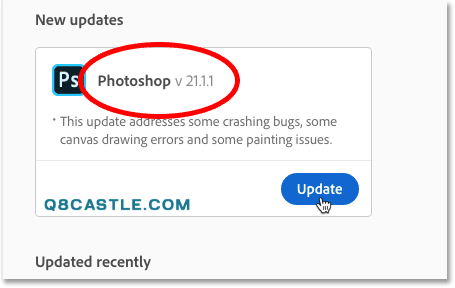
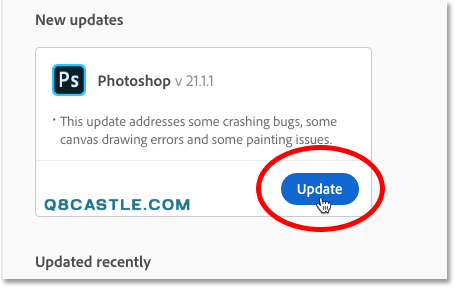
If an update is available for Photoshop, Photoshop will appear with a large blue Update button.
Note the version number listed next to the Photoshop name. Once the update is complete, I'll show you how to make sure you're indeed running the latest version:
To update Photoshop to the latest version, click the button Update :
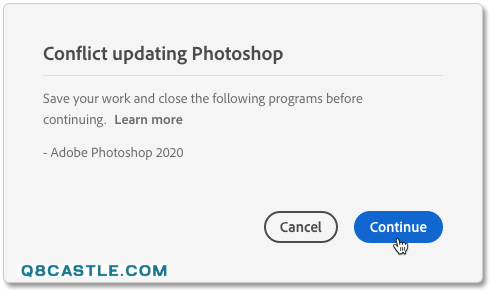
Note that if Photoshop is open, a warning message appears stating that Photoshop needs to be closed before the update can proceed.
So go ahead and close Photoshop, then go back to the Creative Cloud app and click Continue :
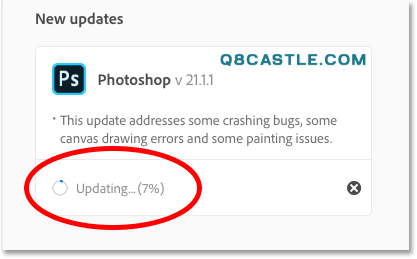
The application will display the progress of the update. These updates can take a few minutes:
Step 4: Open Photoshop
Once the update is complete, the update button will change to a button open .
Read also:How to resize and share images on PhotoshopClick the button to open Photoshop:

How to make sure Photoshop is up to date
To confirm that you are running the latest version of Photoshop, you can check the version number of Photoshop.
On a Windows PC, go to Menu Instructions in the menu bar. Or on a Mac, go to List Photoshop . From there, choose About Photoshop :

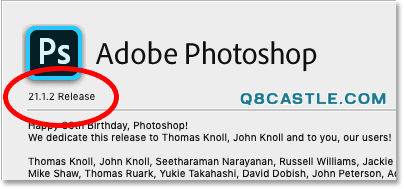
The current Photoshop version number appears in the upper-left part of the About Photoshop box. This number must match the number previously displayed in the Creative Cloud app:
How to update Photoshop automatically
This is how to update Photoshop manually. Now let's learn how to set up the Creative Cloud app to always update Photoshop automatically. I'll also show you two important options to make sure you don't lose your current settings.
Step 1: Open the Creative Cloud app preferences
Back in the Creative Cloud app, go to List Fillet On a Windows PC, or a list Creative Cloud on a Mac, and choose Preferences :
Read also:Photoshop screen modes and interface tricks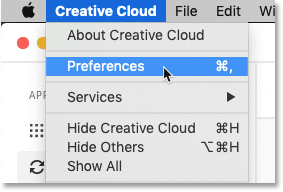
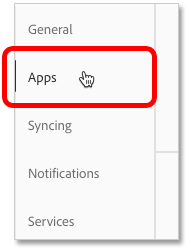
Step 2: Select the Apps category
In the Preferences dialog box, select a category Apps on the left:
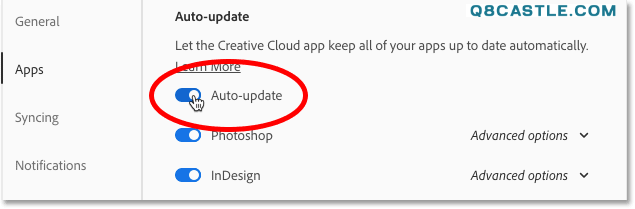
Step 3: Turn on automatic update
Then turn on an option Update Automatic:
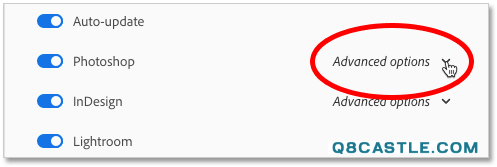
Step 4: Open the advanced options
With auto-update enabled, open Advanced Options for Photoshop. You can repeat this step for other apps as well:
Step 5: Choose your settings
To prevent an update from removing your current Photoshop settings, make sure that you select Settings Import previous settings and preferences .
It's also a good idea to keep your previous version of Photoshop until you get comfortable with the new version. So I always leave Remove old versions without to set:

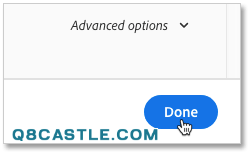
Step 6: Close the Preferences dialog
Click Done To close the Preferences dialog so that the next time a new version of Photoshop is released, the update will be applied automatically: