


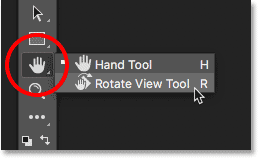
Select the Rotate View tool
The Rotate View Tool in Photoshop is in the same place Hand Tool in the toolbar. By default, the Hand Tool is the visible tool, and the Rotate View tool hides behind it. To select the Rotate View Tool, tap and hold the Hand Tool icon until a pop-up menu appears. Then choose Display rotation tool from the list. Notice that the rotate tool display has a keyboard shortcut of R . This will become important in a few moments:
How to rotate your view
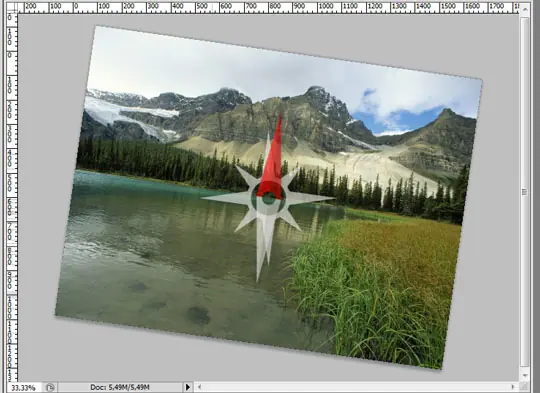
With the Rotate View Tool selected, the easiest way to rotate your view of an image is to simply click and drag within the document window. Click on the image with the Rotate View Tool and hold the mouse button. A compass Shown in the center. indicate Existing red direction sign The compass top is always to the actual top of the image, so even when you rotate the angle, you'll always know which way to the top:

To rotate the view, hold down the mouse button and drag the image. You can drag clockwise or counterclockwise as needed. Note that the compass continues to point to the actual top of the image as the view rotates. By default, Photoshop allows you to freely rotate the corner. But if you press and hold a key Shift As you drag, you will rotate the view in steps of 15 degrees:
Read also:Basic navigation shortcuts for images in photoshop
Enter a specific rotation angle
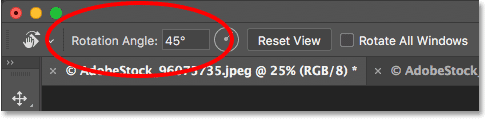
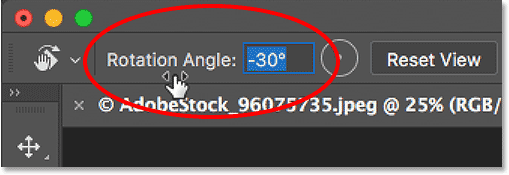
If you know the exact angle you want, you can enter it directly into a square rotation angle in the options bar. Click inside the box to highlight the current angle, then type the new value. Don't worry about the degrees symbol (°) because Photoshop will include it automatically. Click on Enter (Win) / Return (Mac) on the keyboard when you're done to accept it. or click on Shift + Enter (Win) / Shift+Return (Mac) to keep the new value distinct. This allows you to quickly type at different angles without having to click inside the box each time:
Change the angle of rotation using the slider
Another way to rotate your view of the image is to use Scrubby Slider in Photoshop. Move your mouse pointer directly over the words “Angle of Rotation” in the options bar. The pointer will change to a hand symbol with directional arrows pointing left and right. This is the Scrubby Slider indicator. Click and drag to the right to increase the angle of rotation, or drag to the left to decrease it. By default, the angle will increase or decrease in increments of XNUMX degree. Press and hold a key Shift While dragging with the Scrubby Slider to change the angle in steps of 10 degrees:
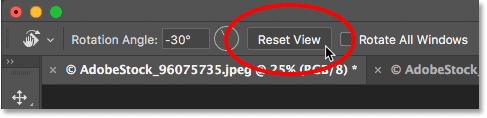
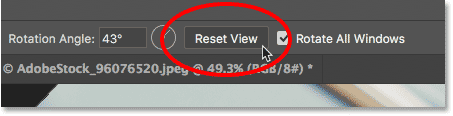
Display reset
To reset the view and restore the image to its vertical position, click the “ display reset” in the options bar. or press a key I in the keyboard. You can also reset the view by double-clicking the Rotate View tool in the toolbar:
Using the “Spring-Loaded” view rotate tool
Photoshop has a great feature known as Spring loaded tools . If you know the keyboard shortcut for a specific tool, pressing and holding that key on your keyboard will temporarily switch you to that tool as long as you hold the key down. When you release the key, you will return to the previously active tool. Using the "spring loaded" version of the Rotate View Tool is the quickest way to go.
Earlier, when we learned how to choose the rotate tool display from the toolbar, we saw that the tool has a keyboard shortcut from R . When any other tool is active, press and hold the "R" key on your keyboard to temporarily switch to the Rotate View Tool. Click and drag the image to rotate the view, then release the "R" key to return to the previous tool. In Spring Loaded mode, you won't be able to access any of the display rotation tool options in the options bar. So to reset the display when you're done, press a key I With the keyboard:
Read also:Managing panels Photoshop CC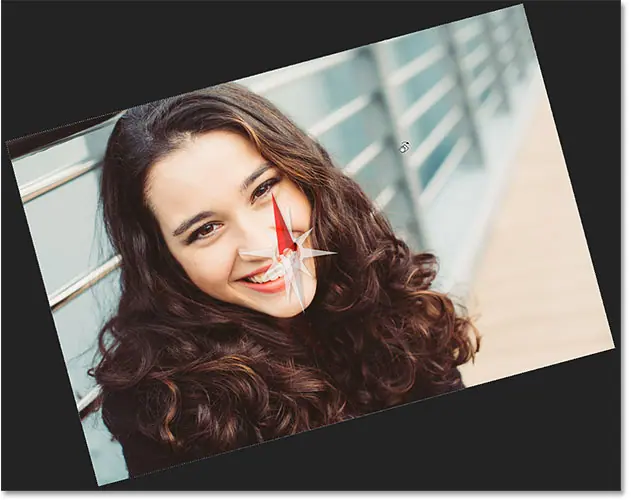
Rotate view of all open images at once
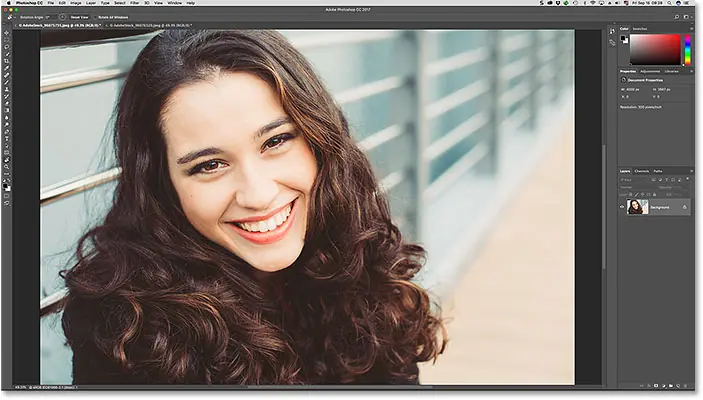
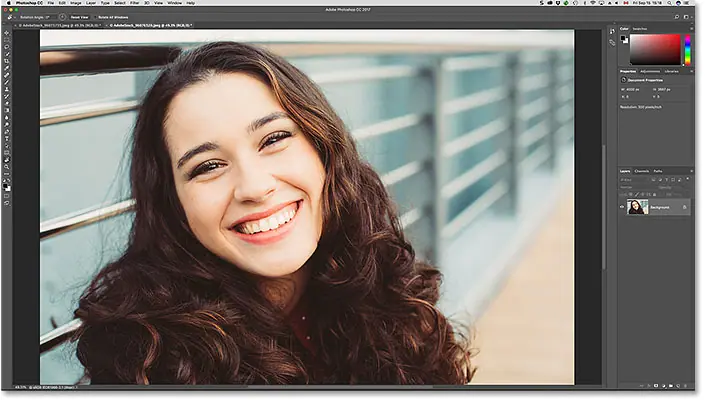
So far, we've learned how to rotate the view for a single image. But Photoshop makes it easy to rotate the view of multiple images at the same time. This is a second image from the same series that you opened. Photoshop opens each image in its own separate document. I switched to this second image by clicking its tab at the top of the document window (a personal image from Adobe Stock):
Display multiple images on the screen
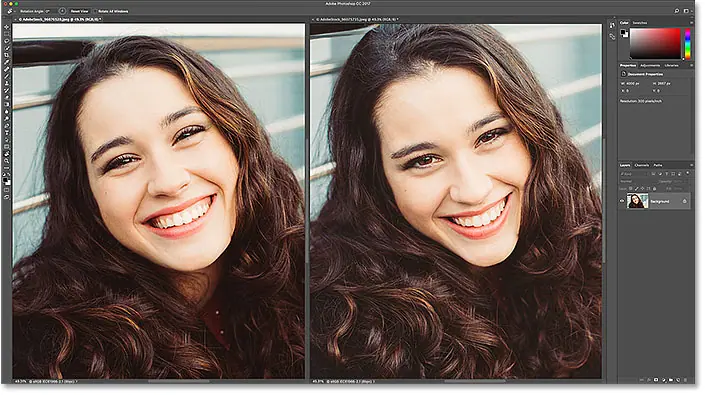
By default, we can only view one document at a time. But it's easy to display two or more documents at once with Photoshop's Multi-Document Layouts. You will find them by going to List the window in the menu bar and choose Arranging . From there, choose a layout based on the number of photos you have open. I opened two pictures, so I will specify coordination Vertical 2-up :

With the "2-up Vertical" layout selected, my photos now appear side by side on screen. To switch back to the default Photoshop layout when you're done, go back to the menu Window , and select Arrange , then choose Consolidate All to Tabs :
"Rotate all windows" option
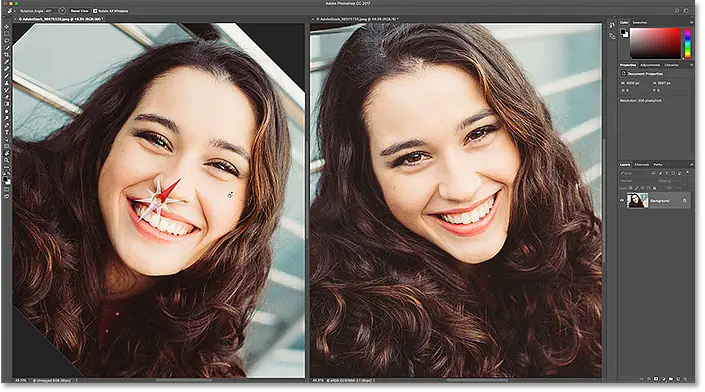
To rotate all open images at once, be sure to select the Rotate View Tool from the toolbar, since the "spring loaded" method won't give you access to the tool's options. Next, select an option Rotate all windows In the options bar:

Tap and hold on any photo and then drag to rotate its view. At first, it will appear as if only one image is being rotated. Here, I'm rotating the image on the left. The image on the right has not moved yet:
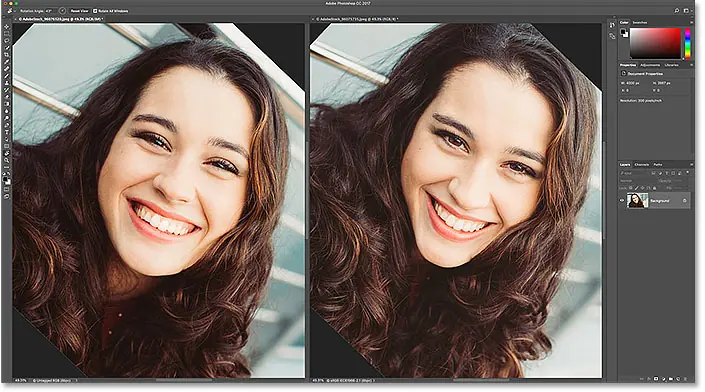
As soon as you release the mouse button, the view of the other image(s) will immediately be rotated to the same angle:
Reset display for all open images
To reset the display for all open images, make sure you still have an option selected Rotate all windows in the options bar. After that, click on the button display reset” :
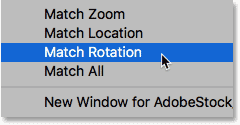
Match rotation option
Finally, if you're viewing multiple open photos at different angles, you can match them all instantly the same the corner. First, select the document with the angle of rotation you want the others to match. Next, go to List Window , and select Arrange , then choose Match Rotation . All documents will move to the same viewing angle as the document you selected: