
Inserted hair
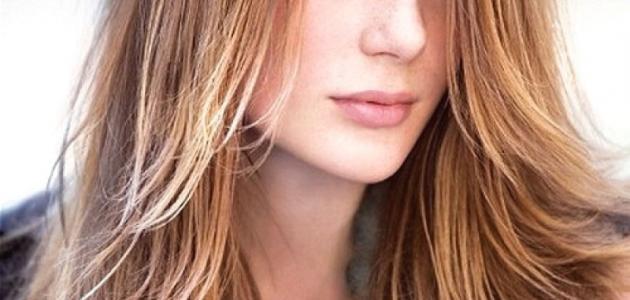
The graduated haircut is suitable for all face shapes, and it gives the hair vitality and more density, so it is suitable for women with thin hair, and it does not matter what type of hair it is, whether it is straight or curly. Because this haircut suits both types, and gives the woman a beautiful shape to the face, and it is possible to vary the way it is styled in the way the woman desires. This haircut also adds a younger appearance to the face, and corrects its shape so that it makes it round, or thin according to the method of cutting followed, and in this article we will mention Ways to help learn cutting at home, to avoid making mistakes and ending up with an incorrect haircut.
How to cut graduated hair
This is one of the methods that can be applied to cut hair in the listed style, which is:
- the required materials:
- Scissors designed for hair cutting.
- Hair tweezers.
- Fine tooth comb.
- towel.
- Cutting method:
- First, prepare for the cut, by looking at the face carefully in the mirror, determining the shape of the desired cut, and the length of the layers that are most appropriate for the face. To get the desired cut after finishing cutting.
- Providing the required materials, especially scissors, and preparing the appropriate place for cutting. The bathroom may be the appropriate place, as it is well lit and has a front and rear mirror. To see the hair from the back.
- Wash the hair, dry it gently with a towel, so that it is somewhat damp and not too wet, and place a dry towel on the back and shoulders. To avoid wet hair sticking to the body, then comb the hair to get rid of tangles.
- Start by dividing the hair using a comb, so that it is divided into an upper section, a section from the right above the ear, and a section from the left above the ear, making sure that the two sections are completely equal, and secure the sections using hair tweezers.
- The division is done for the middle section, which is between the right section and the left section, by dividing it in half into two equal parts, a section extending from the first section from the forehead to the crown of the head, and the second section from the crown to the back of the head at the neck, and the sections are fixed using hair tweezers.
- Leave the back section of hair straight, as there is no need to cut it, unless you want to shorten its length. It is taken as a measure for the other layers, provided that it is the longest.
- Straighten the middle front section of hair, cut its ends to the desired length by combing it well, and pull it forward against the face, that is, at a 90-degree angle from the head to the front, and place it between the index and middle fingers, and cut its ends, so that this section is the shortest to be cut, and it is often Its length is at the earlobe, or a little longer, and to the shoulders if the hair is long, and be careful to cut it a little longer than the desired length. Because the hair will shrink after it dries, and will appear shorter.
- Straighten the front right section, comb it well, pull it forward on the side of the face between the index finger and middle finger, cut its ends to the desired length, and cut it at an angle for smoother layers.
- Straighten the left section and cut it by repeating the same previous steps.
- Straighten the back section and cut its edges so that it is the longest length to be cut.
- Comb the hair, examine it, and make adjustments if necessary.
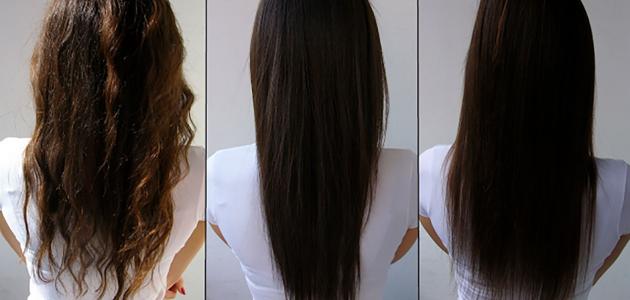
Long hair cut included
This method is intended for long hair by cutting graduated layers of long hair from the back, and shorter from the front:
Read also:Ways to straighten curly hair for children- the required materials:
- Sharp scissors designed for cutting hair.
- Wide tooth comb.
- Hair tie.
- Cutting method:
- Start with clean, damp hair that is not too wet, and comb it with a wide-toothed comb. To get rid of tangled hair completely.
- Bend over and bend the head downward, gathering the hair at the top of the head at the forehead, and tying it into a ponytail.
- Stand naturally, grab the tie, and pull it down while holding the hair with the other hand at the previous tie location.
- Pull the tie until you reach the desired length. The lower the tie is pulled, the lighter the gradations and the longer the hair.
- Cut the hair gathered above the tie completely straight, taking care to hold the tie from below; So that it does not slip, cut with sharp scissors.
- Straighten the hair, then ensure its length, so that the length at the back is the longest. Some adjustments can be made with caution without cutting too much of the hair length. To avoid mistakes.
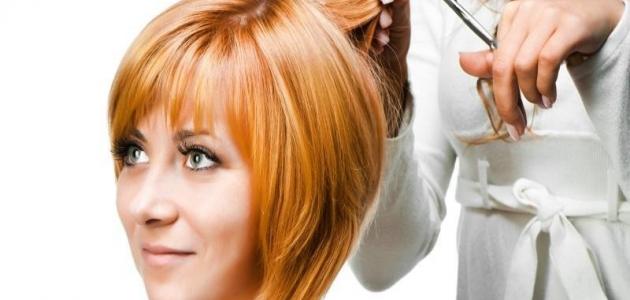
Short haircut included
Cutting short hair is more difficult than cutting long hair when cutting it at home. This method can be applied to cutting the graduated cut for short pixie hair only, and it is:
- the required materials:
- Scissors designed for hair cutting.
- comb.
- hair tweezers.
- Dry towel
- Cutting method:
- Choose a suitable place for cutting hair, preferably in the bathroom, with a front and rear mirror; To see the hair from the back.
- Preparing for the cut, by washing the hair as usual, and preparing a dry towel.
- Look carefully at the hair, and decide exactly how to cut the hair.
- Sectioning the hair, which is done by dividing the hair into two parts, the first section from the forehead to the crown of the head, and the second section from the crown to the back of the head at the neck.
- Start cutting the front section by pulling it straight forward using a comb, and cutting the hair to the desired length straight, by placing the hair between the index finger and the middle finger, and cutting the hair protruding from the fingers, and the angle should be 90 degrees between the fingers and the forehead.
- Cut the second section of hair located directly behind the front section, and continue cutting until the sections are finished, making sure to cut at the same length, and when finished, the gradients in the hair will appear.
- Comb the hair, parting it in the middle; To cut the sides.
- Hold small strands with your fingers straight from the top of the head on the front sides, and cut the tip until all the strands are cut up to the back side of the head.
- Repeat the same steps on the other side.
- Make sure the hair is gradated, the strands are even, cut the ends of the hair if you want shorter hair, and make sure the hair is around the ears and at the back in particular.
Facial shape and hair style for naturally curly hair
Gradient hair suits all face types according to the shape of the gradations in the hair. The types of gradations suitable for face types are:
Read also:Benefits of cutting hair for girls- round face: Long, thin gradations that end at the jawline make the face appear more voluptuous.
- Heart shape face: You can try all forms of gradations, short gradations for a more elegant look, or long gradations with straight or side bangs for a more attractive look.
- Oval and rectangular face: A short, graduated camouflage that ends at the chin. Side bangs can be made with a graduated cut of equal gradations.
- Square face: Layered hairstyle with light bangs, or long, layered hair with light bangs at the ends.


